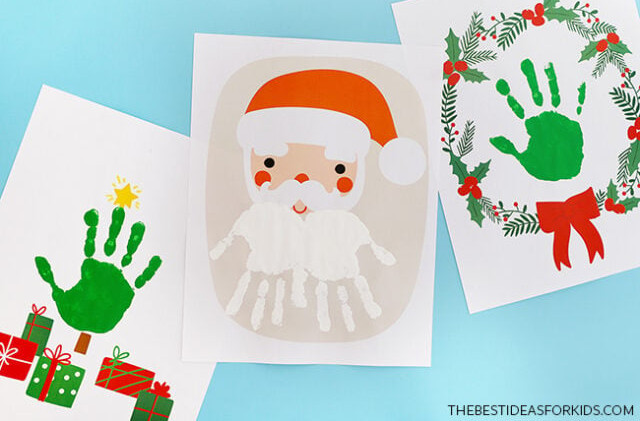
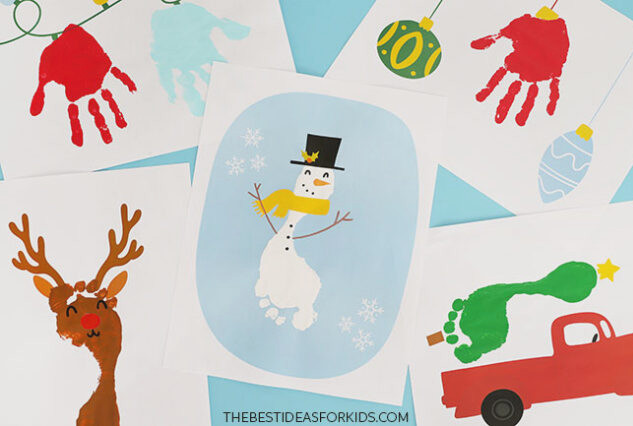
Enjoy the festive season with these Christmas handprint printables. Each of the 10 patterns is free to download and creates a charming keepsake for baby albums or memory containers.
RELATED: Christmas Crafts for Kids
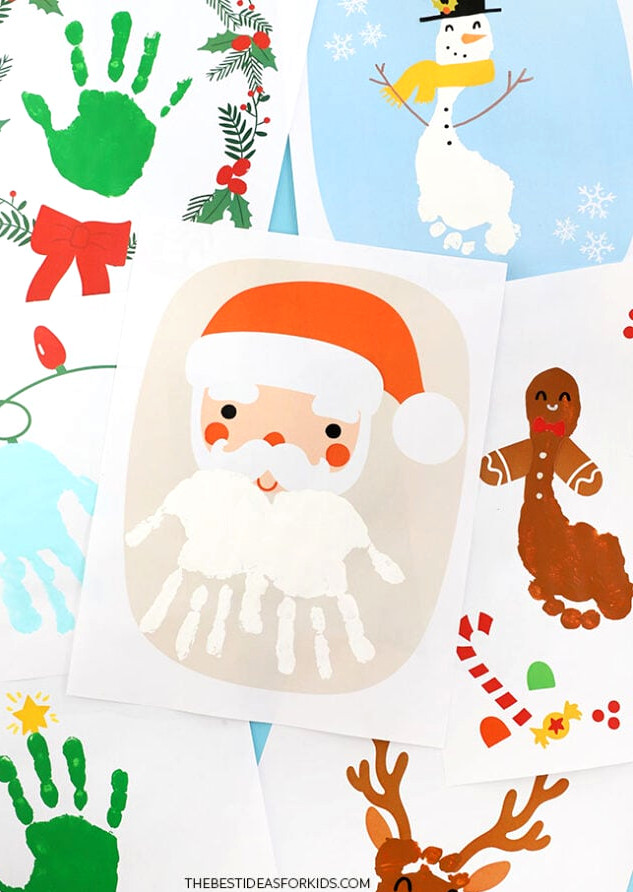
You could also create some additional copies to mail to friends, relatives, or other loved ones during the holidays!
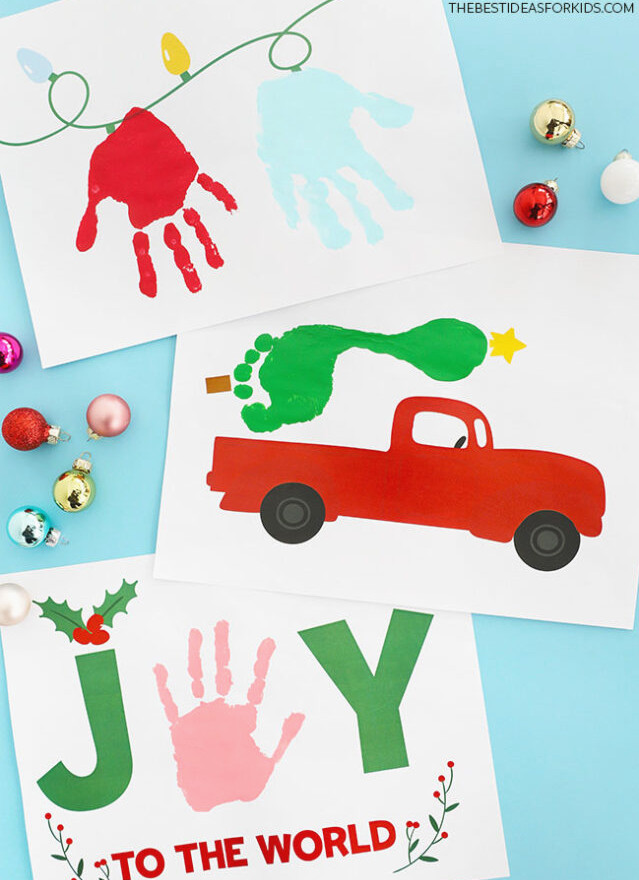
These patterns are ideal for hands and feet in every size, making them suitable for children of any age. Remember to add your child’s name and the date to the reverse side!
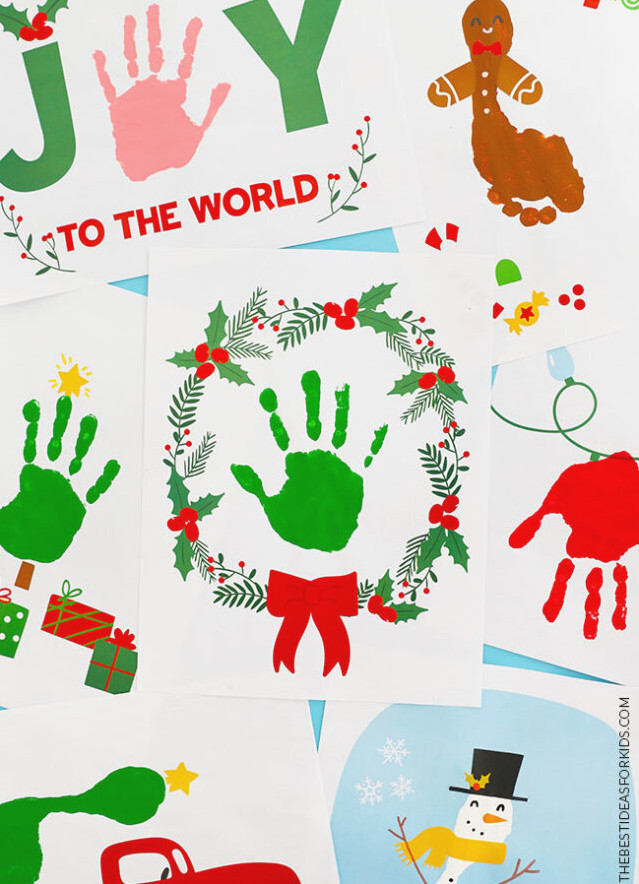
Supplies Required
- Christmas Handprint Art Printables – have them delivered to you at the end of this post!
- Paintbrushes – medium size
- Markers – standard markers or paint markers
Steps for Making Christmas Handprint Art
1. Prepare your painting space.
- When creating the footprint artwork, place a stool or child-sized seat in your painting space.
- Choose the patterns, print them on white paper or cardstock, and place them to one side.
- Collect your non-toxic tempera paints – we chose red, green, white, brown, pink, and pale blue.
- Pour warm, soapy water into a large bowl and put it on the floor near your work area. You will also want clean rags, towels, baby wipes, and paper towels.
- Preparing everything in advance will help make the cleanup process easy.
2. Paint the handprint patterns.
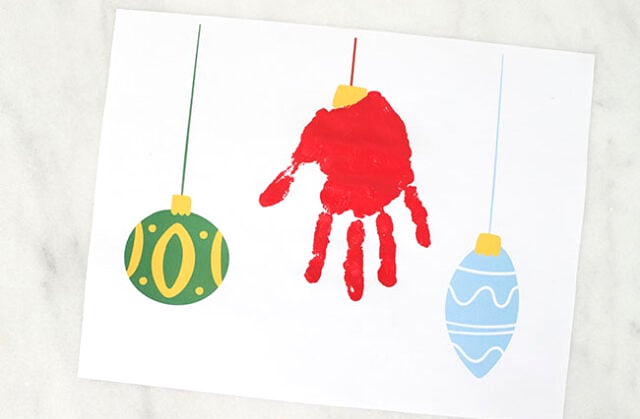
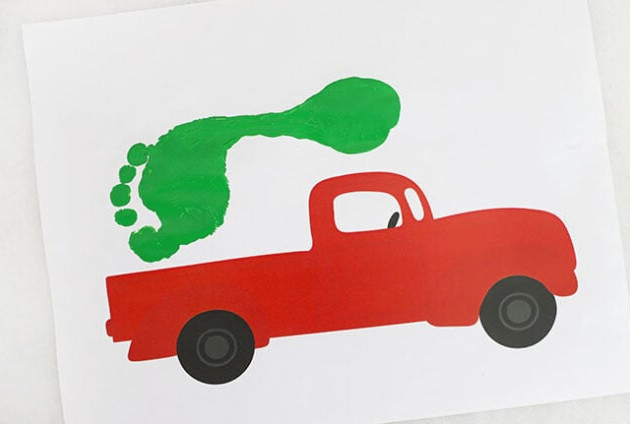
Brush non-toxic tempera paint across your child’s palm. We selected white for Santa’s beard, green for the Christmas tree and wreath, red for the ornaments and one Christmas light, pink for “Joy,” and pale blue for the second Christmas light.
Lead your child’s hand toward the paper, then gently help them press it down to create a handprint.
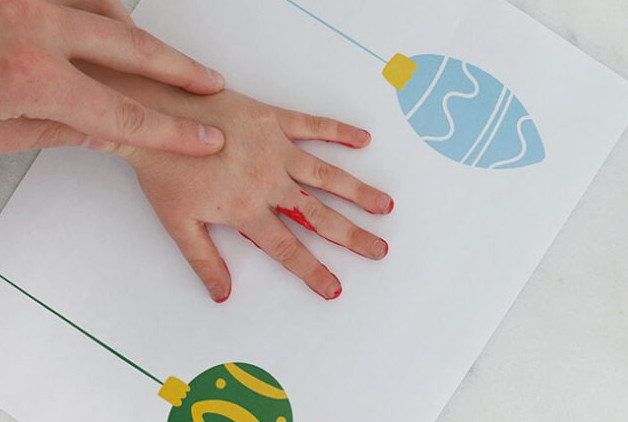
Ask them to lift their hand away, then use a brush to cover any areas that were missed. Assist them in washing their hand with warm, soapy water.
Place the sheet aside and allow it to dry fully.
3. Paint the footprint patterns.
Have your child take a seat on the low stool or child-sized chair. Cover the sole of their foot with non-toxic tempera paint – we used white for the snowman, green for the Christmas tree, and brown for the gingerbread man and Rudolph.
Place the paper on the floor, then guide their foot down onto the sheet to make the print.
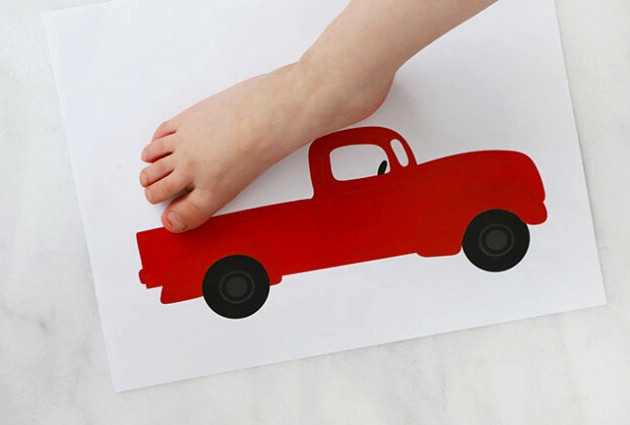
Raise their foot from the paper and help them rinse away the paint in the bowl of warm, soapy water. Leave the sheet aside until it has dried completely.
4. Attach the paper cutout features.
Print the extra designs and trim out the shapes required for every pattern.
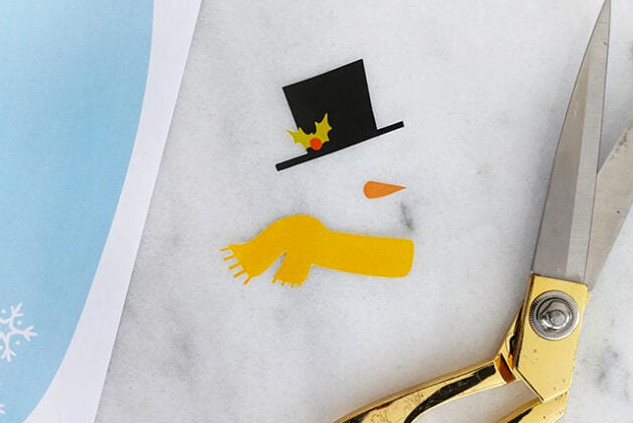
Attach the pieces to the handprint or footprint with a glue stick.
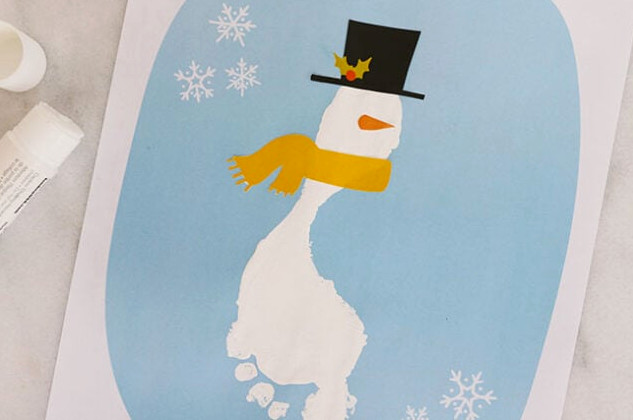
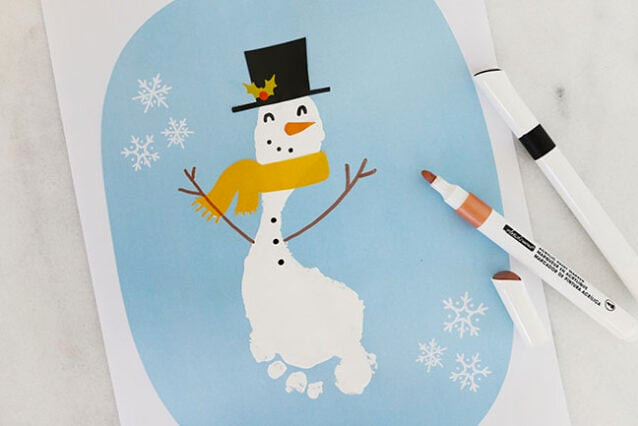
Finish the artwork by adding the remaining features with markers, paint, or paint markers.
For the snowman, we drew the eyes, mouth, buttons, and twig arms using markers.
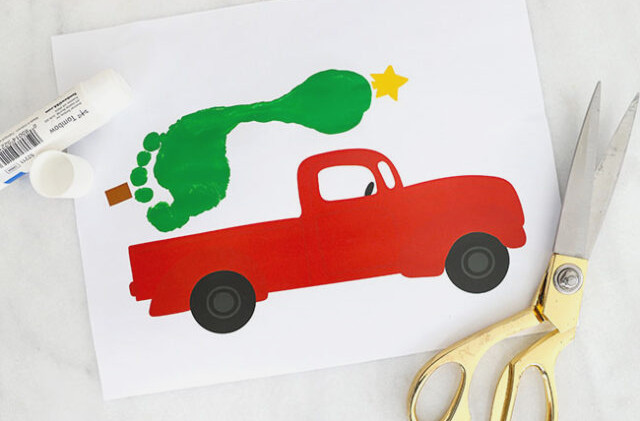
For the Christmas tree footprint with truck, trim out the star and tree stump, then glue them onto the paper. Alternatively, paint or draw these details with markers.
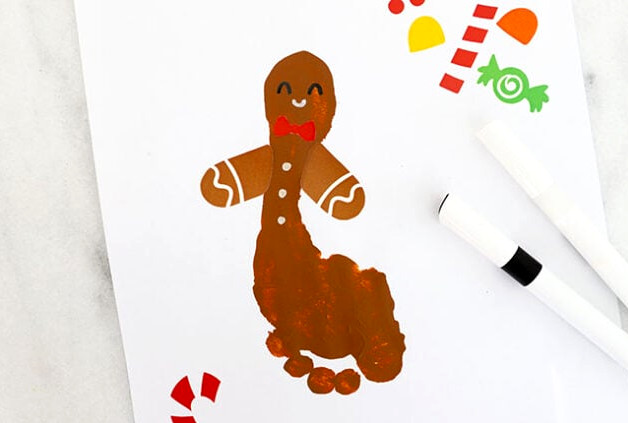
For the gingerbread man footprint, cut out the arms and bow tie before attaching them to the footprint. Next, draw the eyes, mouth, and buttons with a marker.
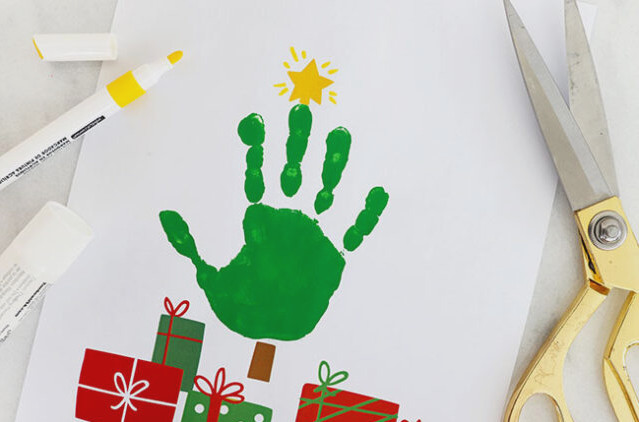
To create the handprint Christmas tree, attach the star at the top. Then, use a yellow marker to draw a few lines around it. Fingerprint ornaments can also be added to decorate the tree.
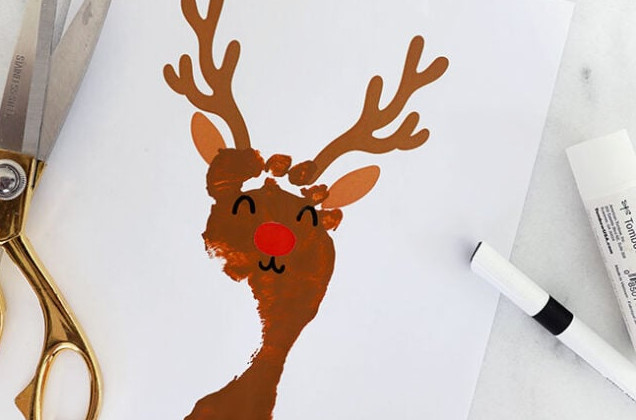
For the reindeer footprint, trim out the nose and glue it in place, then draw on the eyes and mouth using a black marker. A red pom-pom can be used for the nose as well.
Your Christmas handprint craft is now finished!
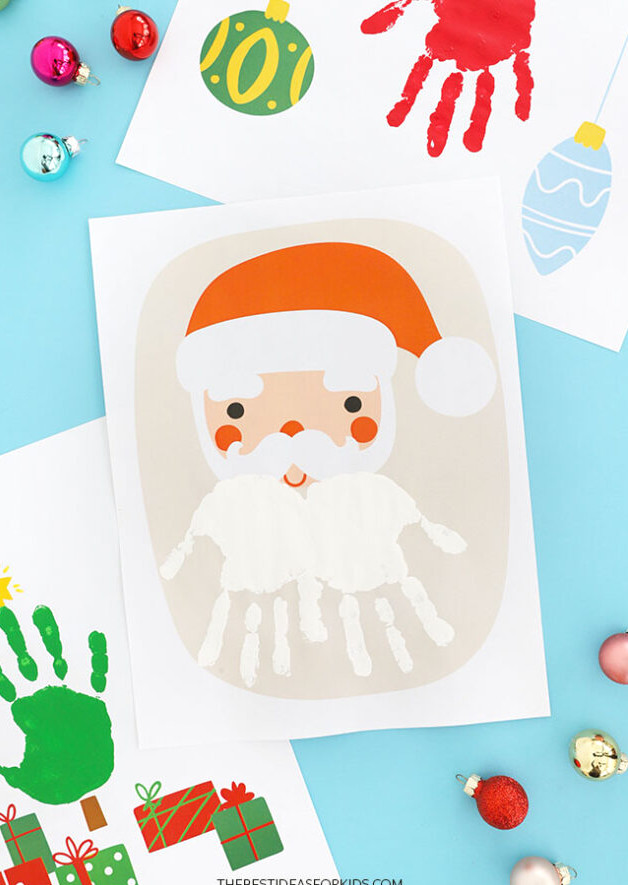
Find the Free Templates Here
Download the Free Christmas Printables
Have the complimentary Christmas templates delivered directly to your inbox! You’ll also get our free weekly newsletter.
Already subscribed? No need to worry—you won’t be added twice!