While browsing my go-to Savers aisle, I noticed it: a solitary, curvy vessel practically pleading for a Pottery Barn-inspired transformation. Soon, I was intensely examining PB’s latest textured vases, gripping a $2 tiling tool, and creating myfaux-artisansecret weapon: joint compound. The outcome? A sophisticated indigo stunner that complements my blue-toned living room beautifully… and costs less than my usual coffee.
Thrift Store Vase Transformation: How to Achieve a ‘Designer’ Style on a Budget
If you’ve been following along for some time, you know I’m unable to pass up browsing the vase aisle at my nearby Savers. I’m constantly searching for distinctive forms with ‘good bones’ that I can reinvent using a bit of texture and paint. Recently, Pottery Barn’s collection has captured my attention (particularly that gorgeous white combed-texture vase!), but since my new blue rug grounds the living room, I was craving a richer shade. Enter: indigo chalk paint, a container of dependable joint compound, and themost affordabletiling tool I could find at the hardware store. Today, I’m explaining how I made a luxury-looking textured vase for under $16-no pottery wheel needed!
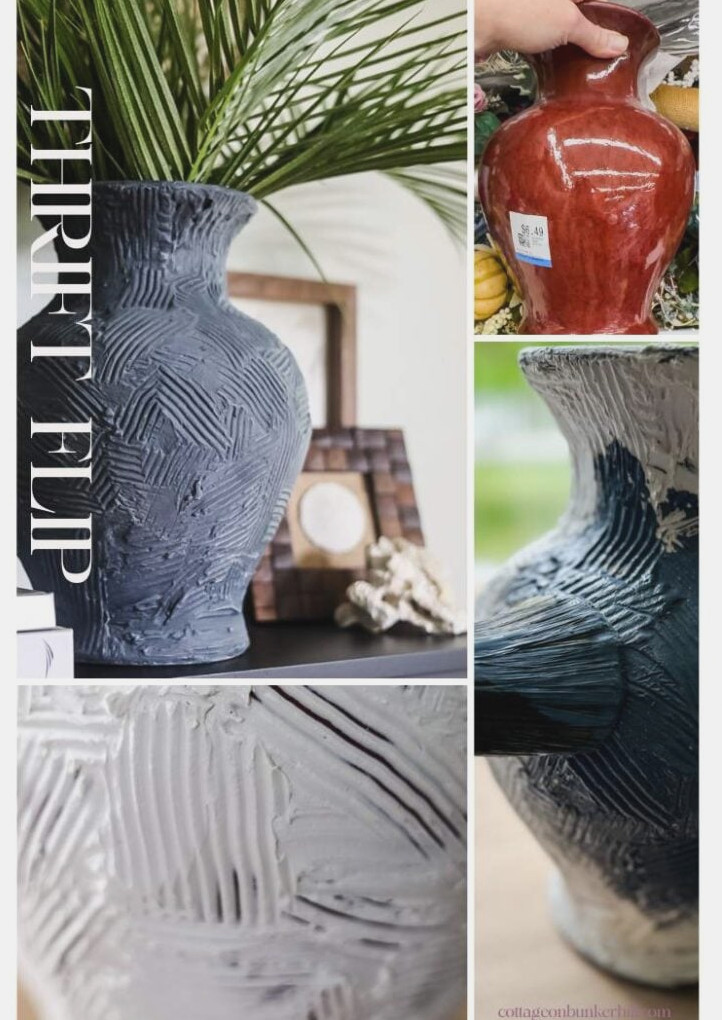
Before: The Thrifted Vase
Say hello to my $6 Savers find (thanks to a 20% discount coupon, I paid closer to $5)! This vase caught my eye thanks to itsfull curves, broad center, and narrowing neck, whichpractically shout‘high-end ceramic’ with the proper makeover. Even better? Thesleek, unmarked surface(no odd grooves or branding!) provided the ideal base for my joint compound to stick smoothly.
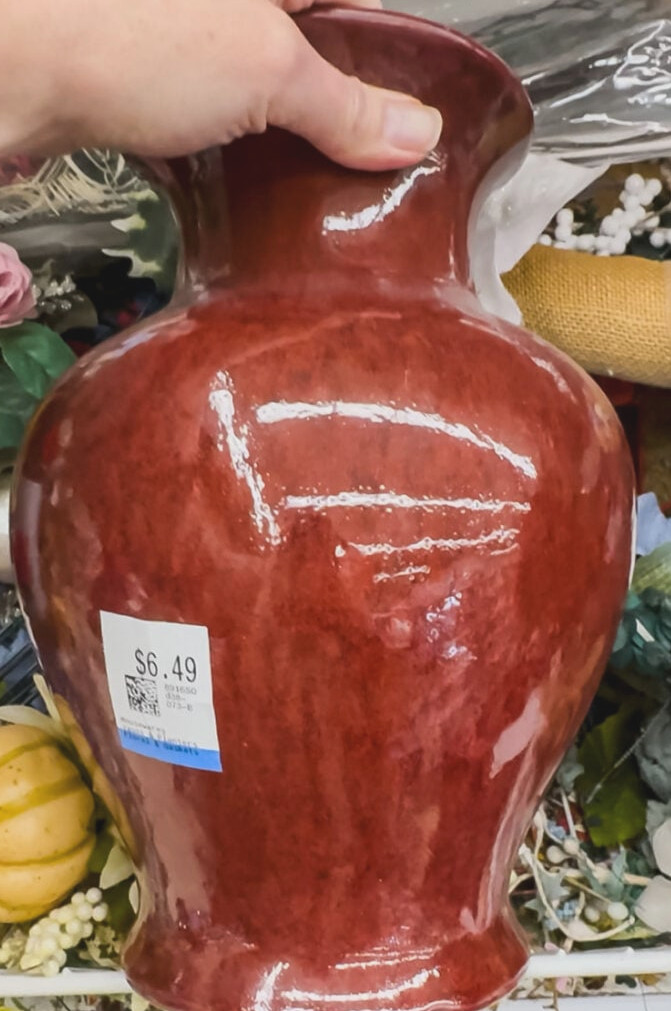
Why This Vase Showed Promise:
- Shape:That curvy profile (broad base + elegant neck) resembles upscale artisan vases
- Surface:Clean, flawless ceramic = an excellent foundation for texture
- Sturdiness:Solid enough to withstand bold texturing without falling over
- Inspection:I lifted it up to look for fine cracks (absolute dealbreakers!)
Beginner Thrifting Advice: How to Find a Hidden Gem
(My 10+ Vase Transformations Taught Me These Lessons)
SEARCH FOR:
- Substantial pieces(lightweight glass/ceramic won’t support texture)
- Basic forms(skip fluted rims or elaborate embellishments)
- Muted colors(easier to cover than brightly colored glaze)
- Broad openings(if you plan to use it for flowers!)
STEER CLEAR OF:
- Cracks (it goes without saying, leave it behind if you spot fine fractures)
- Plastic (joint compound and paint may not bond properly)
- Extremely shiny finishes (unless sanding is your favorite task)
Thrifted Vase Transformation: A Step-by-Step Guide
Oh, I nearly forgot to introduce you to the Pottery Barn pieces! These are the 2 vases inspiring today’s project:
Supplies Required
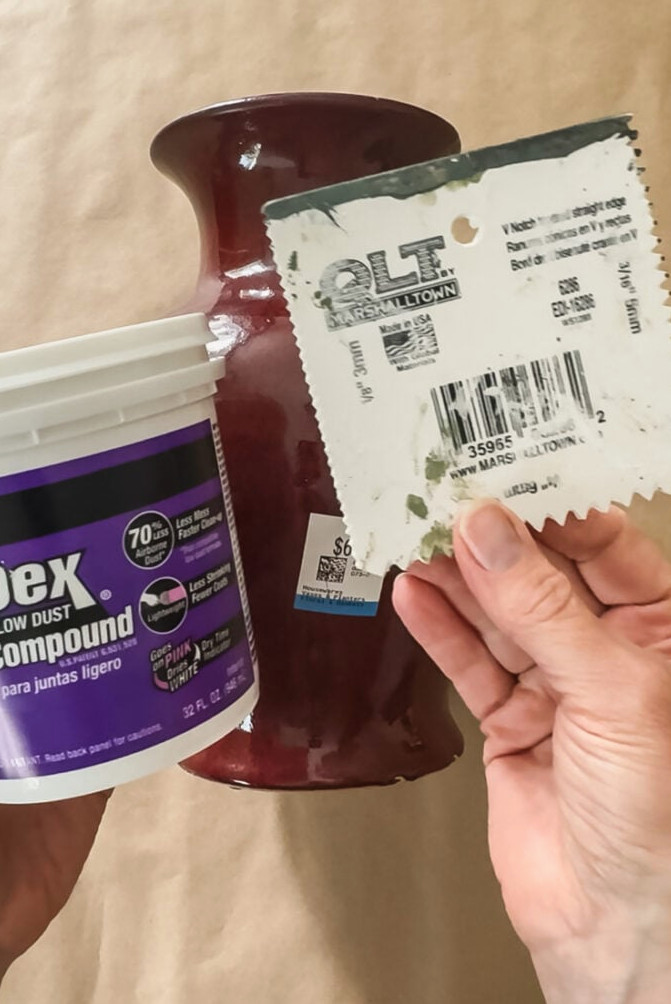
Note: Joint compound and spackling are not the same; spackling should not be used for this project.
Step 1: Create the Joint Compound Foundation
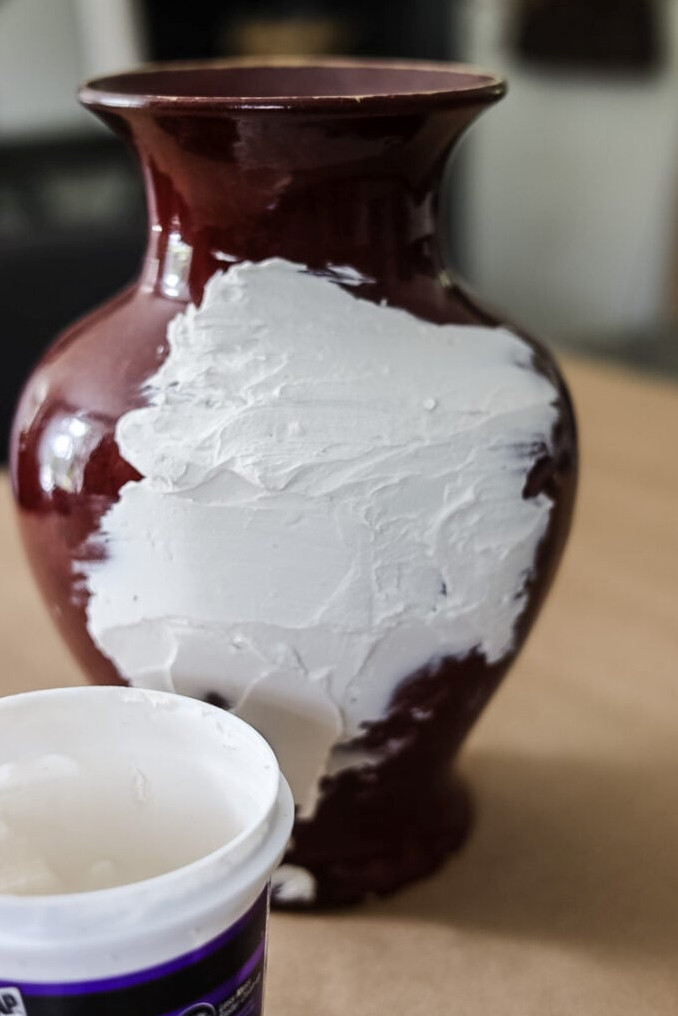
Hold your vase by theunpainted edge(this will serve as your grip!) and begin spreading on the joint compound as though you’re icing a cake—apply enough to create texture, but avoid making it so thick that it slips.
Helpful hint: As you work, use a putty knife to remove extra clumps, working toward a consistent layer(no flawless finish is necessary—an organic appearance is the aim!)
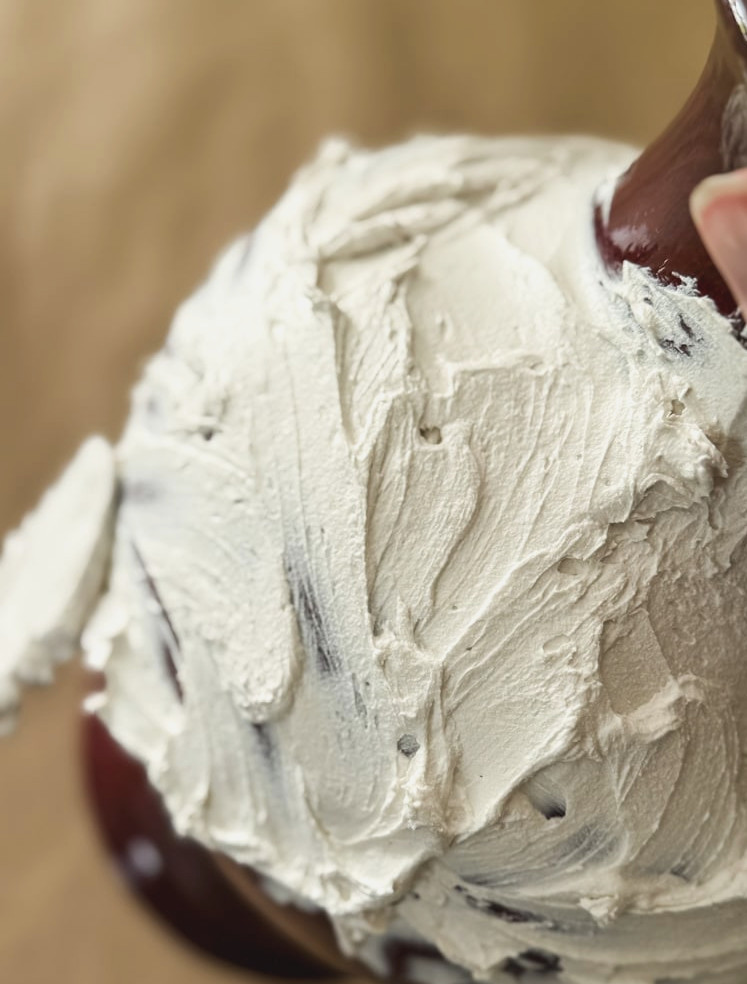
**After clearing away the excess, smooth the joint compound with a damp paper towel**
Step 2: Form the Textured Design
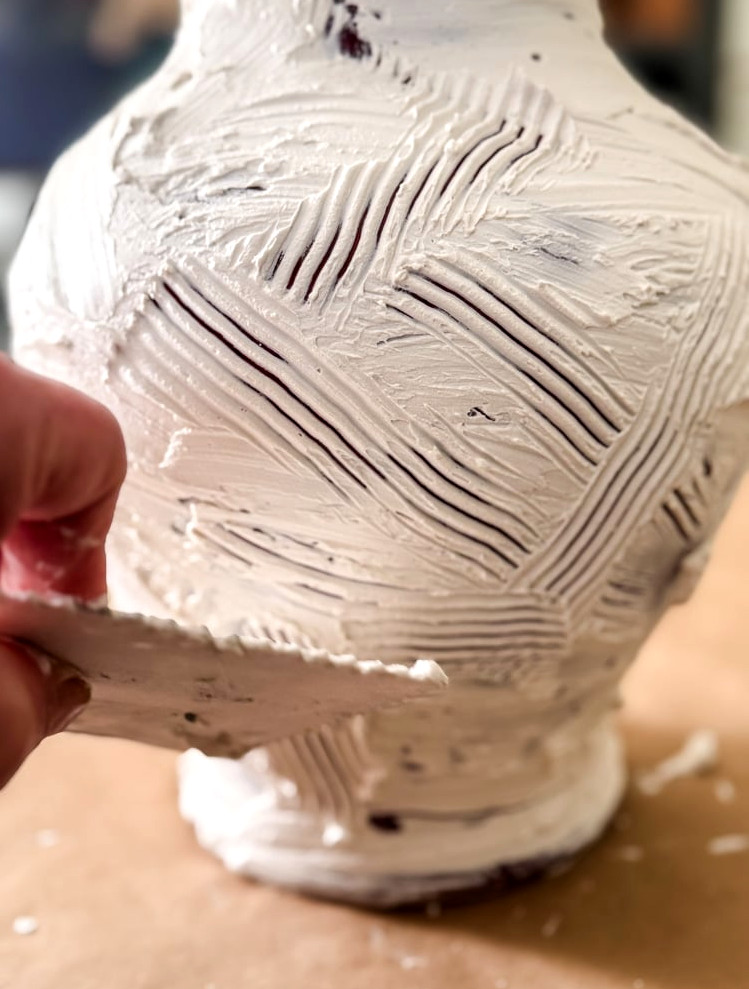
Here comes the fun part! Take your$2 serrated tiling tooland pull it across the compound in2-inch sections, switching direction with every pass (picture: north, then southwest, then east—like an abstract mosaic). Do not overlap damp areas so the pattern stays defined. The secret? Make the grooves seemspontaneous yet deliberate—just like Pottery Barn’s ‘artisan’ style!
Keep the vase’s neck and opening untouched until the end, giving yourself a place to hold it whenever necessary.
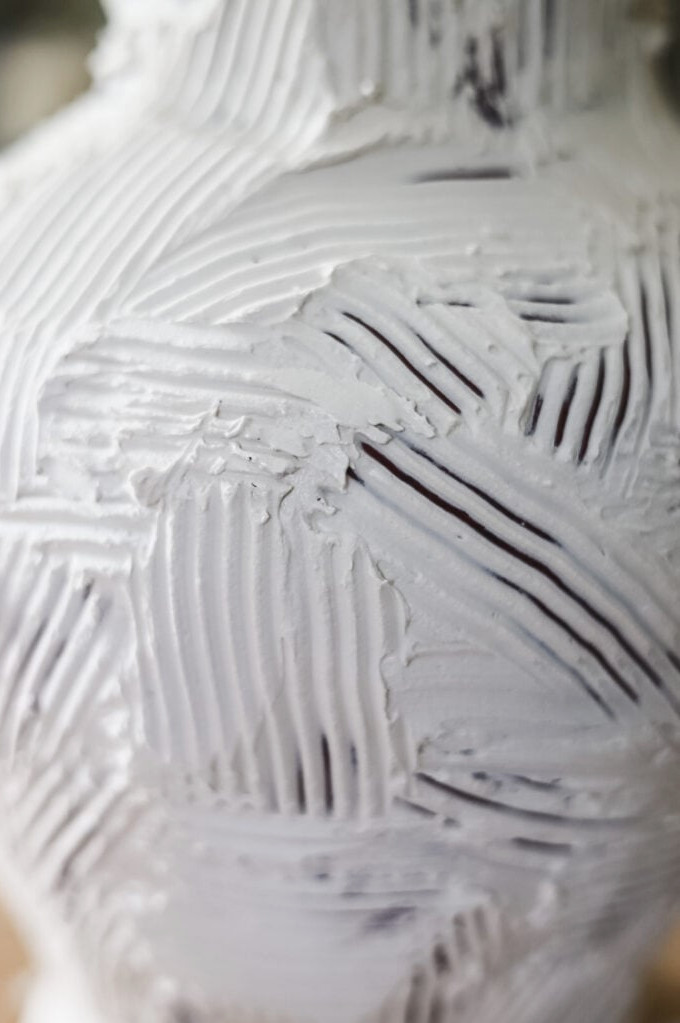
Welcome the Imperfections!
The goal of this method is anartisan, rather than factory-made, finish—so there’s no need to worry about ‘errors.’ Uneven channels? Irregular lines? They give the piece personality! If one area really bothers you:
- Flatten itusing your finger or tiling tool
- Apply additional compoundand texture the area again
- Take a step back—most ‘imperfections’ will vanish after painting!
Step 3: Smooth & Let Dry
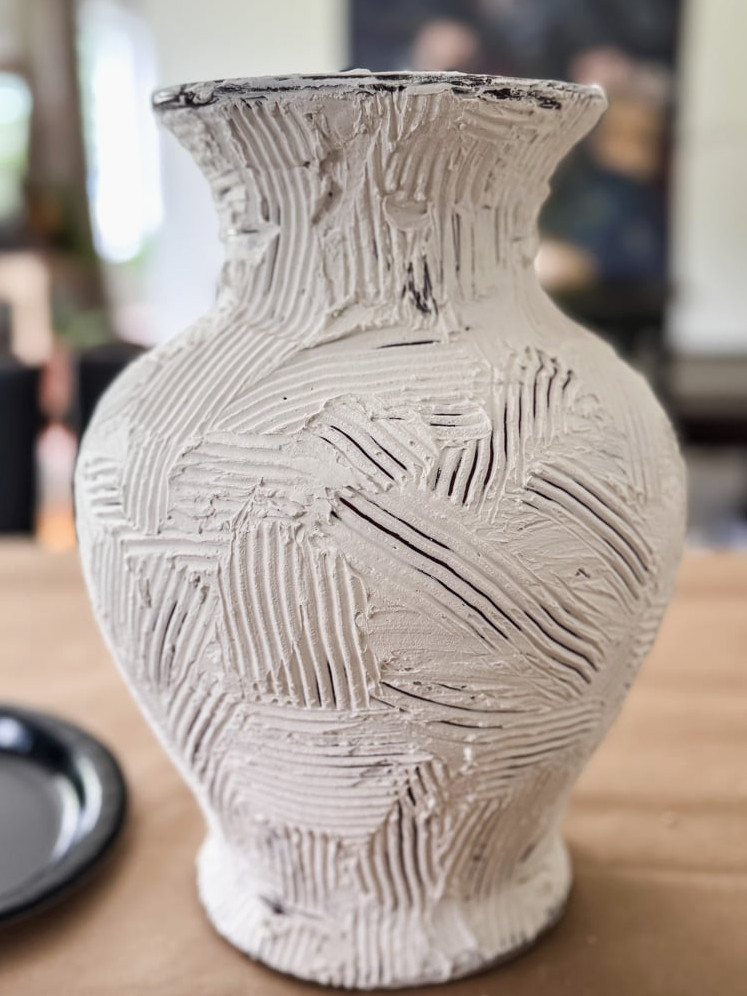
After the texture is complete, gently glide your fingers across the vase to soften any pointed ridges (unless you prefer a bolder effect). Leave it to dry overnight—during this time, the joint compound will cure into a faux-ceramicfeel.
Step 4: Paint the Vase
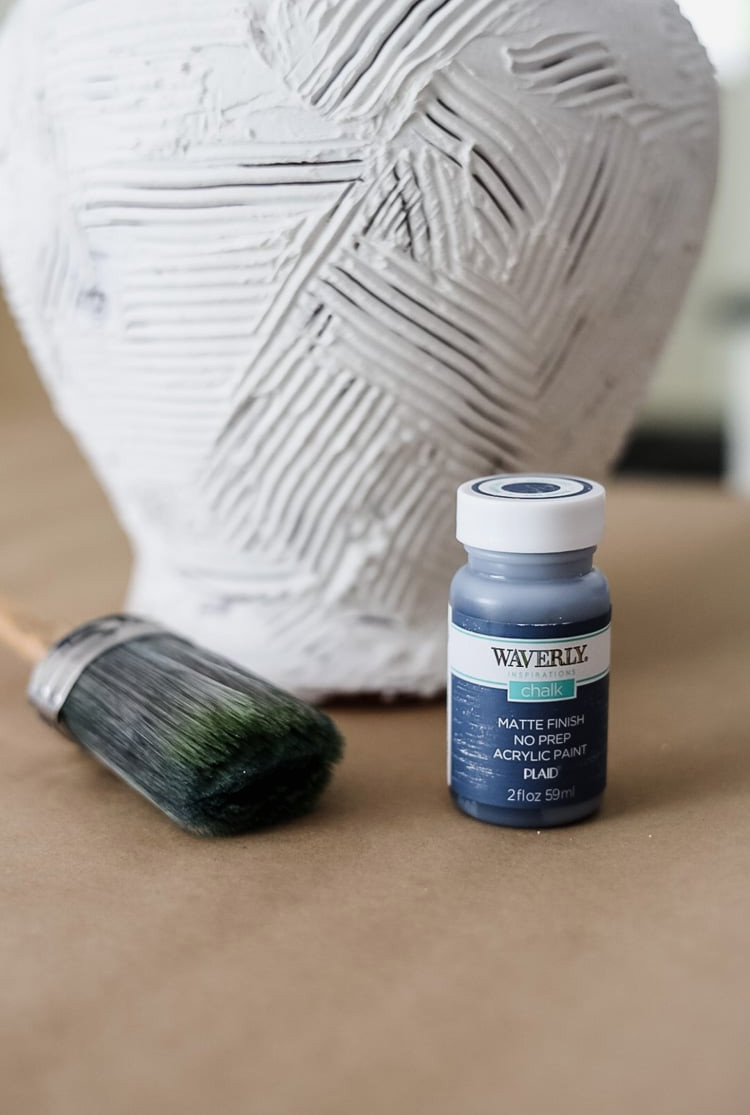
Now comes the exciting part—adding color! Although you can choose any shade you enjoy, I strongly suggestchalk paintormatte acrylic craft paintfor the smoothest results. Both adhere wonderfully to joint compound while preserving the texture you worked so hard to create
For my vase, I created a customdeep indigo blendusing:
Pro Tip:Combine yourcolor in a disposable container first – it’s simpler to fine-tune the tone before committing to the vase!
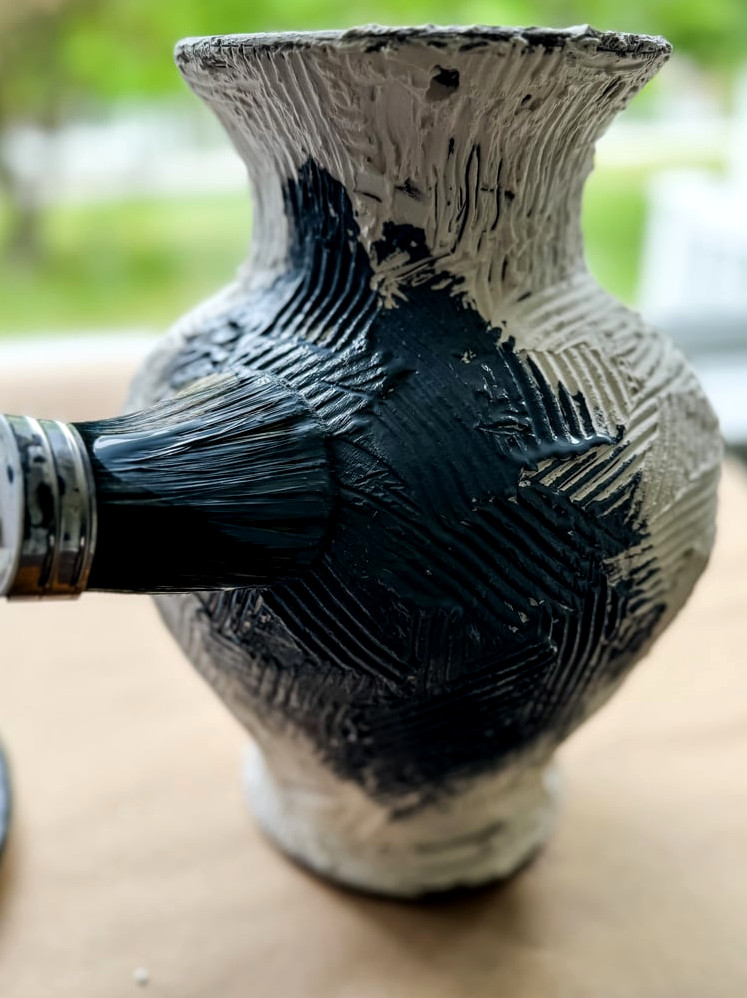
Pick up abrush loaded with plenty of paint–this is no moment for gentle dabbing! A substantial layer keeps the bristles from snagging on the texture and pulling away the joint compound. Paint one section at a time, working the color into the grooves.
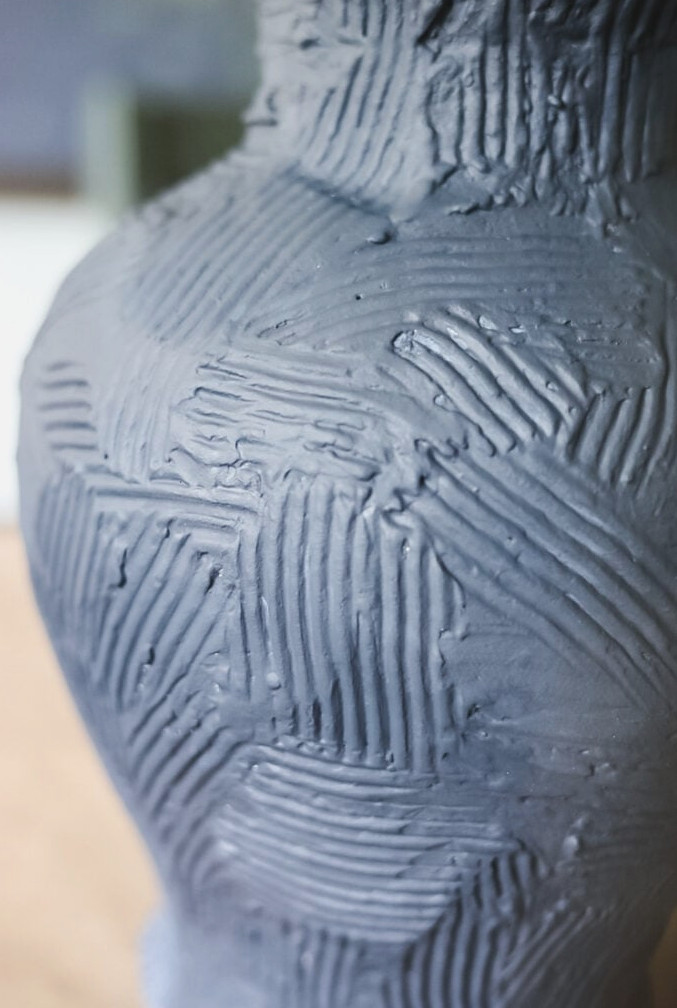
Once the initial layer has dried, examine your vase in strong lighting. You’ll probably noticepatchy spots inside the crevices(texture is great at concealing paint!). Take a small detail brush and gently cover these spaces, almost as if you’re ‘coloring inside the lines’ of those beautiful grooves.
Step 5: Preserve Your Finish (Optional but Wise!)
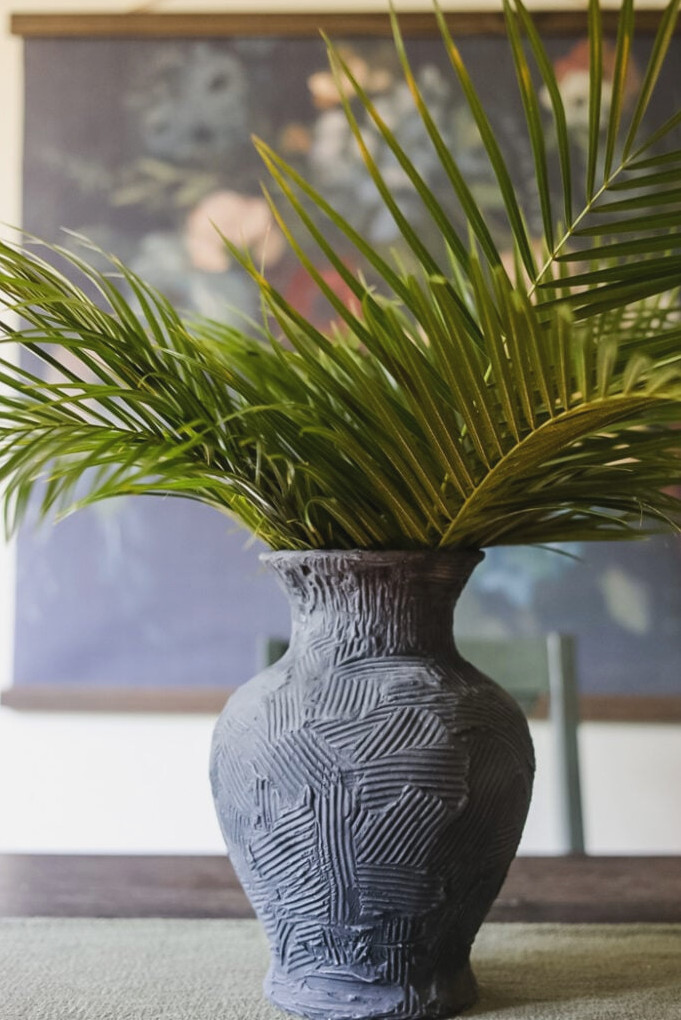
If you intend touseyour vase (perhaps for Trader Joe’s palm fronds or fresh flowers), pick up amatte transparent sealer spray. A single light application shields the chalk finish from moisture while preserving that ideal aged appearance.
My Favorite Technique:
- Bring it outdoors(seriously- never spray inside)
- Keep it 12 inches awayand spray with smooth sweeping motions
- Allow it to dry upside-downon a cardboard box (helps stop drips!)
What’s the benefit?
Protects your chalk distressingfrom water splatters
Stops paint from rubbing offif you frequently rearrange it
Provides wipe-clean resilience(dust? Simply brush it away gently!)
The Grand Reveal: From Thrift Find to Designer Look
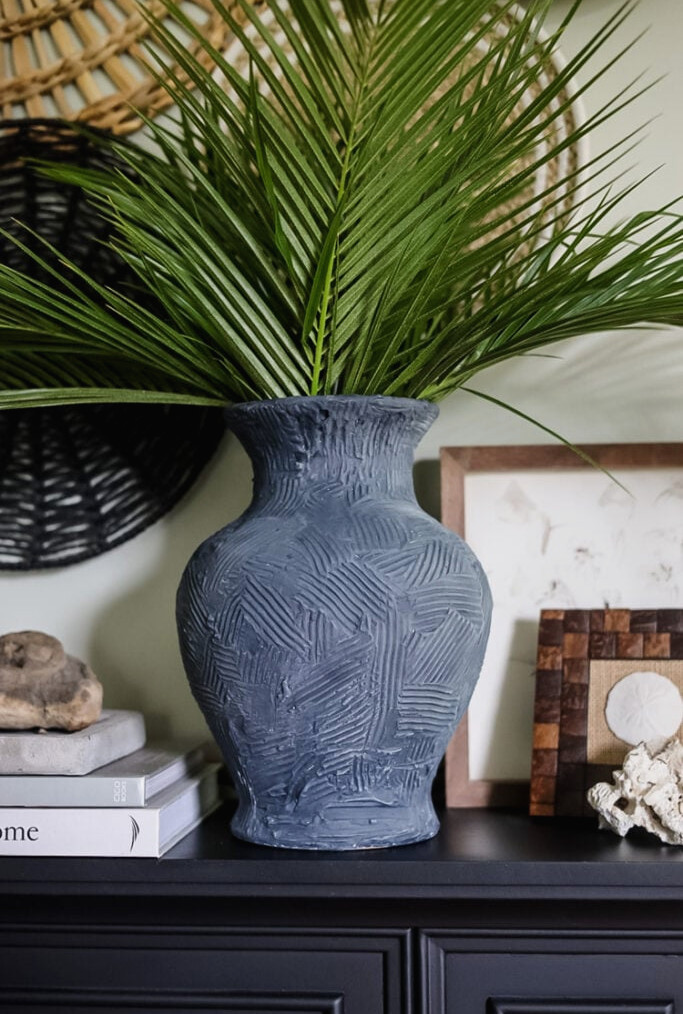
I styled my creation withtowering palm fronds(Trader Joe’s $5 find!) and placed it on my mantel. The textured indigo contrasts beautifully with thewoven wall basketsbehind it(another PB lookalike-my $65 version of their $500 display)
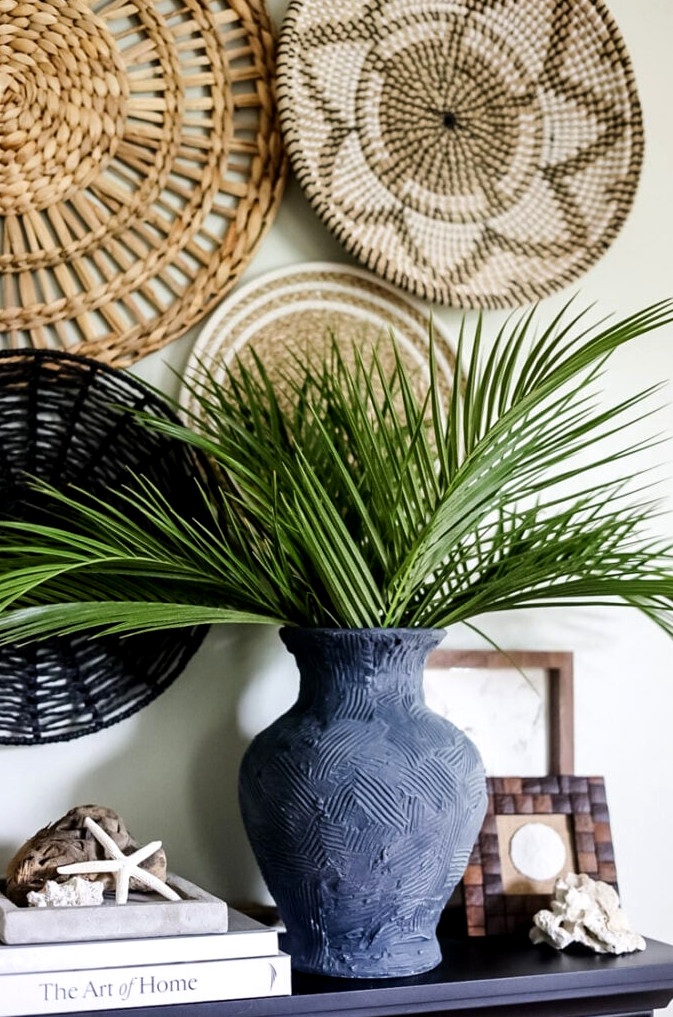
Who would imagine a$6 vase, a little joint compound, and a$2 tiling toolcould compete with Pottery Barn’s textured pottery? This makeover delivers everything I want:
- Easy on the wallet & supplies are simple to locate
- Remarkably simple(no advanced abilities needed)
- Completely revitalizing(that indigo chalk paint?Absolutely perfect)
Now give it a try!I’d be thrilled to see your take on it. Will you choose a dramatic blue like mine, or select a different shade? (P.S. For more ideas, explore some of my other vase makeoversfor even more secondhand-store magic.)
Have your projects showcased! If this project or any of my other DIY ideas inspires you, I’d be delighted to see your work and include you in the Reader’s Spotlight gallery. Email a photo to me at jennifer@cottageonbunkerhill.com
xo, Jennifer
Fine Art Printables
29 Complimentary Downloads
available exclusively to email subscribers

pretend until you succeed
17 Pottery Barn
DIY Projects for Inspiration