OMG, there is just 1 week remaining to finish this Office & Craft Room Makeover! And I have nearly used up my budget.
Well, $100 disappears pretty fast, but I am proud of how thoughtfully I’ve spent it. The largest purchase, a $32 sheet of plywood, was used for 3projects. I think I got my money’s worth.
I also made great use of the wood scraps piling up in my garage. I have always hated throwing away anything larger than a couple inches, and now I am happy I saved it.
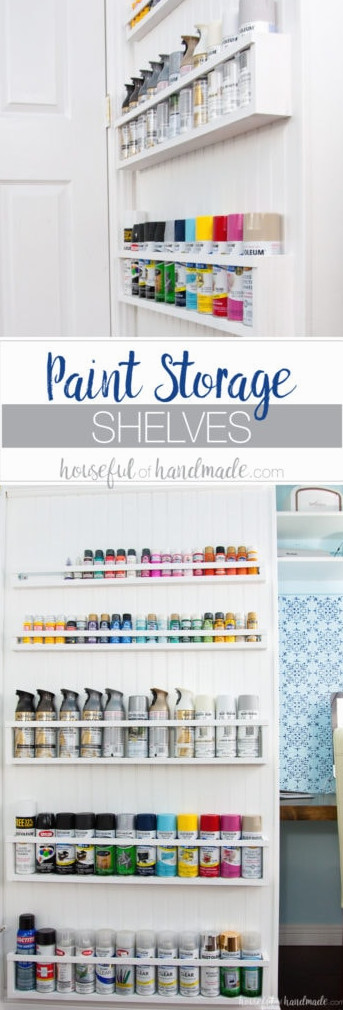
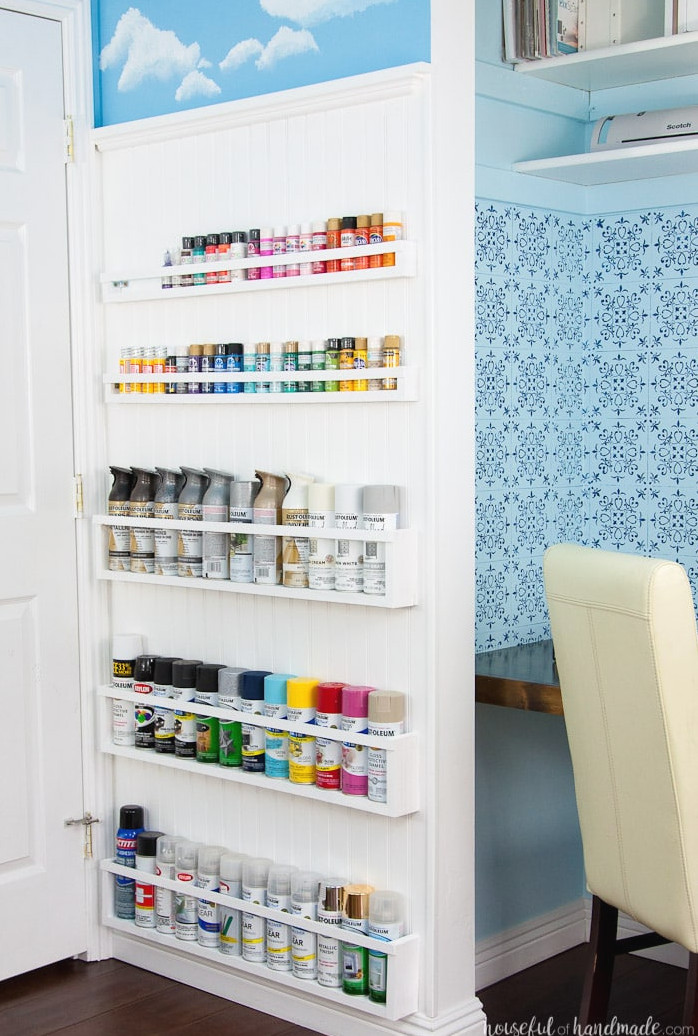
Last week I managed to create this DIY paint storage entirely from scraps of unattractive, warped wood that I had been saving for the right opportunity.
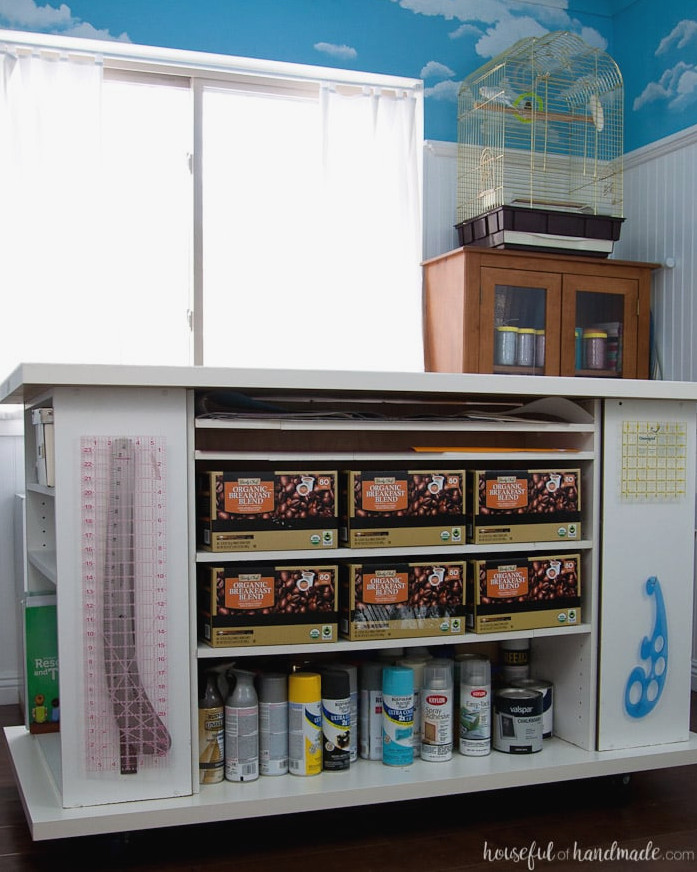
When I made the rolling workstation from a few old bookcases, I packed the bottom shelf with my spray paint cans. It seemed like an ideal spot to keep them.
As I transferred the remaining cans that had been stored randomly around my garage, I realized this wasn’t the most effective arrangement. Now, though, I have rotating spray paint storage in the garage to help control the overflow.
Apparently, I owned much more spray paint than I realized. I also appeared to have plenty of duplicates because my previous storage method was far from ideal.
While I was in the garage constructing the farmhouse console table for the room, I discovered a scrap of 1×10 that was approximately 40″ long. However, it was warped and twisted, so it was not suitable for a larger project.
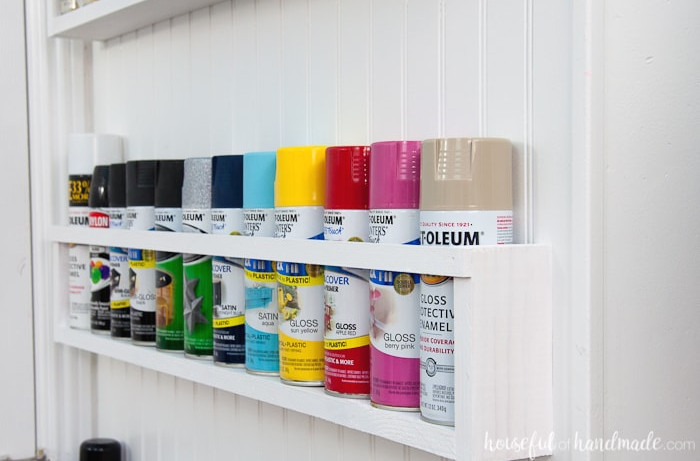
Normally, I would hesitate to cut up a bigger board like this, but since it was sitting unused, I decided to transform it into the ideal DIY Paint storage solution for my new office & craft room.
I was quite thrilled to complete this project using wood scraps and leftover white paint. But when it was time to mount my fantastic DIY paint storage shelves, I realized I had no suitable option without spending a few dollars.
So I hurried to Home Depot and picked up some 1″ L-brakets. Fortunately, the package of 20 cost only $7.50. I decided it was worthwhile for such a useful storage solution.
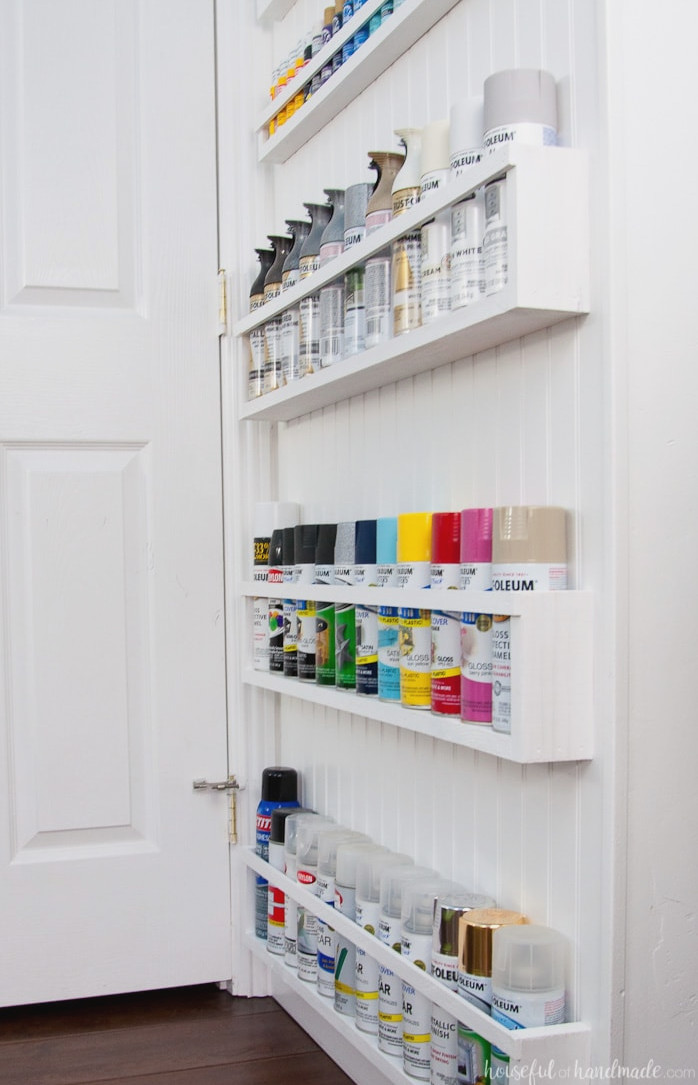
So, altogether, I finished this project for just $7.50! If you have been unsure about adding a table saw to your collection of tools, perhaps this post will persuade you.
Honestly, I am not sure I could have completed all the budget-friendly DIYs so easily without it. It lets you accomplish so many projects with scrap materials.
If you would like to learn how I made this incredibly simple DIY paint storage solution for the $100 Room Challenge, continue below for the complete tutorial.
How to Create DIY Paint Storage Shelves
Supplies:
- 2 3/4″ wide boards for spray paint storage
- 1 3/8″ wide boards for craft paint storage
- 1/4″ wide strips of wood for shelf braces
- 1″ L-brakets
- Table saw
- The table saw is necessary for ripping the boards to the required widths. If you do not own a table saw, you can build these using standard-width boards, although they will be deeper than necessary.
- Nail gun and finishing nails
- Wood glue
- Paint
- Screws
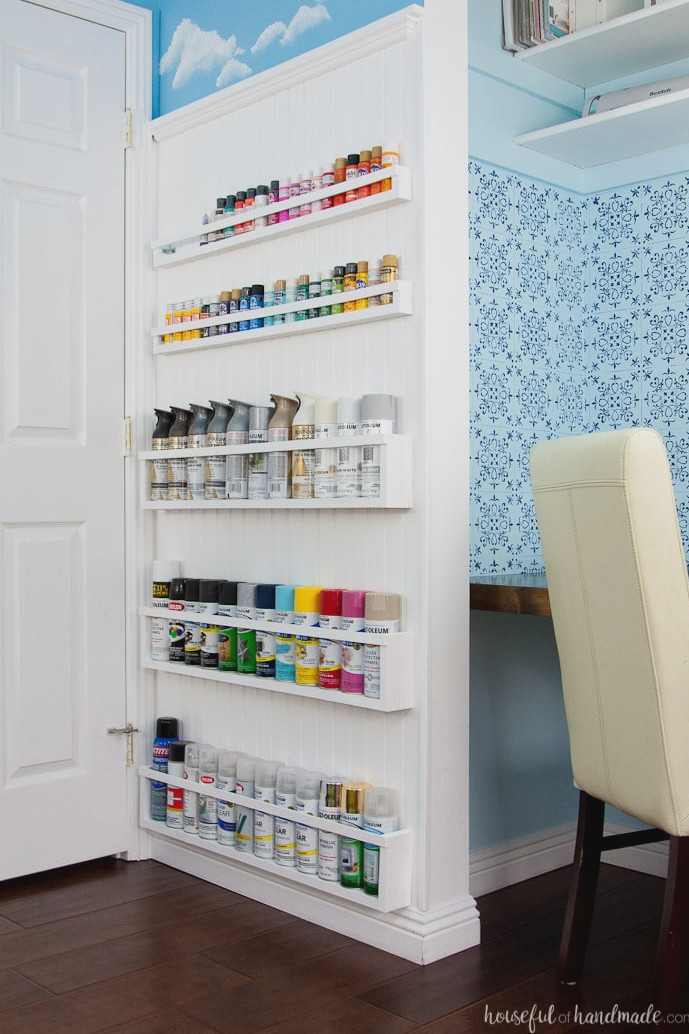
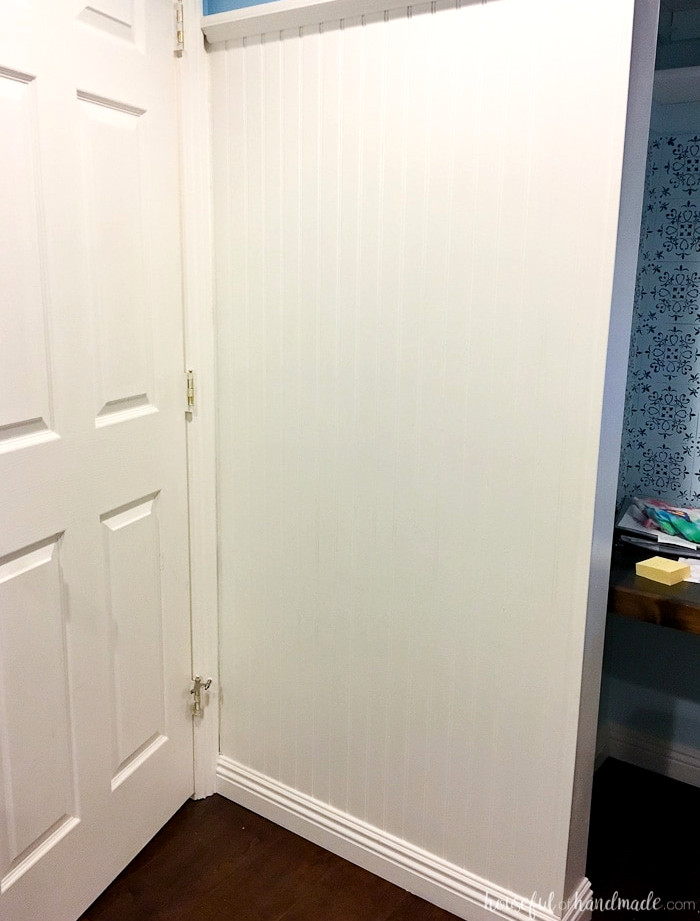
These are truly among the simplest woodworking projects. I almost feel a little silly writingthis tutorial. I decided to place my DIY paint storage shelves behind my door. Just see all this unused space waiting for a project.
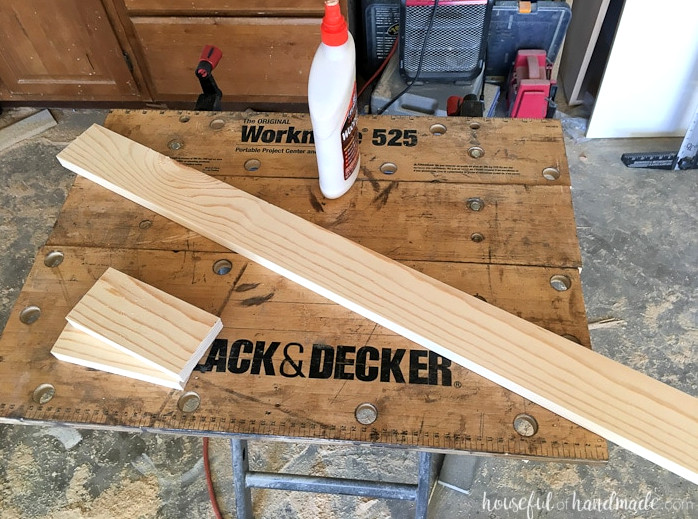
Begin by ripping the boards to the necessary widths with the table saw. Save the remaining board edges to use as the front brace.
Choose the desired length for your DIY paint storage shelves. Cut one piece of wood to that measurement minus 1 1/2″ (to allow for the boards attached to the ends). Cut 2 boards measuring roughly 1/2-2/3 the height of you paint cans/jars.
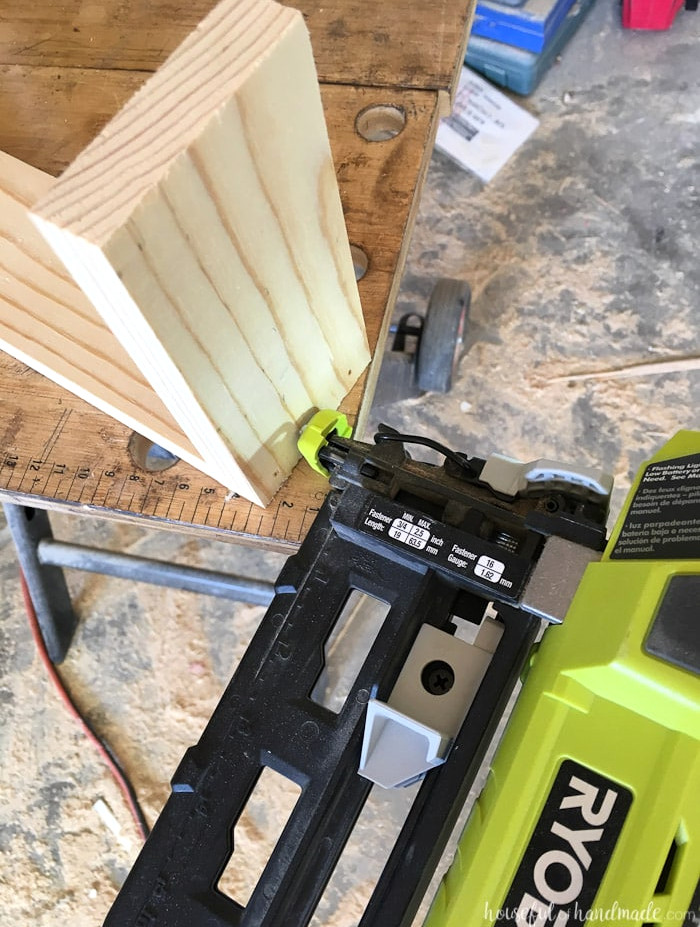
With wood glue and finishing nails, secure the shorter boards to the ends of the larger board. Be sure that everything is flush along the bottom.
Trim a 1/4″-thick board to match the complete length of the paint shelves. Apply wood glue and finishing nails to fasten it across the shelf front, keeping it even with the upper edges of the shelf sides.
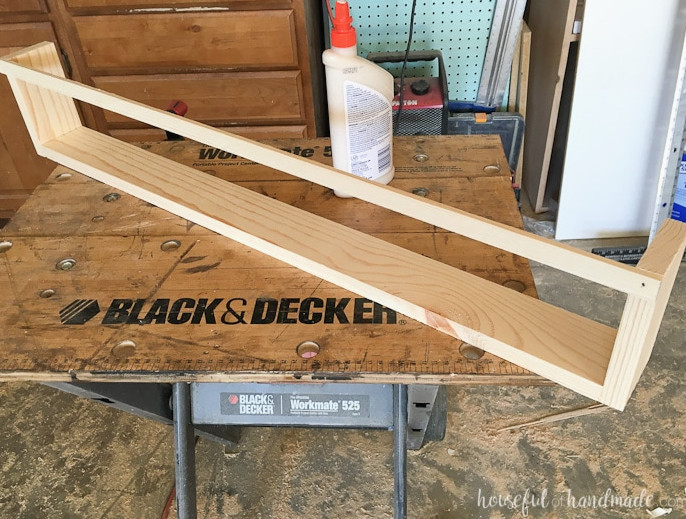
Next, smooth the shelves with sandpaper and apply your chosen finish. I painted mine to coordinate with the wall.
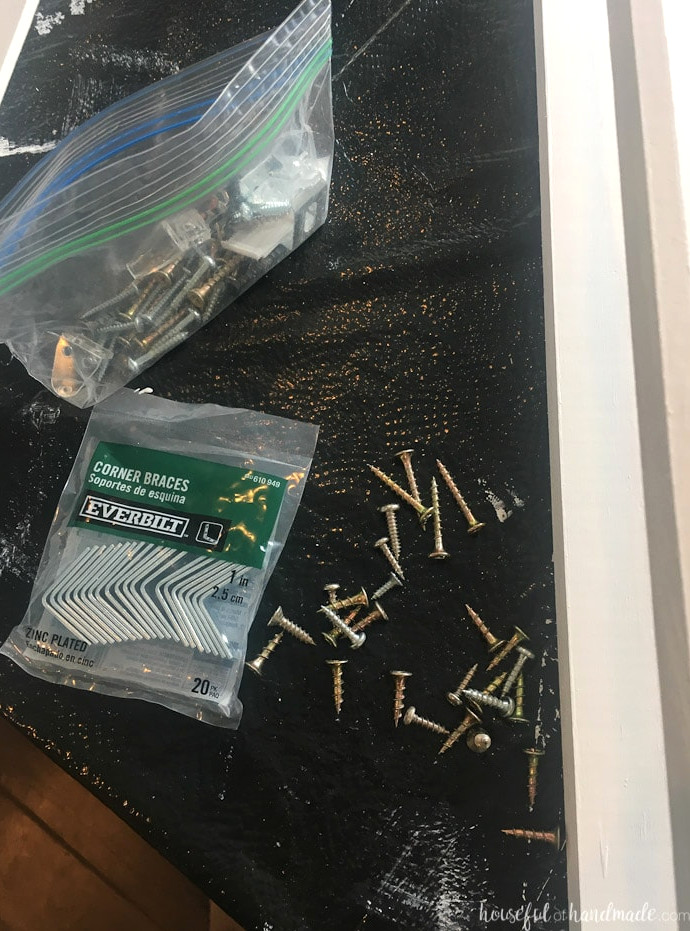
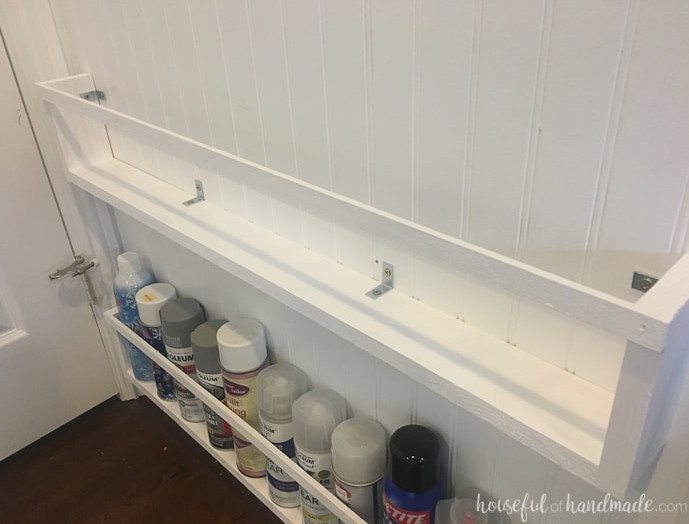
For wall installation, position the L-brackets inside the shelves so they remain concealed once the shelves are loaded with paint. Fasten them to the DIY paint shelves using 1/2″ wood screws, then attach them to the wall with 1 1/2″ wood screws. Be sure to anchor them into a stud, or install drywall anchors, to prevent the shelves from falling later.
When installing the shelves, remember to provide sufficient clearance between them so paint containers can be placed in and taken out easily. I set a paint can on top of the shelf side to ensure it would clear the support, then installed the following shelf 2″ higher.
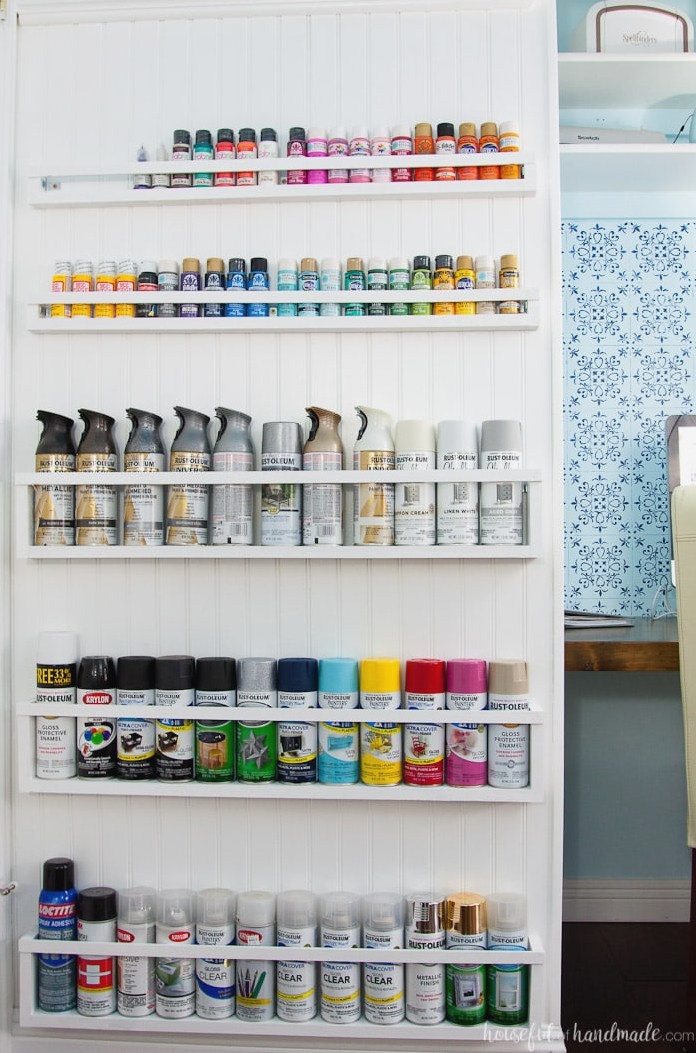
Once that is done, fill the DIY paint shelves with your entire paint collection! I realized I have enough topcoat, including numerous sheen choices, for several upcoming projects. I also apparently need to stop picking up Mod Podge bottles every time I spot one at the dollar store. My husband pointed out that I had plenty of gray, so I explained that each one creates a different metallic finish. Boys!
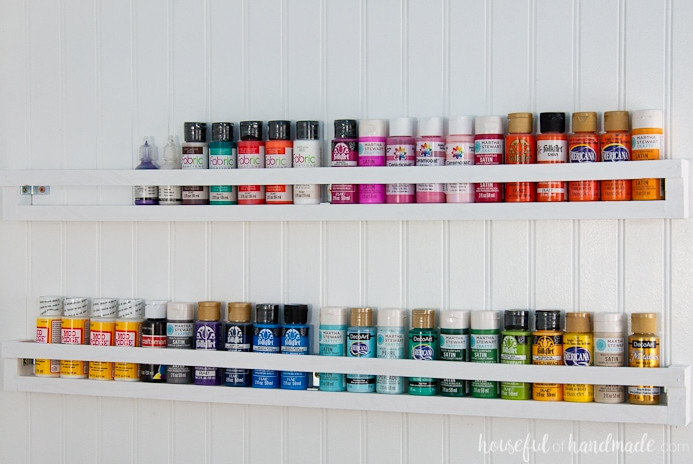
Most importantly, keeping everything arranged and visible will help me spend less on future projects. Rather than purchasing additional supplies, I can now use the materials I already own.
Now, let’s review what was finished this week and see where the budget currently stands…
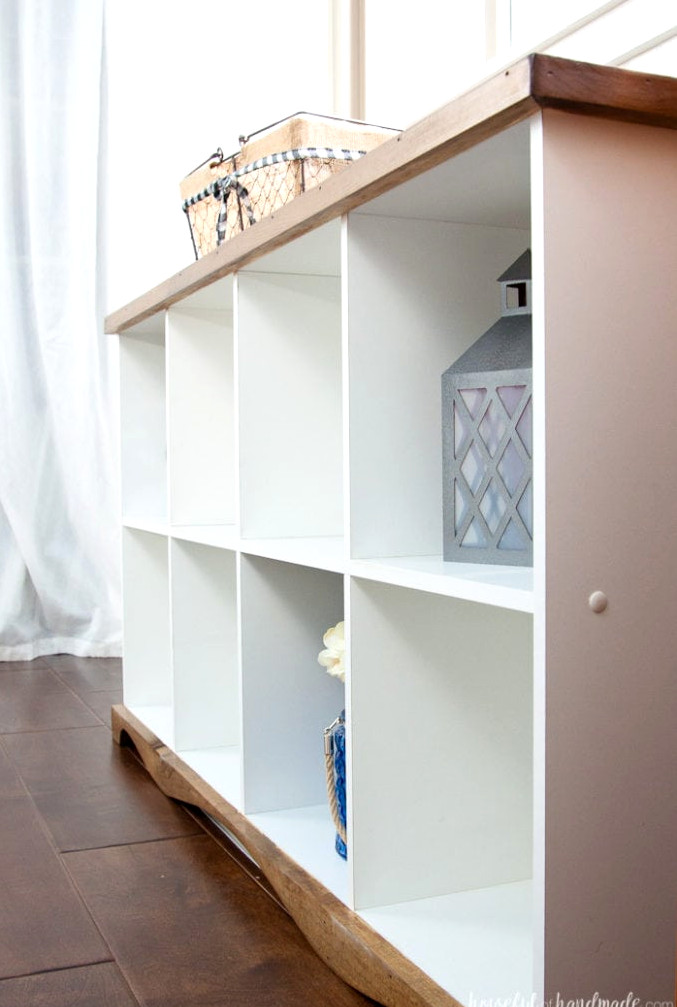
During the past week, I took a short break from my projects because the sun was out and we enjoyed the first signs of spring! It’s fortunate that we have five weeks this month. Even so, I found some time to work and finished transforming the cube bookcase. I still can’t believe how fantastic that old piece looks now!
I also began making the sewing table legs, worked on an ironing board and iron storage idea, and started dressing up the coffee boxes in the rolling worktable. Thankfully, my husband and I both love coffee, so the supply of boxes keeps growing. Now I only need to dedicate a day to arranging everything inside them. I’m excited to show you these projects!
So, how is the budget looking?
TOTAL SPENT $87.50
That gives me just $12.50 left to complete my room! Yikes. Below is the remaining project list. I’m fairly certain the desk sconces will need to be removed because of the limited time and funds. I also decided to place my photography gear on the closet’s upper shelf since I didn’t enjoy having it visible. Whether I have enough suitable fabric in my stash to re-cover the desk chair remains uncertain.
Desk Sconces- Paint walls/ceiling
- Paint glass front cabinet
Find a way to organize photography/lighting equipment- Iron/ironing board storage
- Re-cover desk chair ???
- Decor
This weekend, I plan to complete the storage boxes and sewing table legs, then paint the sewing table and curio cabinet. Next week, I’ll bid farewell to the clouds and attempt to bring in a little decoration with my very small budget.
I’m looking forward to showing you the finished room next week, followed by a much-needed break!