Embrace the holiday mood by discovering how to create a Christmas paper chain. Make a simple, inexpensive decoration for your home or Christmas tree! Kids and grown-ups will both enjoy this activity.
Skills Required: None. You don’t need any previous crafting experience to make these chains. Simply cut the paper, join the ends, and connect the loops.
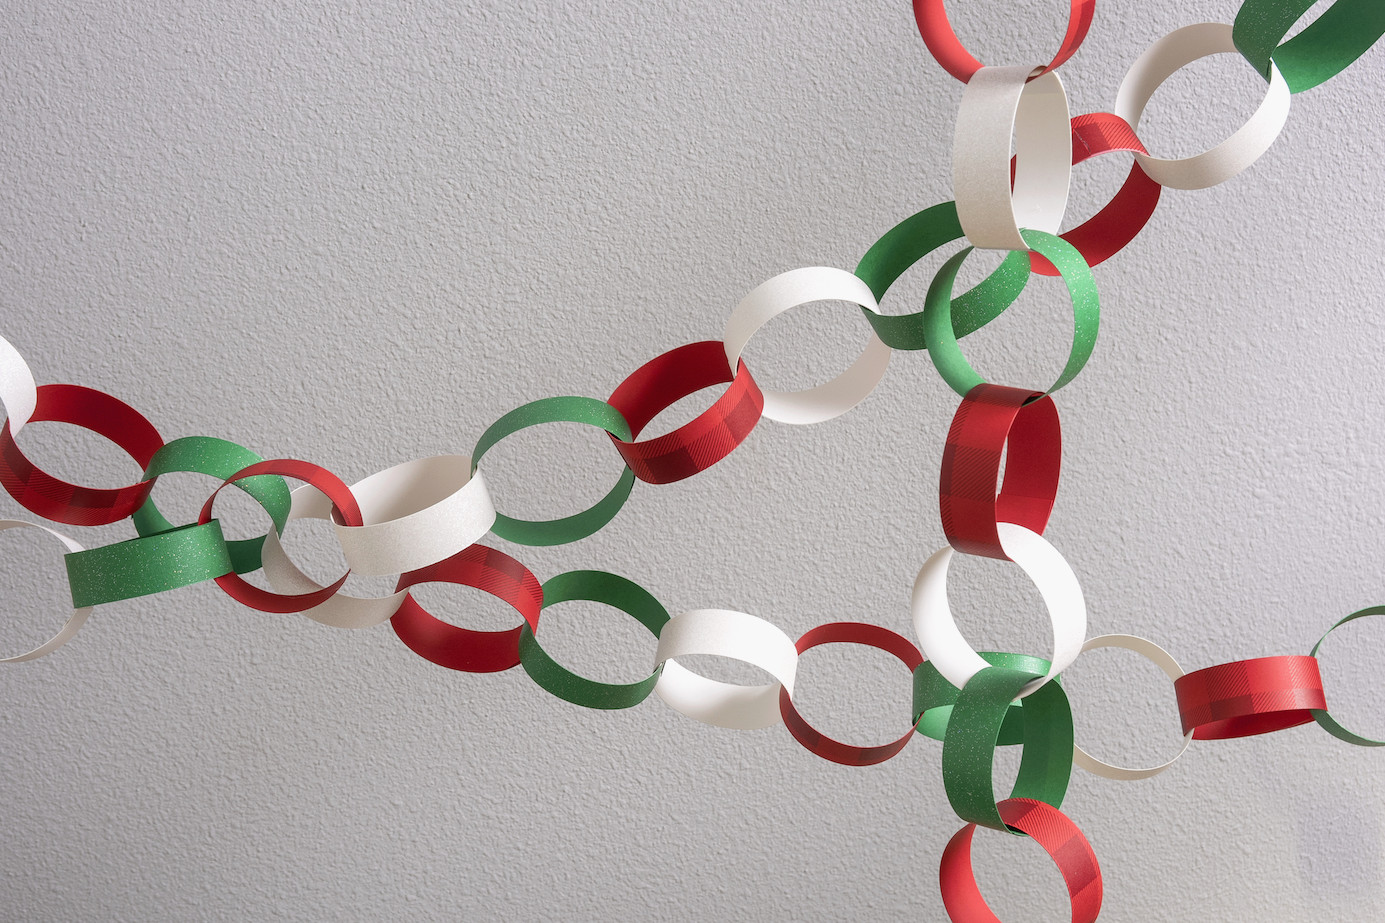
The festive season offers an ideal opportunity to get crafty and adorn your home with homemade Christmas decorations! As you can probably guess, I’m a big fan. Today, I’ll demonstrate how to make a Christmas paper chain.
Let’s be honest: paper chains have existed for ages! They aren’t a new idea. Ever since construction paper was created and people began enjoying paper crafts . . . paper chains have been popular.
They remain popular because they’re simple to create, even for complete beginners. They also bring back memories of making crafts at school. Who didn’t create one when they were young?
This uncomplicated but delightful craft brings holiday joy to any space, and best of all, it’s remarkably easy to put together.
A project like this is useful for much more than Christmas. Paper chains work wonderfully as home decorations, birthday party accents, shower decor, classroom embellishments, and even wedding decorations.
Depending on the paper you select, they can look relaxed or elegant. No matter which supplies you decide on, they’re inexpensive to make. The essential material? Paper.
Once complete, suspend your paper chain from the ceiling, stretch it along a mantel, or use it as garland on the Christmas tree. Smaller chains can also be made to embellish holiday cards and gift packages.
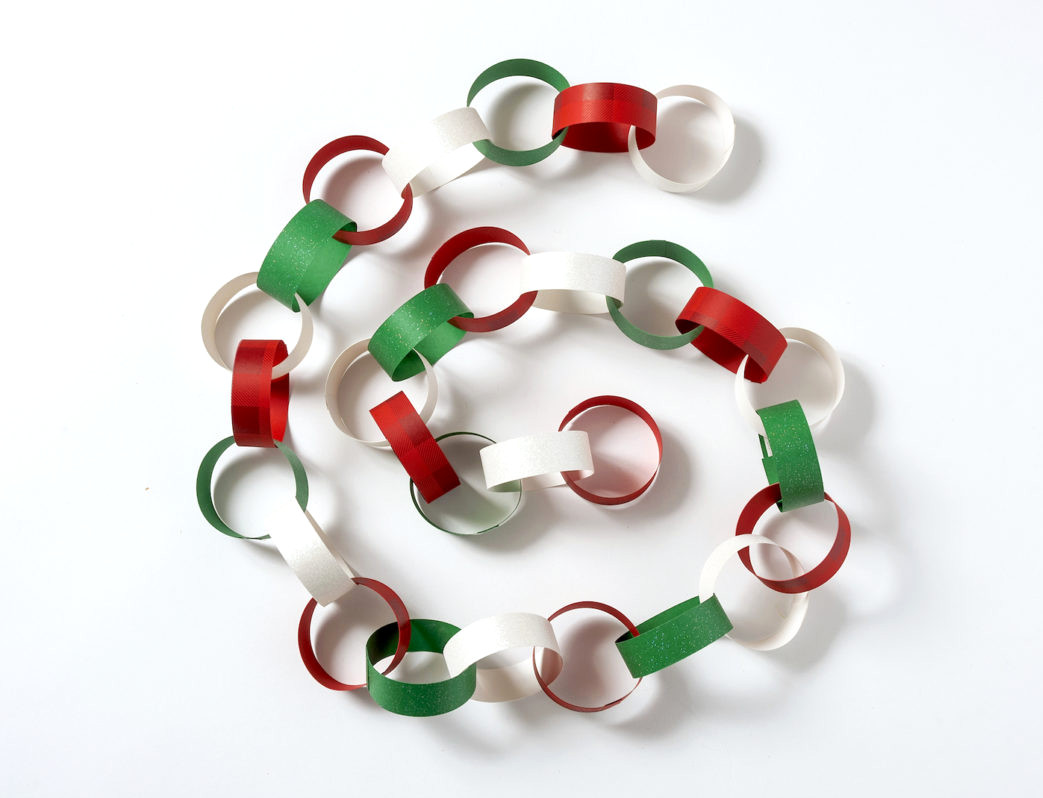
Before explaining how to assemble the chain, I’ll address several common questions about this craft. If you’re ready for the instructions, scroll down to the how-to card at the bottom.
Q: What is a paper chain and what is it used for?
A: A paper chain is an uncomplicated but eye-catching craft created by looping and connecting strips of paper. It is commonly used for decorations and festive occasions. Both children and adults can enjoy this engaging, hands-on project.
Q: How do you make a paper chain?
A: Begin by selecting your paper colors and varieties, then cut the strips, form a starter loop, and continue adding additional loops. I’ll guide you through this easy four-step method (and there’s a video as well).
Q: Can you use different materials to create one?
A: Absolutely. Construction paper, cardstock, wrapping paper, paper bags, and recycled items such as magazine pages can all be used. Make sure the material bends easily enough to form loops and remains sturdy enough to keep its shape (reinforce it if necessary).
Q: How can I make my chain more unique and personalized?
A: Give your chain an individual style by selecting paper in various colors, designs, or textures. You can also try changing the width, length, and shape of the strips.
For additional seasonal character, consider using old Christmas cards or leftover wrapping paper.
Q: How do I store and reuse my paper chain if I want to keep it?
A: Gently fold or coil the chain, being careful to avoid flattening the loops. Keep it inside a resealable plastic bag or airtight container to shield it from dust and humidity. Place it somewhere cool and dry, away from direct sunlight, to help prevent the colors from fading. When you’re ready to use it again, simply unfold or unroll it and hang it wherever you like.
Here are the materials you’ll need for this craft.
Gather These Supplies
- Construction paper or cardstock
- Stapler or Glue Dots or glue (school glue, glue stick, or hot glue too)
- Ruler
- Pencil
- Scissors or craft knife
I like using cardstock because it offers greater thickness and support.
There are multiple ways to join the paper ends and form the loops. The options used most often include adhesive dots, glue, and a stapler.
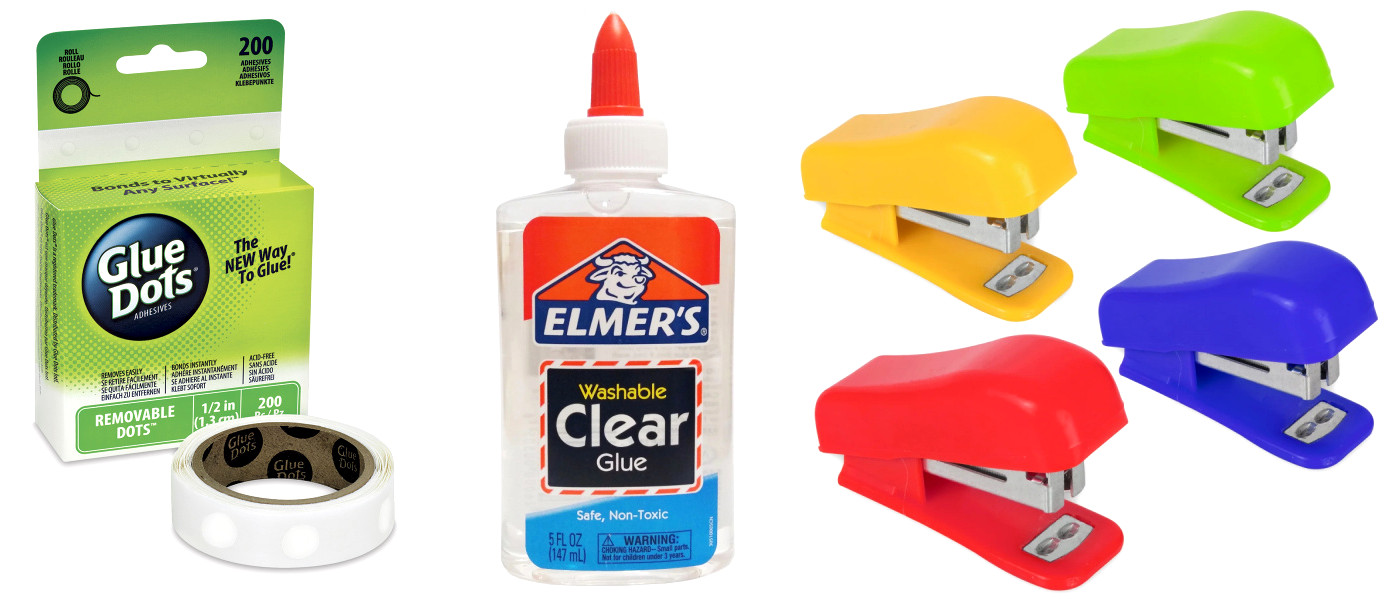
Glue Dots, also known as adhesive dots, are useful because they create no mess and remain hidden. They’re also simple to use. They may be the priciest choice, although they’re still fairly affordable.
Glue is another excellent choice, especially when crafting with children. Hot glue, liquid glue, or glue sticks can all work. With this method, you’ll need to keep the paper together until the adhesive sets, so choose quick-tack glue when working with young children who may become restless.
As a final option, you can reach for a stapler when necessary. The staples are somewhat noticeable, and the paper edges may not lie completely flat, but they’re a handy solution when you’re in a hurry!
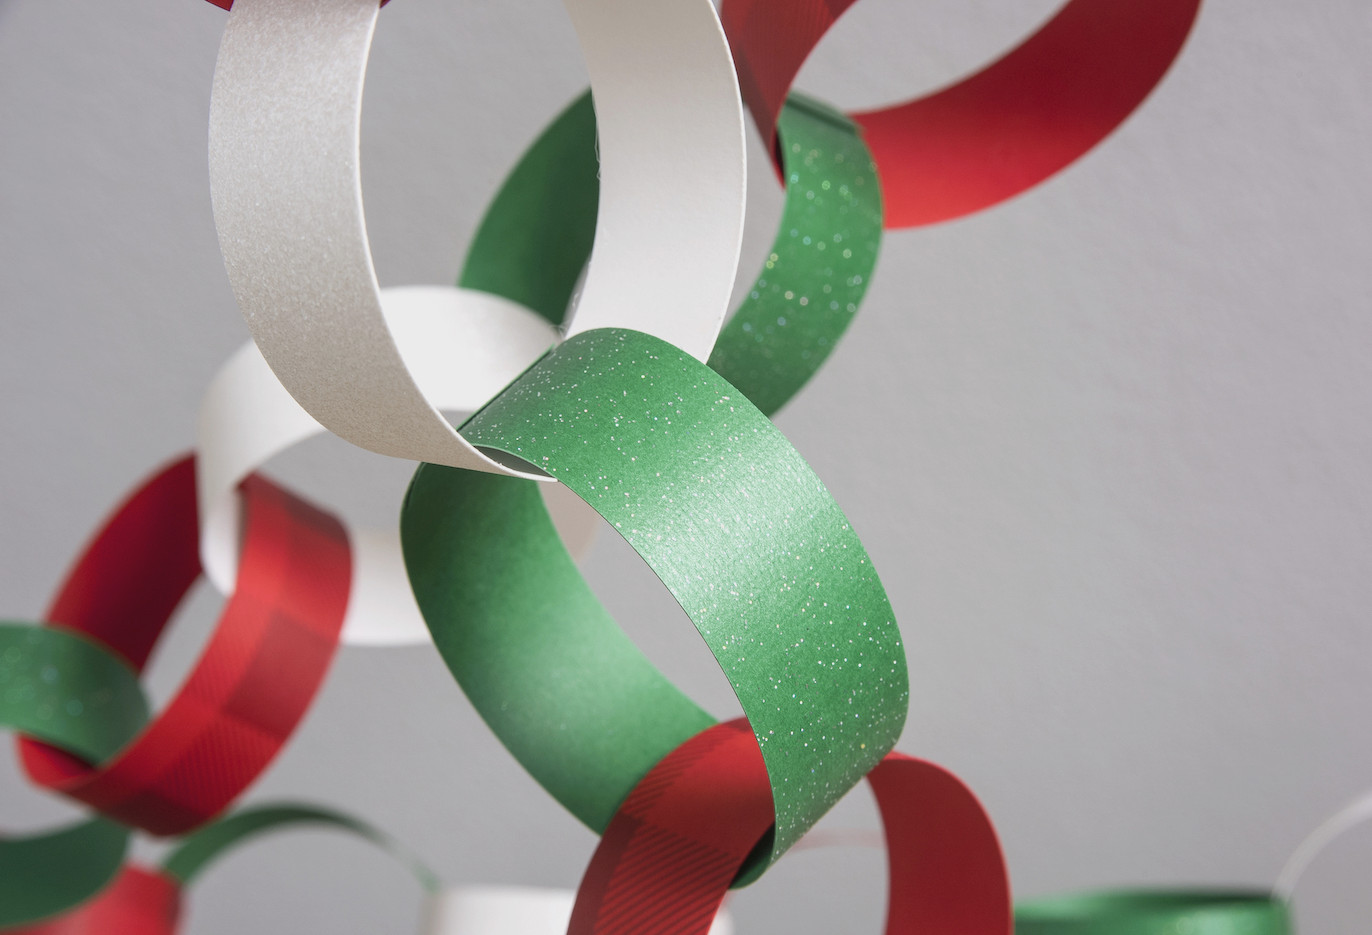
Ready to create your Christmas paper chain? Find the instruction card and video below!
Christmas Paper Garland
Looking for an enjoyable project to share with the children or hoping to give your festive decorations a handmade feel? This simple paper chain craft is bound to bring smiles.
Makes: 3 chains
Price: $1
-
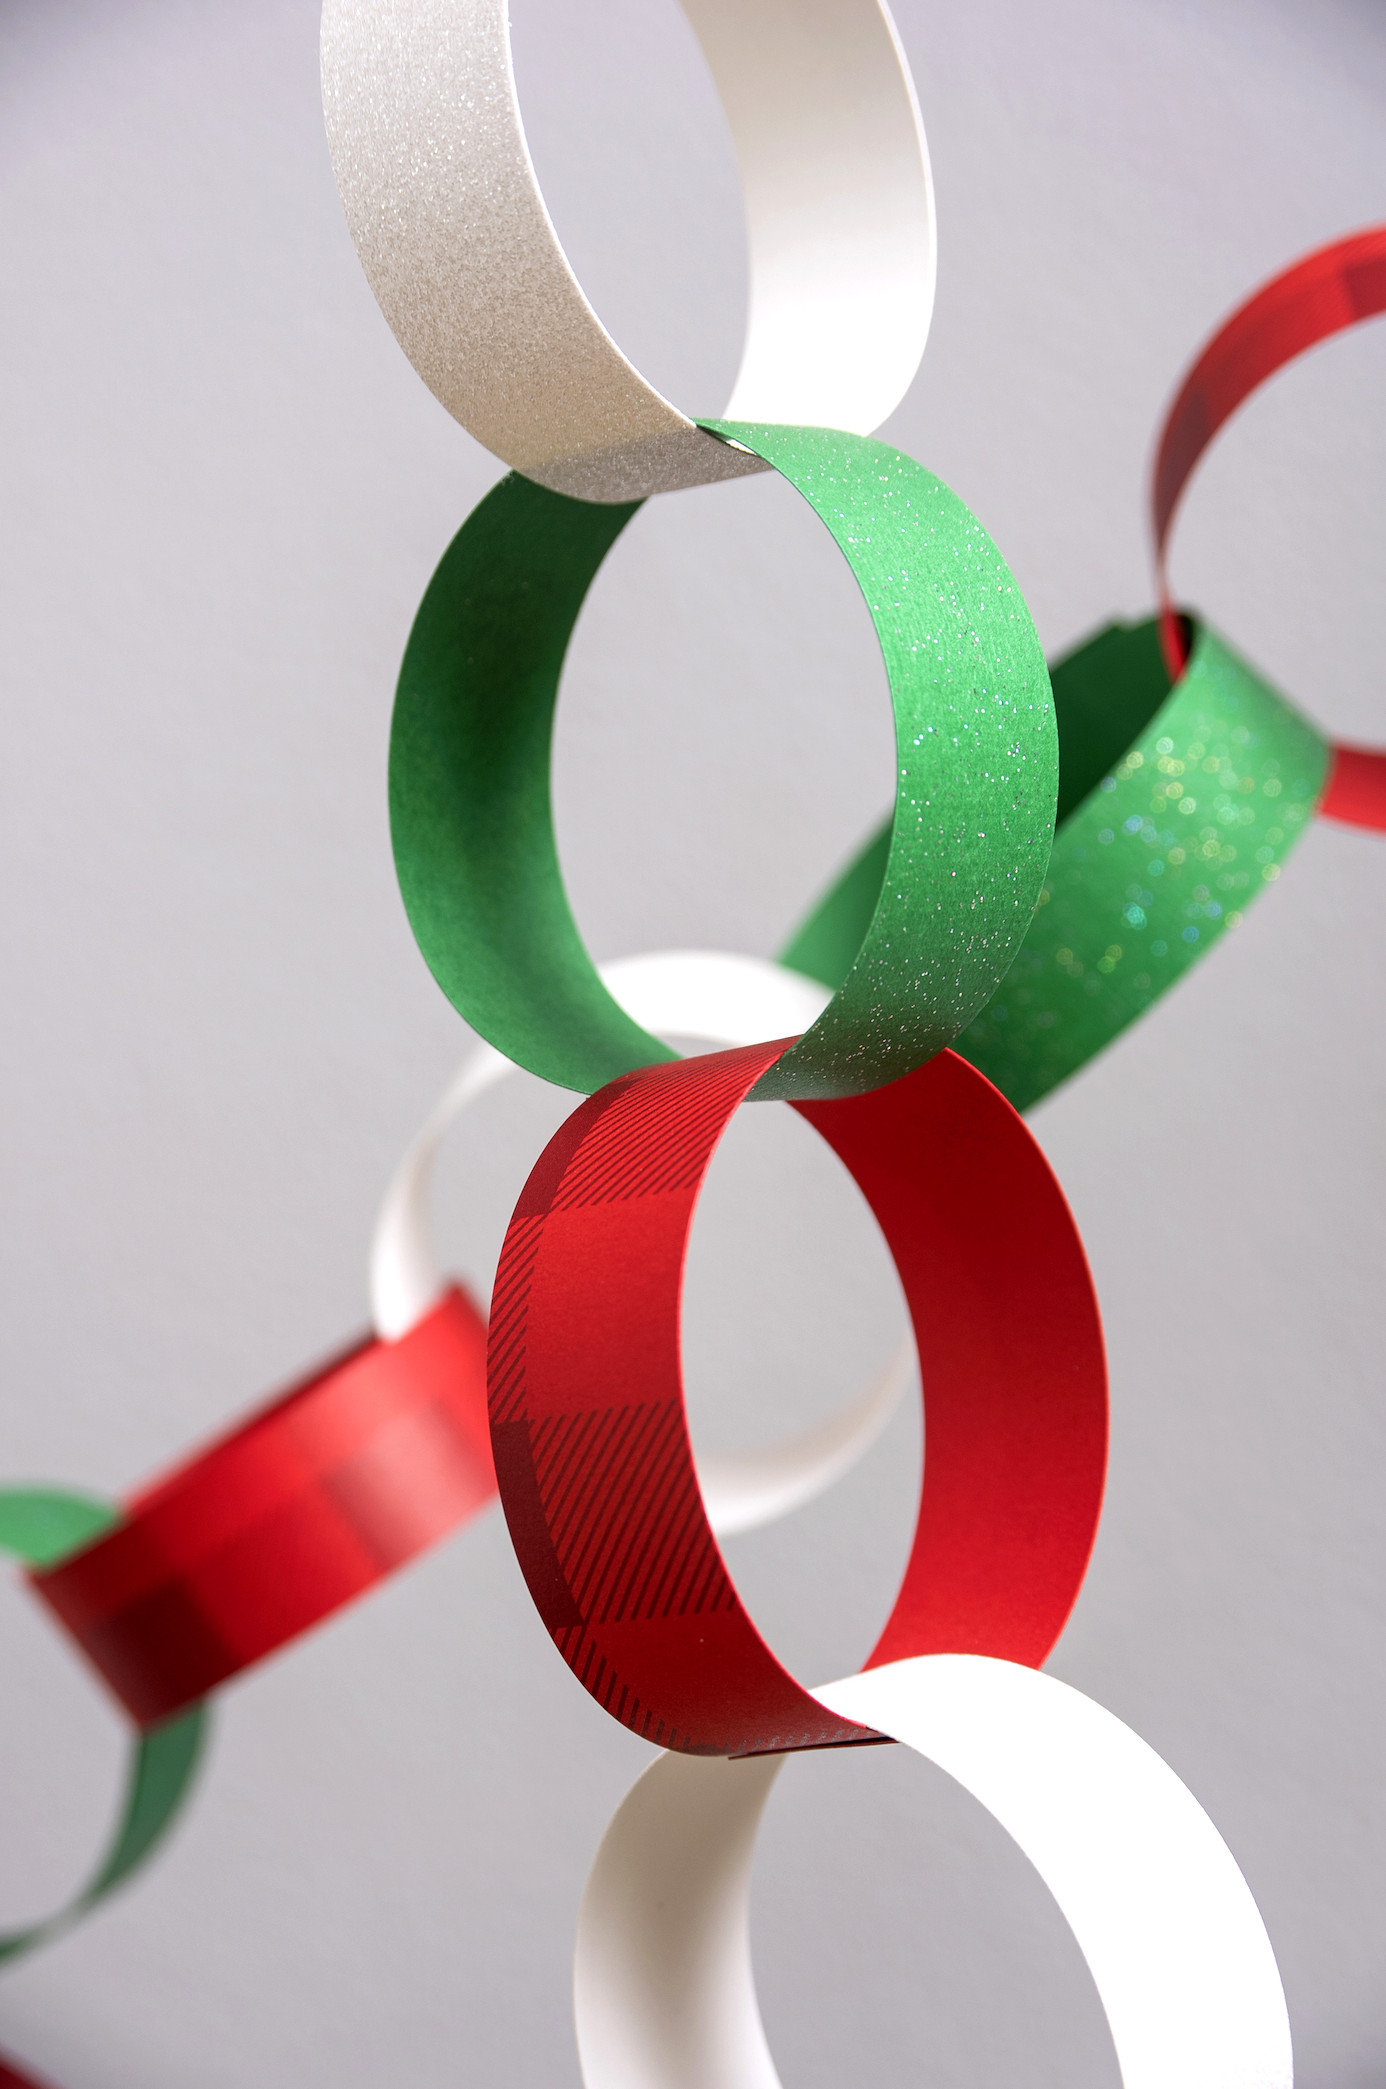
Select the paper for your garland. Sturdier sheets will help the chain maintain its form. I used green glitter, white glitter, and red buffalo-check paper. Every sheet creates approximately 11 links.
-
With a craft knife and ruler, slice the paper into 1″ strips. Without a craft knife, use the pencil to mark guide lines, then snip along them with scissors.
-
Apply glue or one or two adhesive dots to one end of a paper strip. Curve the opposite end around and press it in place until secured. Allow it to dry or cool.
-
Pick up another paper strip and pass it through the first link. Secure its ends with glue and leave them to dry. Repeat until every strip has been incorporated and the chain reaches your preferred length.
-
Attach the last link, then allow the garland to dry before hanging it with Command strips or tape.
Did you have fun making this Christmas paper garland? Share your thoughts in the comments! You may also enjoy browsing these additional posts: