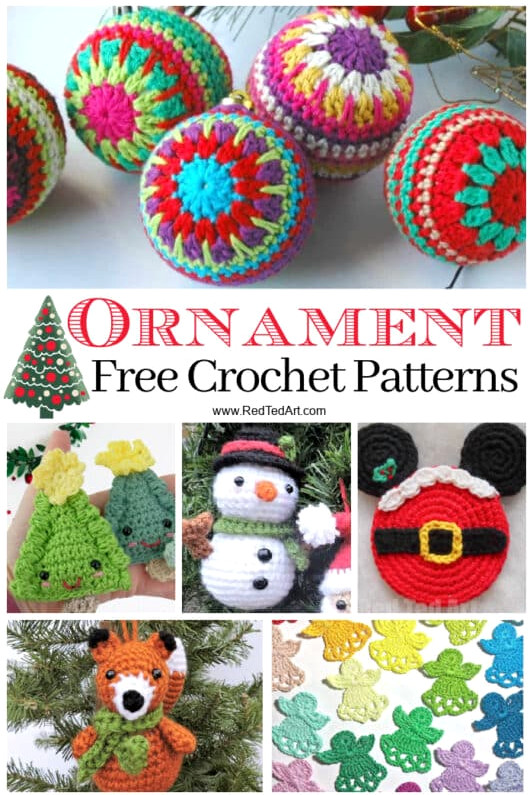
Discover how to crochet a star – this charming and simple crochet star applique can be used on its own (for example, as a Star Ornament) or alongside other crochet creations. It is also an excellent way to use leftover yarn and looks wonderful in any colour.. though yellow yarn makes it especially magical! This delightful crochet design is suitable throughout the year.. particularly as a sweet Crochet Christmas Ornament, but it also makes a lovely Ramadan Crochet Project!
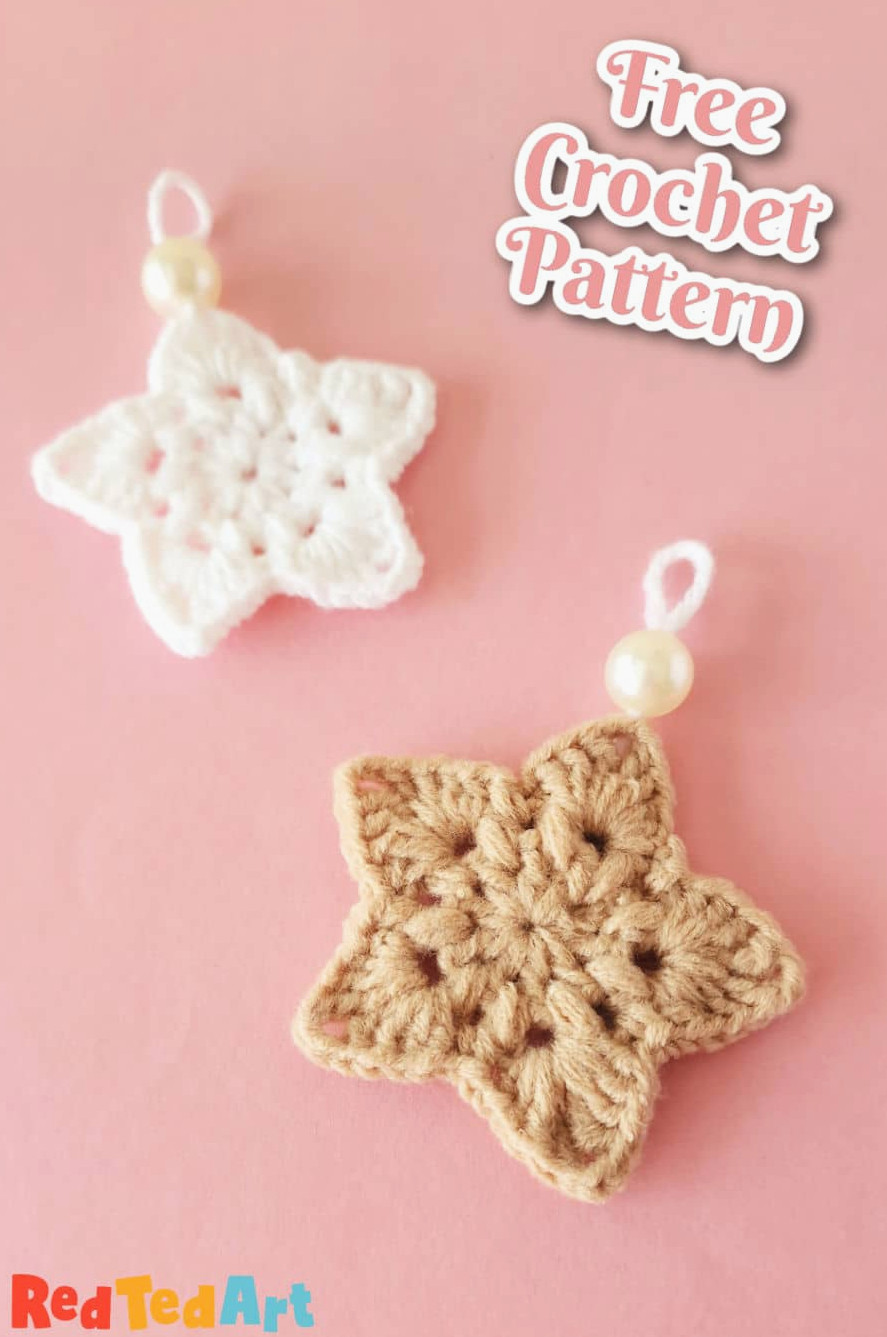
How can you use your crochet star?
This little crochet star pattern is a favourite of mine because it is quick and straightforward to make, using any scraps of yarn you have available. Since it functions beautifully as a crochet star applique, there are plenty of ways to use it. Here are a few star suggestions:
- Use it simply as an ornament for the Christmas Tree
- Attach your tiny star to a plush toy – for instance, a crochet bear with a large star on its tummy would be adorable
- Transform it into a wearable pin – glue on a small felt face, eyes and mouth to create a kawaii star, then add a safety pin to the back
- Use these crochet stars on your Christmas holiday cards – bonus – make the star removable so people can attach the stars to their Christmas trees
- Create an entire collection and turn them into a charming crochet star garland
- Decorate a present with your star (make it detachable again so it can be reused)
- Experiment with different shades and make red, white and blue stars for the fourth of July, then string them into a sweet garland.
Materials needed to crochet your stars:
- Yarn in your preferred star colours! Yellow is, of course, a traditional Christmas choice, though every yarn colour looks lovely!
- A crochet hook that matches your yarn weight – I often discover that acrylic yarn works best with a hook 1-2 sizes smaller. Cotton and plush yarns are generally true to size
- Scissors
- Tapestry needle
- Optional: a decorative bead if desired!
Crochet stitches featured in this star pattern
This project includes most of the basic crochet stitches and also shows you how to create a Popcorn Stitch! Don’t worry, we will take you through it! For instructional videos covering the stitches below, visit the Teach Yourself to Crochet post, which includes video guides for the main techniques (chain, Magic Ring, Double Crochet, Single Crochet and more), available on the website or YouTube).
We follow american terminology and abbreviations!
- Chain – CH
- Magic Ring – MR
- Popcorn Stitch – PC
- Half Double Crochet – HDC
- Double Crochet – DC
- Single Crochet – SC
- Treble Crochet – TC
- Slip Stitch – Sl St
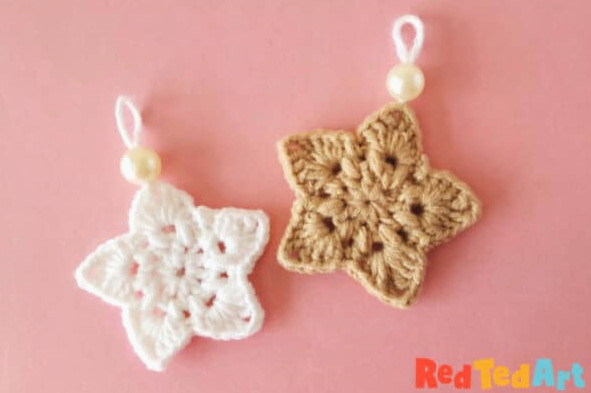
Making a crochet star
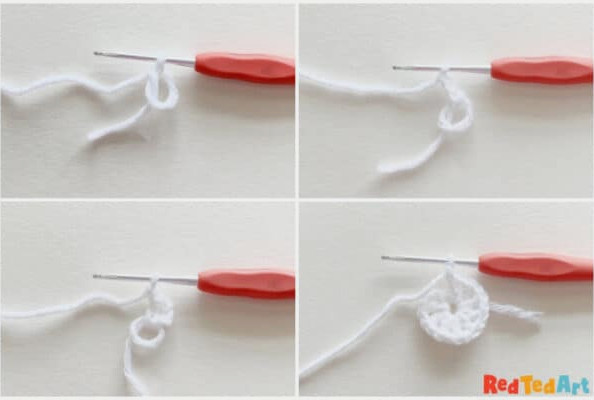
- Step 1: Begin with a magic ring.
- Step 2: Make 3 chains.
- Step 3: Crochet 1 DC into the magic ring, followed by 2 chains.
- Step 4: Repeat this sequence 9 additional times (1 DC, 2 CH).
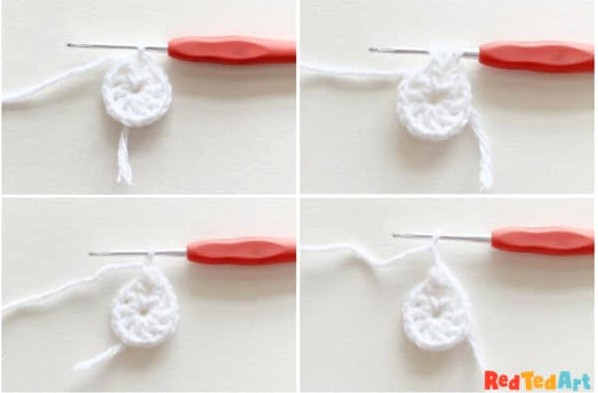
- Step 5: Place your hook into the second chain and make a slip-stitch.
- Step 6: Start by making 2 chains. Next, yarn over; insert the hook into the chain 2 space, yarn over once more, and draw the yarn through that space. You should now have 3 loops on your hook. Insert the hook into the same space again, yarn over, and pull through once more. There will now be 6 loops on your hook.
- Step 7: Yarn over and draw the yarn through all 6 loops, then make a slip stitch. This creates a popcorn stitch.
- Step 8: Make 2 chains.
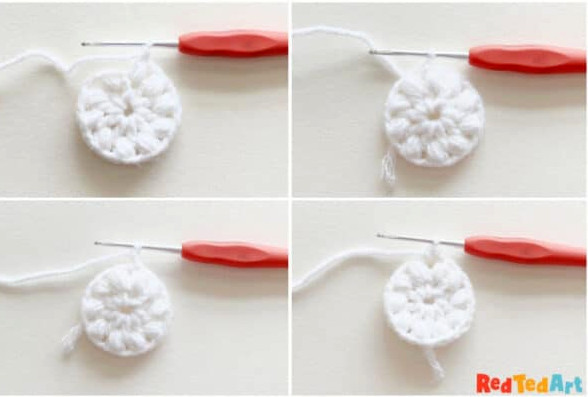
- Step 9: Continue this sequence around (creating 6 loops on the hook, then slip stitching through each chain 2 space from the previous round).
- Step 10: Slip stitch between the two popcorn stitch spaces, or into the first chain 2 space.
- Step 11: Make 2 chains.
- Step 12: Crochet 1 HDC into the Ch 2 space.
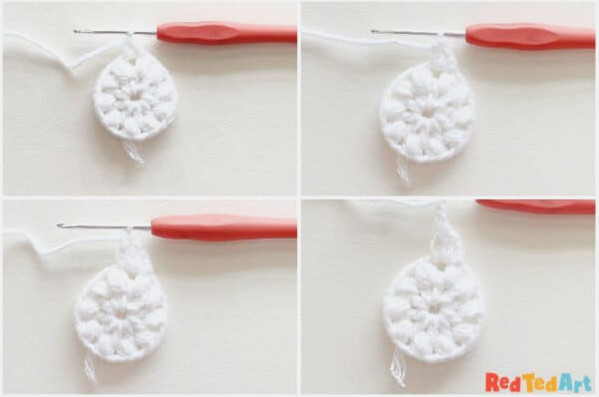
- Step 13: Crochet 1 DC into the Ch 2 space.
- Step 14: Make another 1 DC in the same space.
- Step 15: Crochet 1 TC into that same space
- Step 16: Make 3 chains.
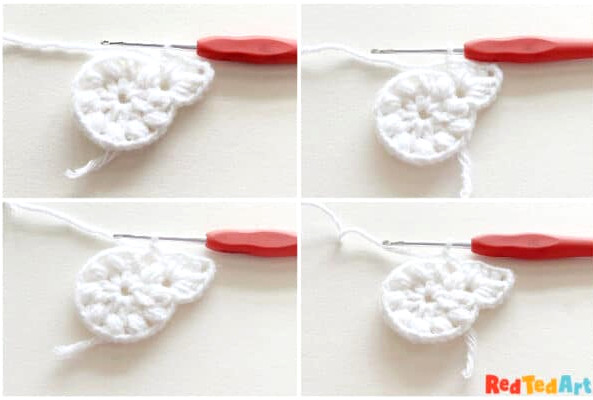
- Step 17: In the same Ch 2 space, work 1 TC, 2 DC and 1 HDC.
- Step 18: Make 1 chain.
- Step 19: Work 1 SC into the following Ch 2 space.
- Step 20: Make 1 more chain.
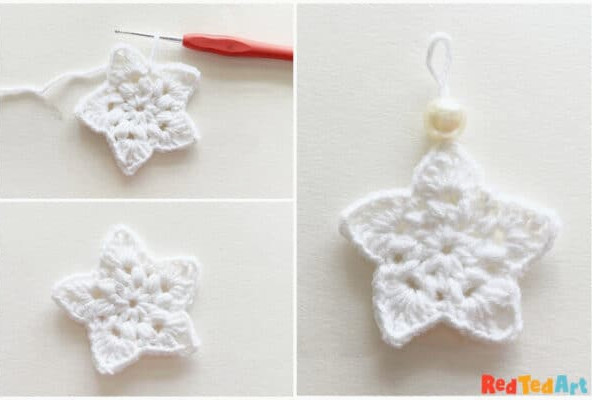
- Step 21: Continue the pattern in every following chain 2 space (1 HDC, 2 DC, 1 TC, Ch 3, 1 TC, 2 DC, 1 HDC), then make CH 2 and 1 SC in the next chain 2 space. Finish by securing the end with a slip stitch through the neighbouring top chain stitch.
- Step 22: Leave an extra inch, trim the yarn, and stitch the remaining tail onto the back of the pattern.
- Step 23: Fasten a yarn loop to the crochet star and add one or two beads if you wish.
And that’s it! We hope you enjoyed this easy crochet star pattern. Congratulations on learning the popcorn stitch and creating an adorable crochet star ornament along the way!
Browse all our Free Christmas Ornament Patterns here – you’ll find a wonderful collection of crochet patterns and tutorials for the Christmas Tree, which I’m sure you’ll enjoy!