A fast and simple beginner-friendly craft that creates a gentle, vintage Victorian atmosphere with scrapbook paper, a wooden heart, and a handful of ribbon pieces. Ideal for Valentine’s Day, spring displays, or inviting year-round home accents!
Vintage Hanging Heart Sign
I’ve long loved the charm of vintage valentines and treasured heirloom ornaments-the graceful lettering, the weathered ribbons, and the feeling that each piece has been carefully kept over time. Wanting to capture that atmosphere at home without searching through antique stores, I found that making my own was the perfect answer. This hanging heart project offers just that: it uses only a few basic materials (some of which may already be in your craft collection!) yet creates a decoration that appears to have been discovered at a country estate sale.
Creating something so fragile-looking and character-filled with your own hands is especially rewarding. If vintage romantic styling appeals to you but you also enjoy an affordable, useful craft, you’ll have a wonderful time making these charming hearts!
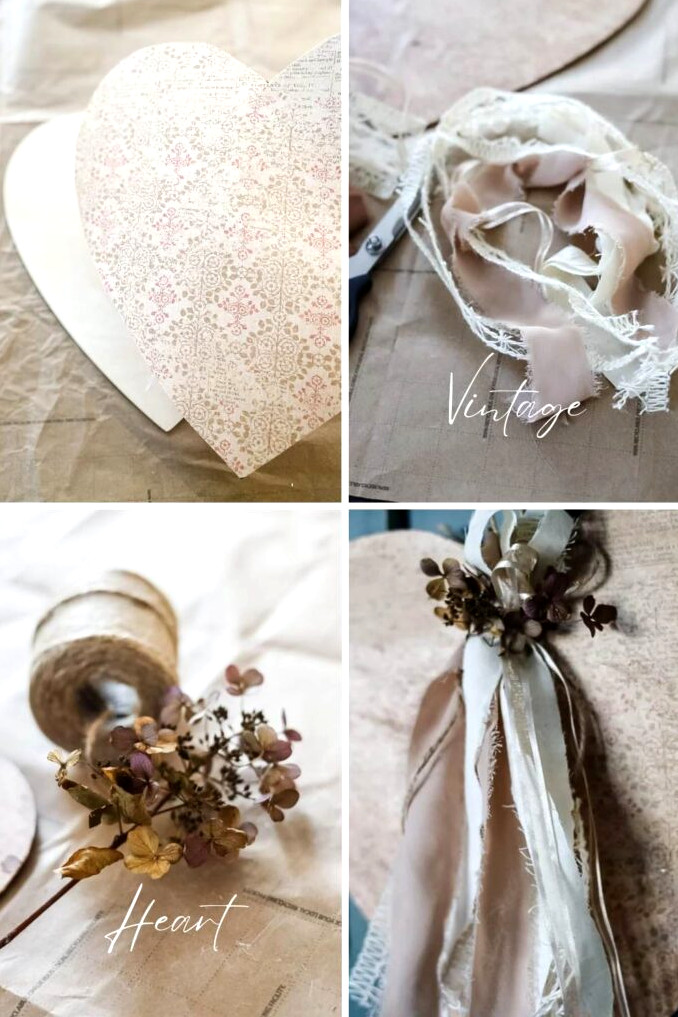
Supplies Needed For This Craft
Crafters, here’s some cheerful news: there’s a good chance you already own many of these materials!
For ease, I’ve added Amazon links, though your nearby craft shop should carry everything you need. You can also frequently find the larger wooden hearts at dollar stores. Enjoy creating!
Supplies Needed for This Craft
Directions, One Step at a Time
This simple craft comes together quickly with one sheet of scrapbook paper, a large wooden heart cutout, and a few leftover ribbon strips.
Step 1: Outline & Trim the Paper Heart
The wooden heart I’m working with measures around 11 inches, so I selected a 12 x 12-inch scrapbook paper pad I already owned (this option is comparable)
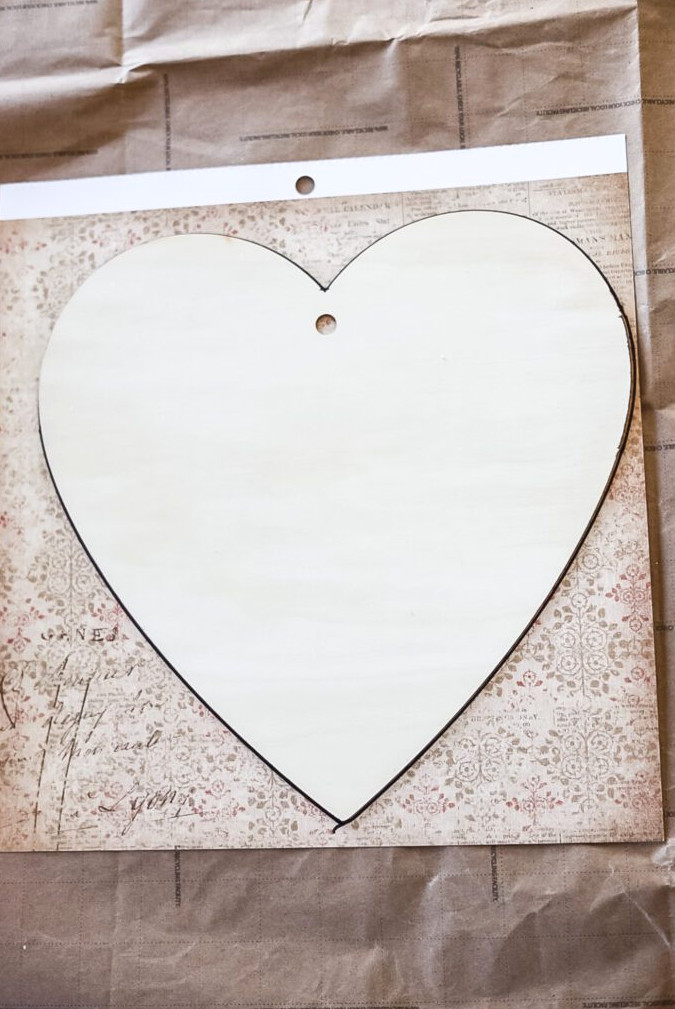
- Set the wooden heart on the reverse side of the scrapbook paper.
- Use a pencil to draw around its edges.
- With care, cut out the paper heart just inside the pencil mark so it fits neatly and no wood remains visible.
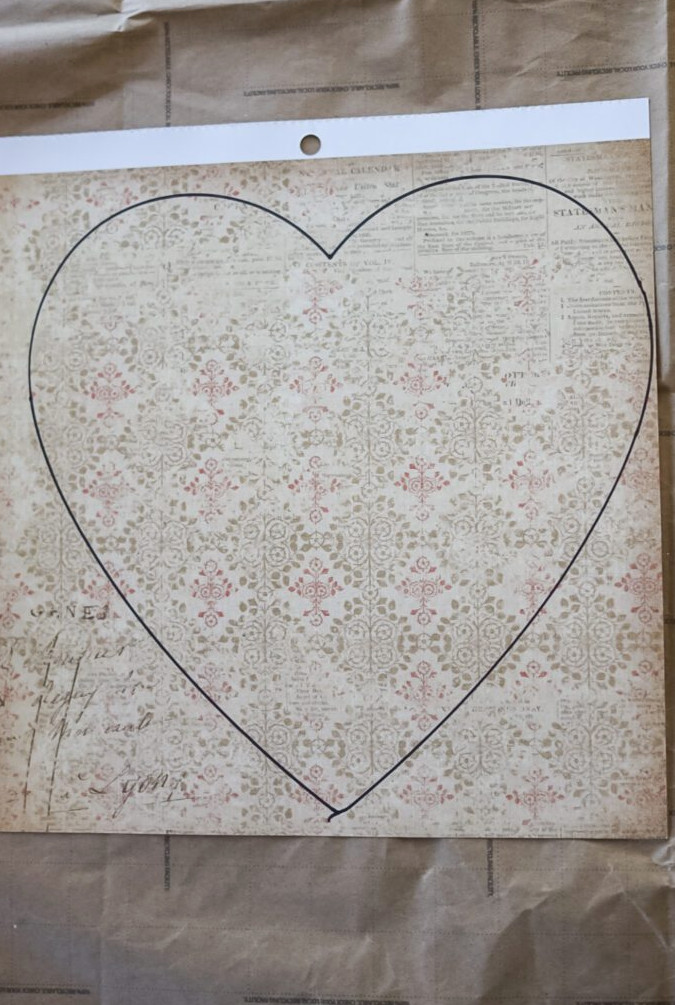
Step 2: Attach the Paper to the Wooden Heart
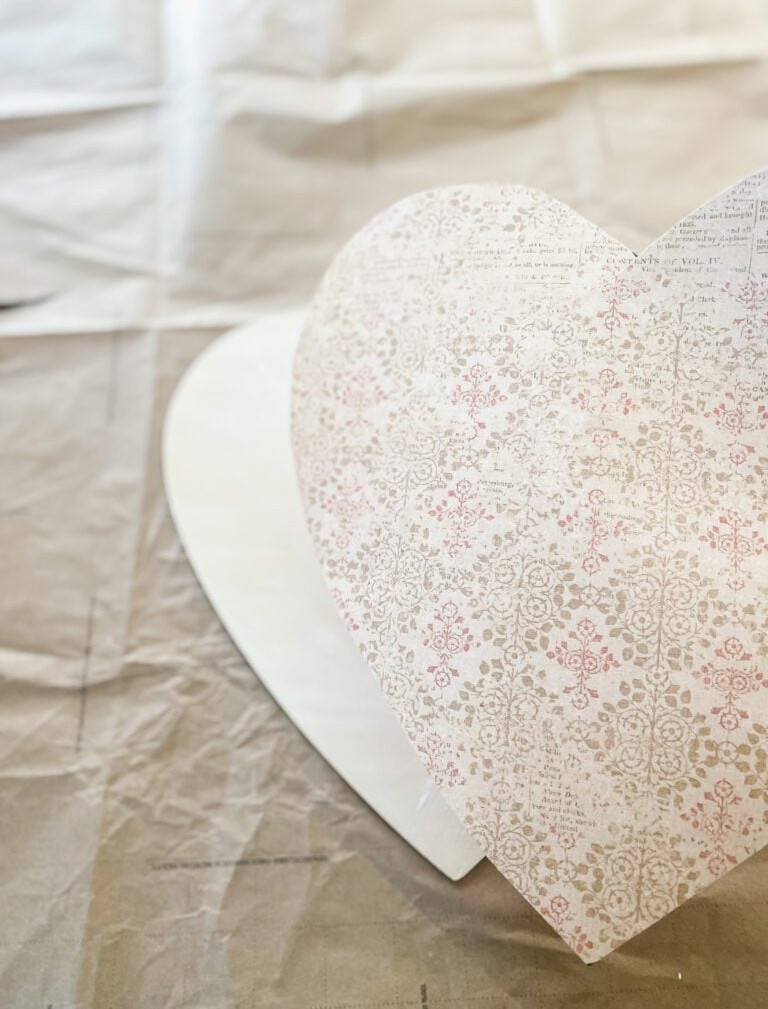
- Apply a slim, smooth coat of matte Mod Podge across the wooden heart’s front.
- Gently lay the paper heart over it, matching the edges precisely.
- Press outward from the middle to eliminate air pockets (your fingers or a cloth-covered credit card will work—it can get slightly messy, but the result is worth it!).
- Coat the paper’s surface with an additional layer of Mod Podge to protect and seal it. Allow it to dry fully (~20–30 minutes).
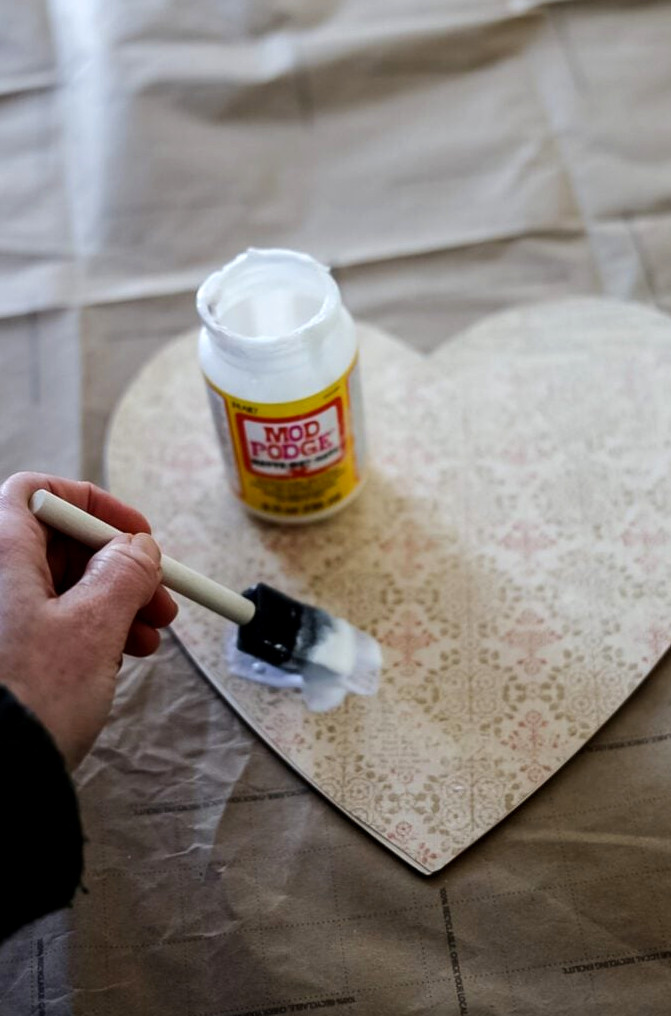
Step 3: Apply Antiquing Wax for a Vintage Finish
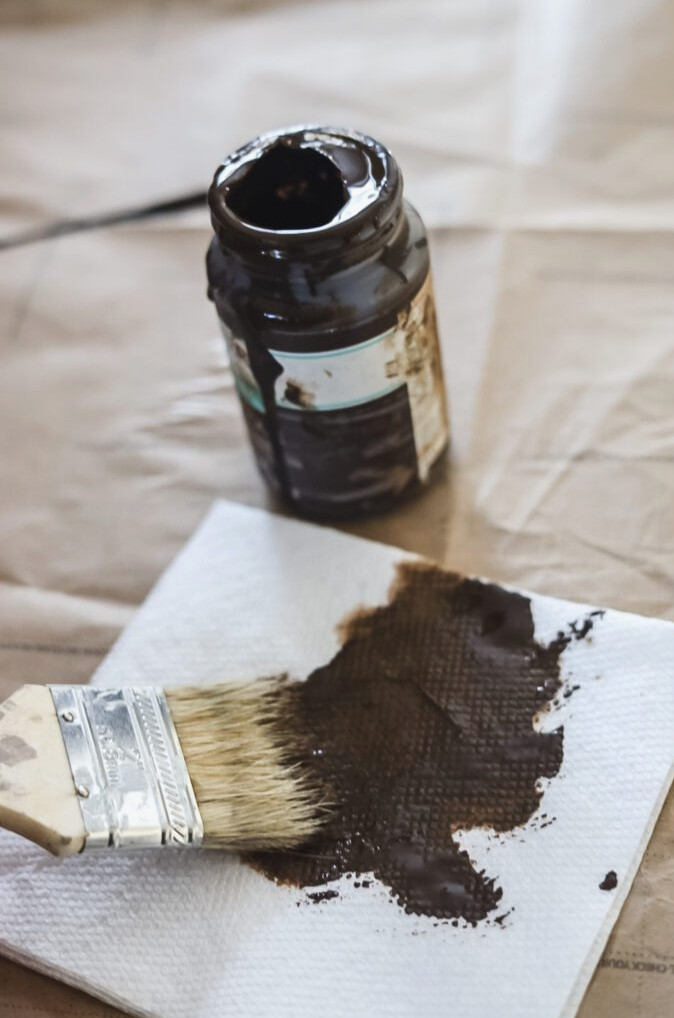
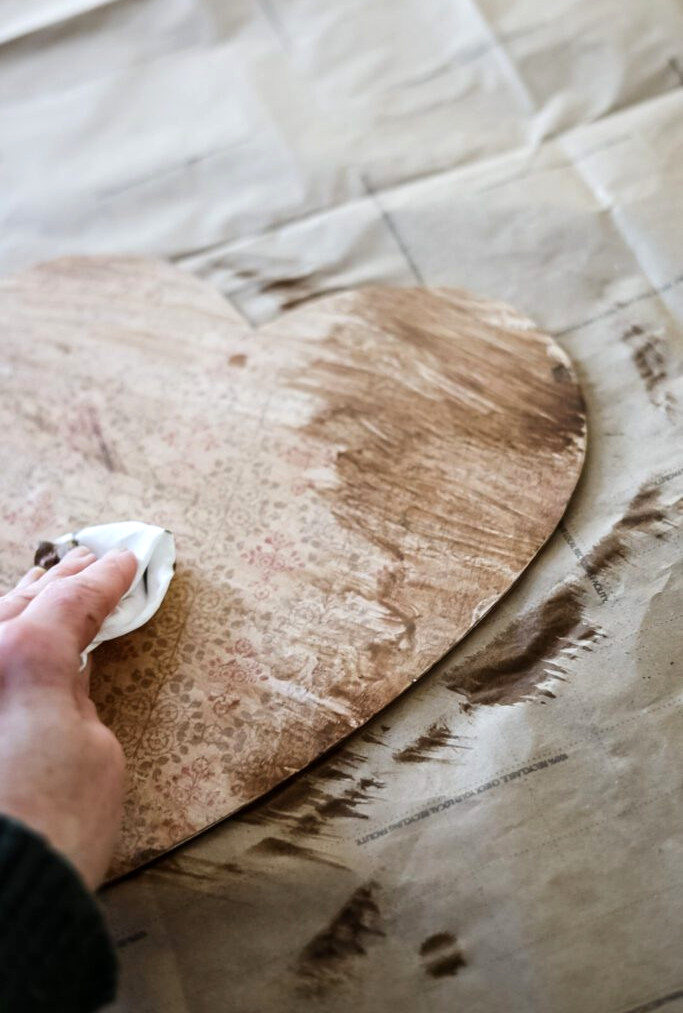
After the Mod Podge has dried, you can give the heart an even more aged appearance. Waverly antique wax is my favorite; it’s simple to apply, has the consistency of chalk paint, and costs very little. You can find it in Walmart’s craft section.
- After the surface has dried completely, load a chip brush with the antique wax.
- Gently spread it across the whole surface, concentrating on the edges and raised sections to create an aged appearance.
- Use a paper towel right away to remove the excess and achieve a delicate, understated finish. Allow it to dry (~10 minutes).
Step 4: Make the Ribbon Tassel Hanger
For this project, any collection of ribbons will do; I prefer using supplies I already have in my craft stash.
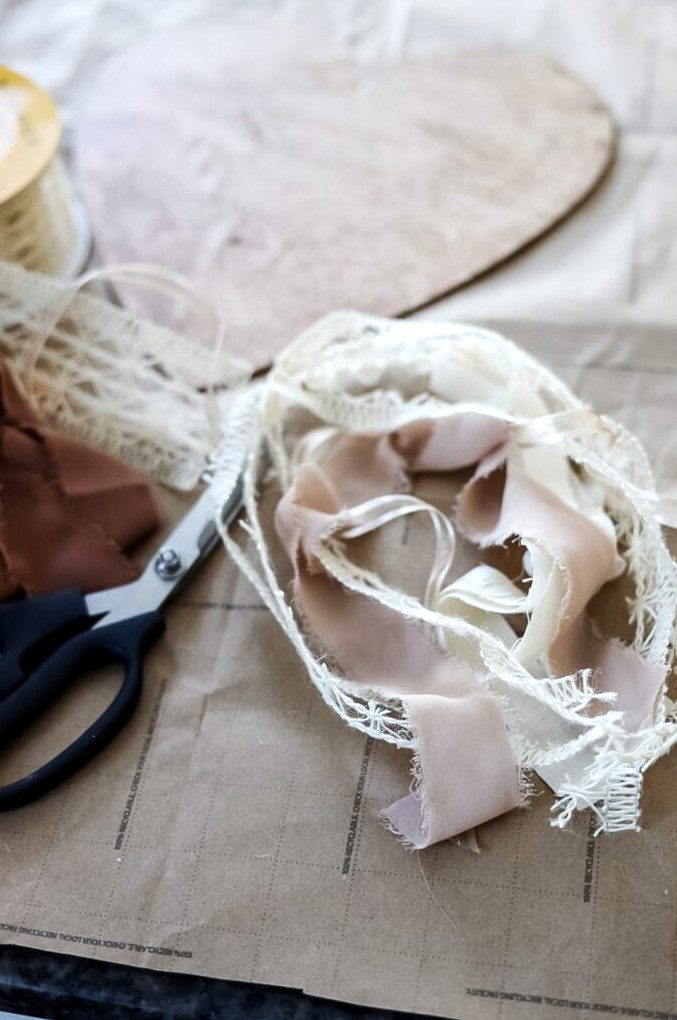
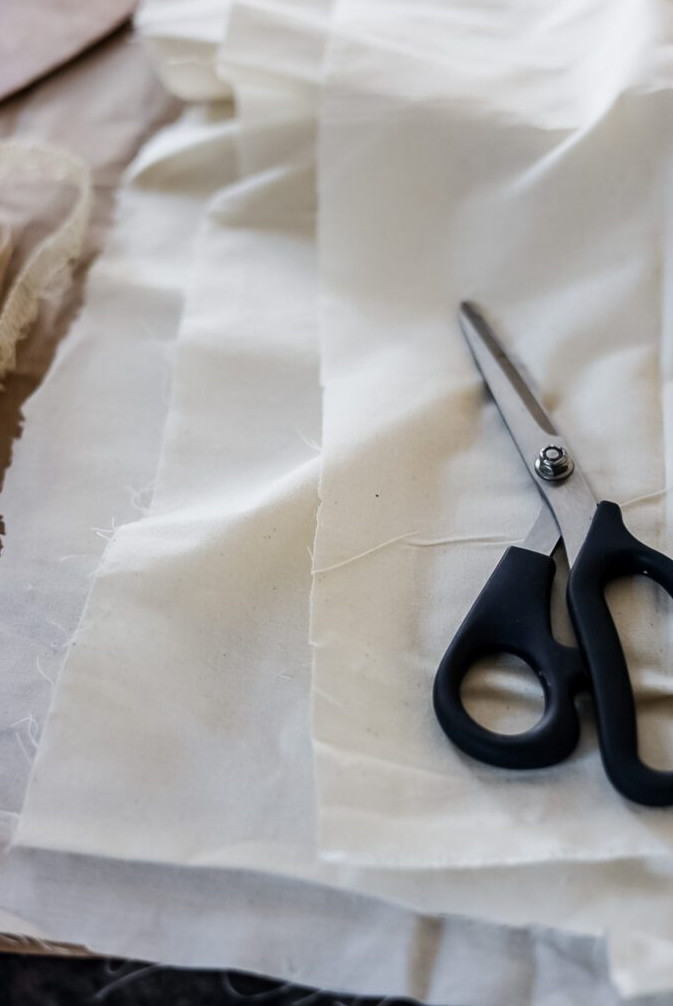
To complement the heart’s vintage style, I chose to use neutral shades. I collected several textured ribbon trims from my supplies, along with a yard of cream linen fabric.
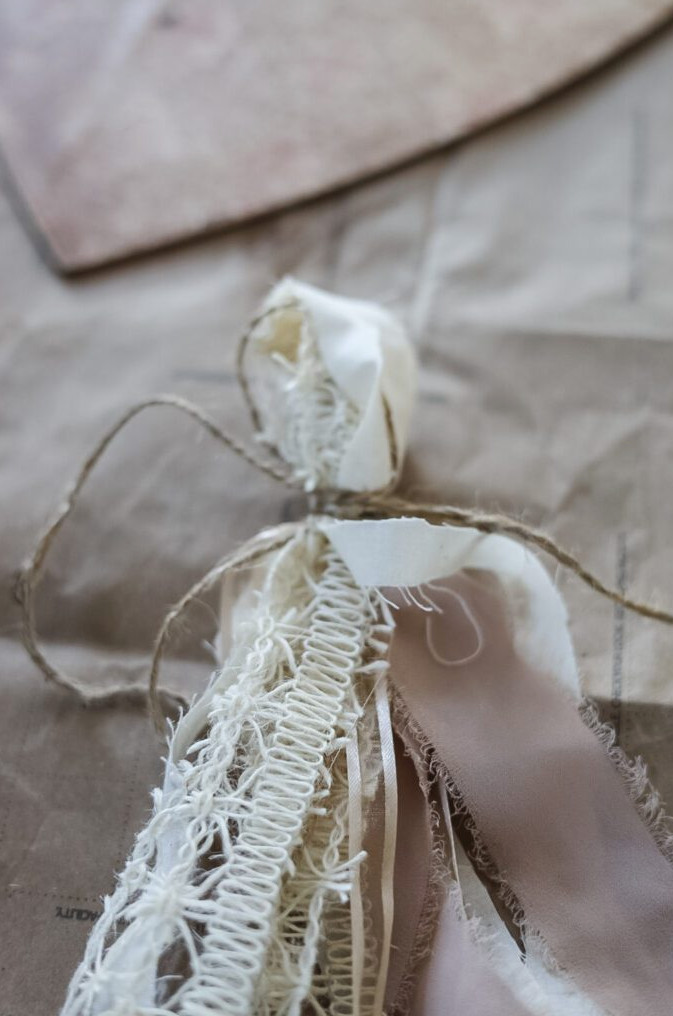
- Collect the ribbon pieces and fabric strips (trim each one to ~20 inches).
- Bring them together and fold them in half to create a bundle.
- Securely wind jute twine around the top, keeping a hanging loop and long ends.
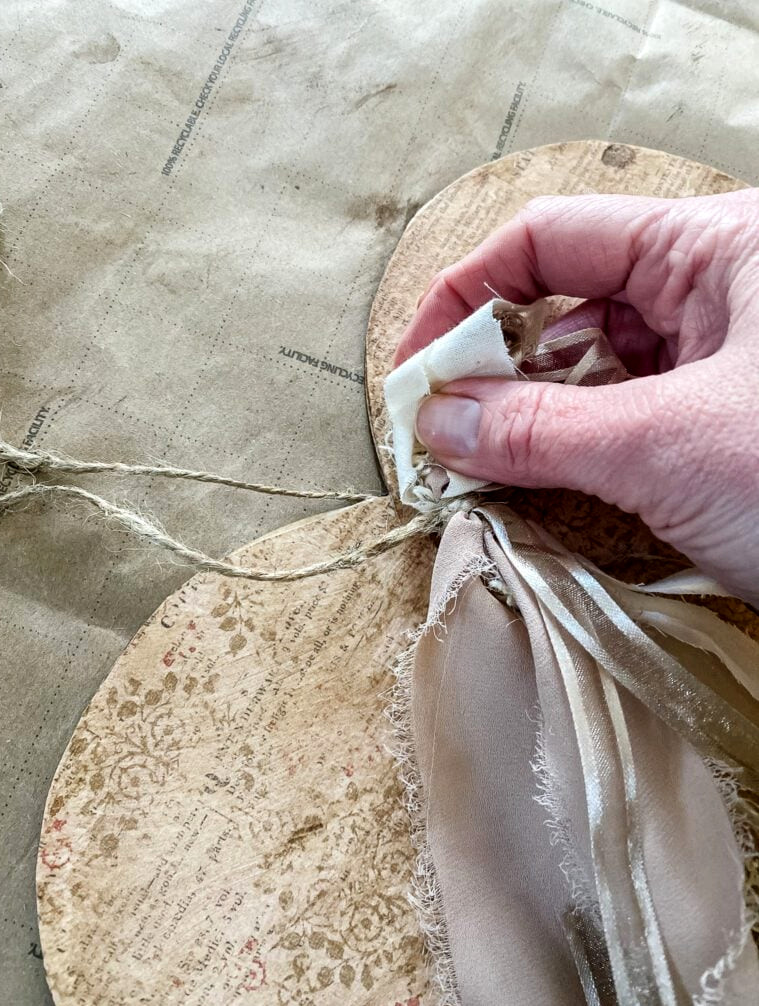
Trim the jute twine tails long enough to pass through the opening at the top of the heart sign and create a hanger. Finish by fastening the jute ends with a firm basic knot.
Step 5: An Optional Final Touch: Dried Flowers
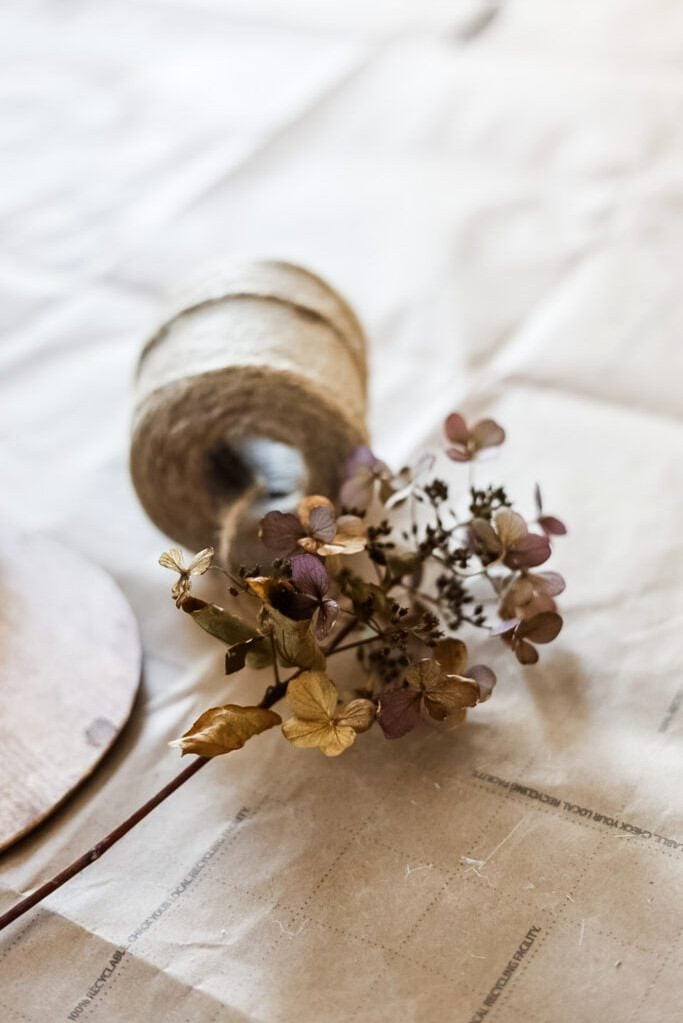
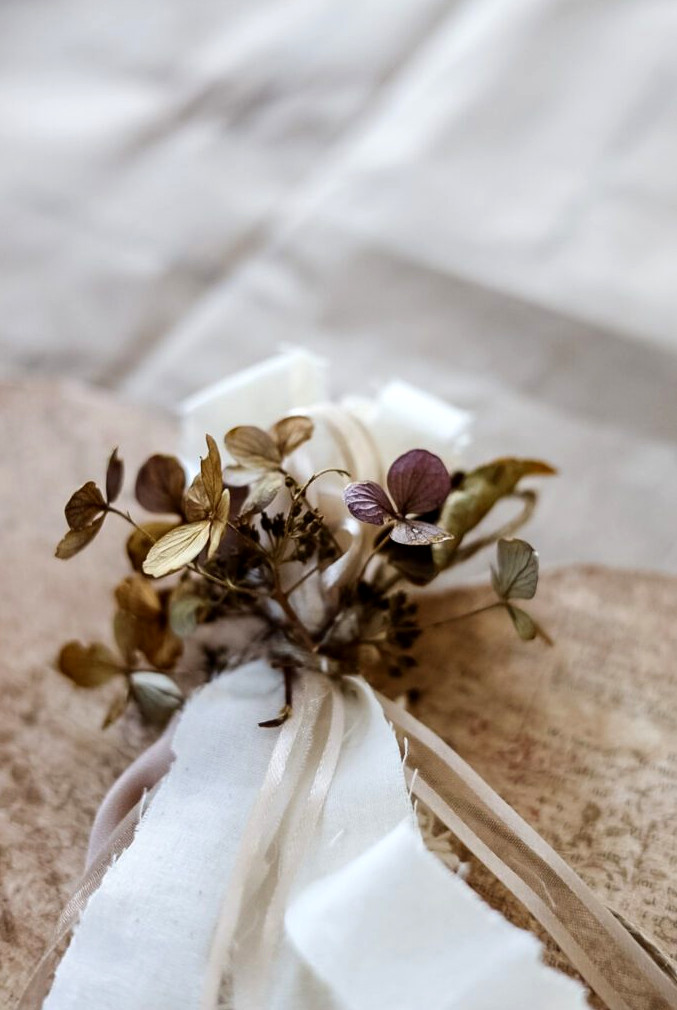
For a romantic Victorian touch of gentle color, tuck 2–3 little dried hydrangea sprigs (or something similar) beneath the twine knot. If necessary, hold them in place with a small dab of hot glue.
Helpful Tips & Variations
- Out of wax? Use dark walnut stain instead, or tea-stain the paper edges before attaching them to create a comparable aged look.
- Try a color change: Replace neutral ribbons with gentle pink or blue shades, or choose velvet for extra texture.
- Personalize it: Before waxing, apply a small scripted word, such as “Love” or a name, using rub-on transfers.
- Ways to use it: Hang these lovely pieces on doorknobs, mirrors, or hooks—they’re perfect for seasonal decorating changes!
Your Finished Vintage Hanging Heart
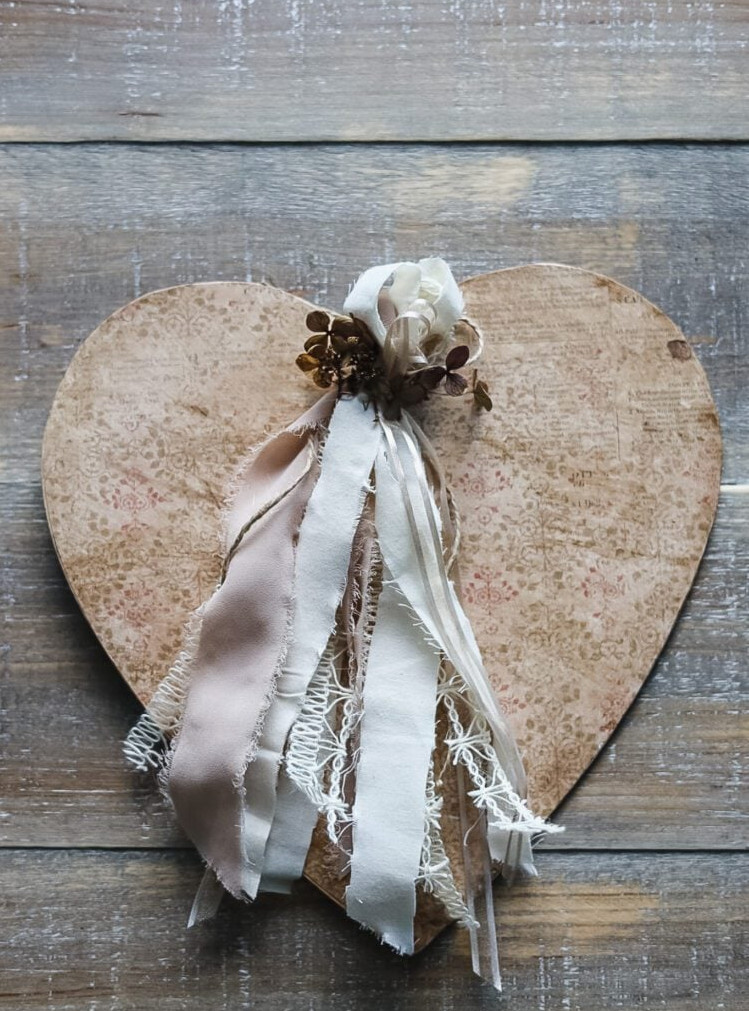
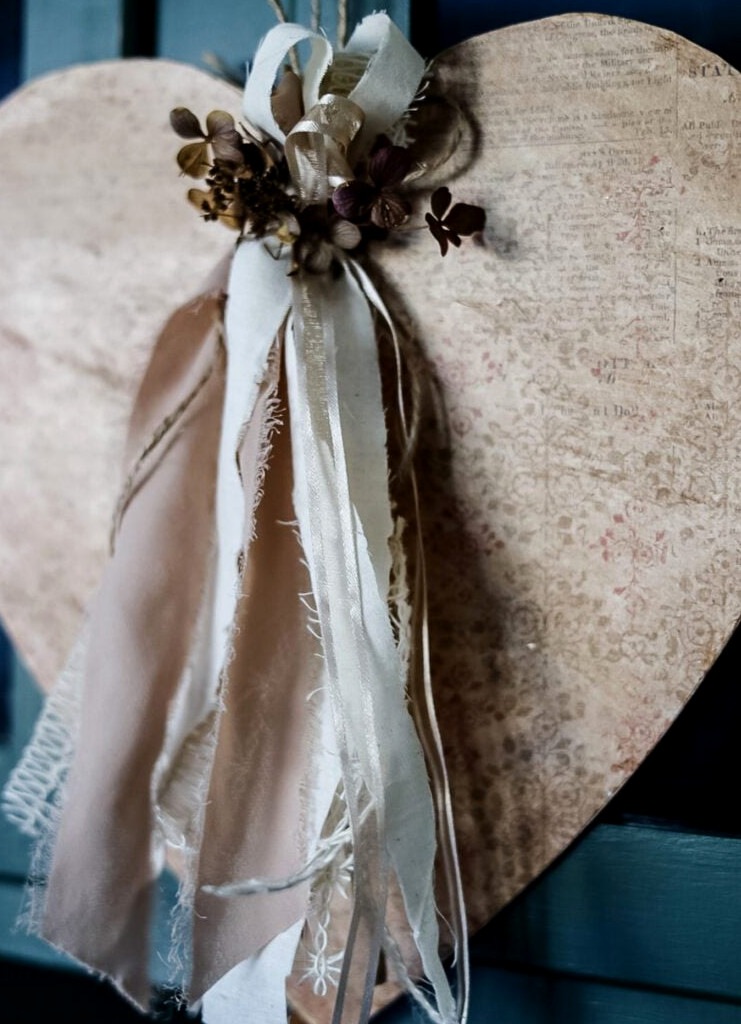
Here’s the finished creation—soft, subdued hues, delicate ribbons, and charming dried hydrangeas create such a nostalgic, romantic feel. Doesn’t it look like something you might find in a Victorian parlor?
xo, Jennifer
Enjoy projects like this?Don’t miss out! Join my newsletter familyfor more warm, budget-conscious DIY ideas sent straight to your inbox. You’ll receive exclusive advice, early tutorial access, and plenty of inspiration to make your home feel handcrafted and full of heart.
More Heart Projects to Explore