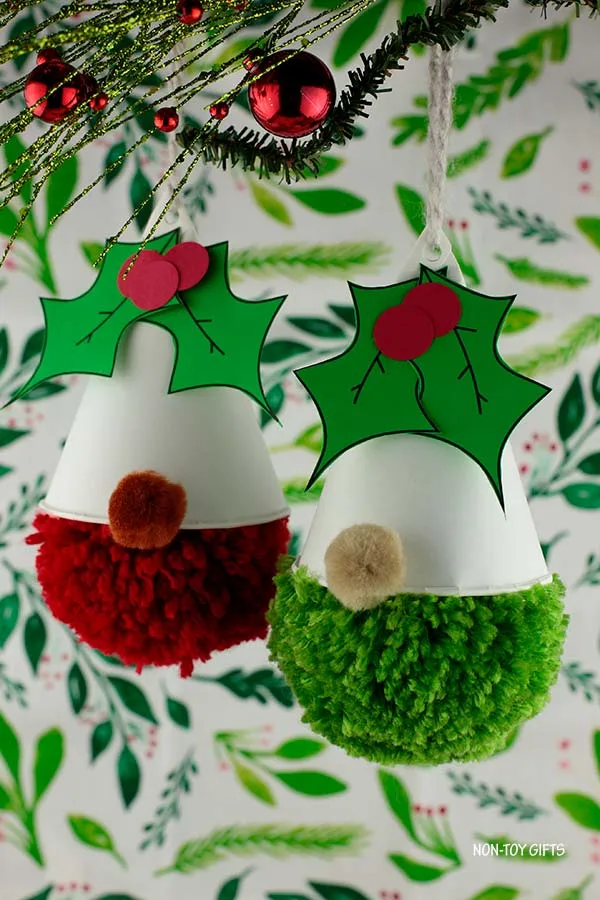
Simple homemade DIY Christmas gnome pom pom ornaments for children to create this December.
Gnomes
Throughout folklore, gnomes have represented many things, often serving as guardians of the earth’s riches and skilled protectors of the home.
For hundreds of years, these dwarf-like mythical characters, commonly shown with pointed hats and beards, have inspired imaginations across the globe.
Their playful image has moved beyond ancient stories and now appears in gardens as friendly watchmen.
With Christmas approaching, these magical creatures assume a joyful holiday purpose.
Christmas gnomes, rooted in Scandinavian folklore, where Norway calls them ‘nisse’ and Sweden refers to them as ‘tomte’, represent generosity and the cozy spirit of the season.
According to tradition, they are playful guardians who protect families and animals—and bring luck—when treated kindly.
Today, their appeal has grown tremendously, making them a cherished feature of contemporary Christmas decorations and symbols of gift delivery and holiday happiness.
Gnome facts for kids:
- Folklore gives gnomes a long history as guardians of the earth and defenders of the home.
- The Scandinavian nisse and tomte helped shape the modern Christmas gnome’s place in seasonal customs.
- Christmas gnomes are growing more popular as holiday decorations that add a little enchantment and protection.
Gnome Crafting
Gnome-inspired decorations have taken over the holiday atmosphere, delighting everyone with their playful charm while adding Scandinavian folklore to seasonal celebrations.
With their tall caps and snowy beards, these sweet characters bring a fun and comfortable atmosphere to holiday decorating.
You may have noticed them looking out from shop displays or nestled between the limbs of decorated Christmas trees.
Although ready-made versions are practical, bringing a handcrafted element into your decorations feels especially meaningful.
This holiday season, I encourage you to enjoy crafting and make something distinctive with a personal touch that factory-made ornaments simply cannot match.
Making your own Christmas gnome pom pom ornaments is more than an artistic project; it’s a wonderful opportunity to build traditions and enjoy happy times with your loved ones.
Invite your children to participate, and you’ll gain not only a collection of delightful gnomes for decorating your home, but also a collection of memories to become part of your family story for many years.
Picture your children’s faces glowing each year as they place their handmade Christmas gnome pom pom ornaments on the tree and remember how they created them.
Therefore, gather your craft materials and get ready to make your own group of red and green pom pom gnomes.
More Christmas gnome crafts for kids:
Crafting with Pom Poms
Introduce kids to yarn crafting
Yarn is useful for much more than knitting sweaters—it unlocks countless creative projects.
Spend time with your children creating yarn pom poms. They are simple to make, and the gentle texture feels warm and pleasant in small hands.
These activities help strengthen motor abilities while encouraging creativity as children choose and combine different colors.
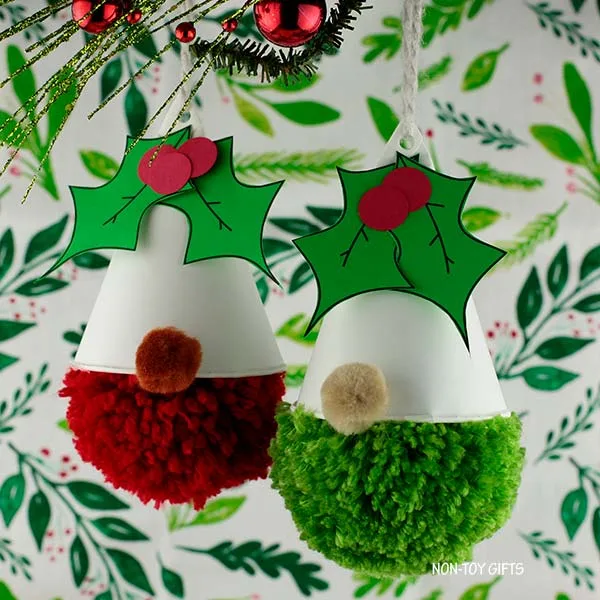
Turning pom poms into gnome ornaments gives them a playful new look.
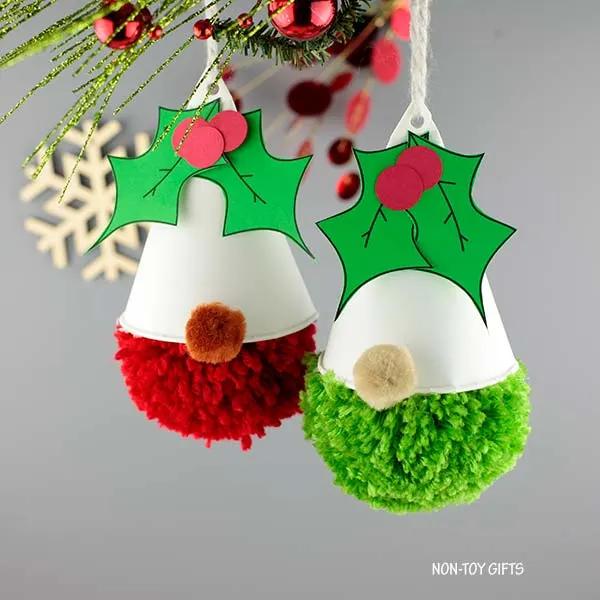
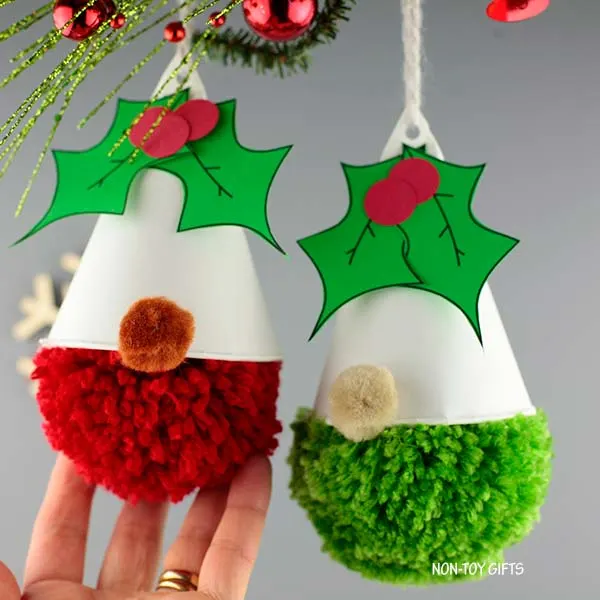
You and your children will enjoy transforming basic yarn balls into adorable little characters. Every gnome will feature a red or green beard, a pom pom nose and mistletoe leaves secured to its hat.
After your holiday gnome pom poms are finished, you can begin displaying them.
Place these handmade ornaments among the branches of your Christmas tree to add a personal detail.
They can also decorate the middle of your festive table or be attached to presents for an additional handmade accent.
Christmas Gnome Pom Pom Ornaments
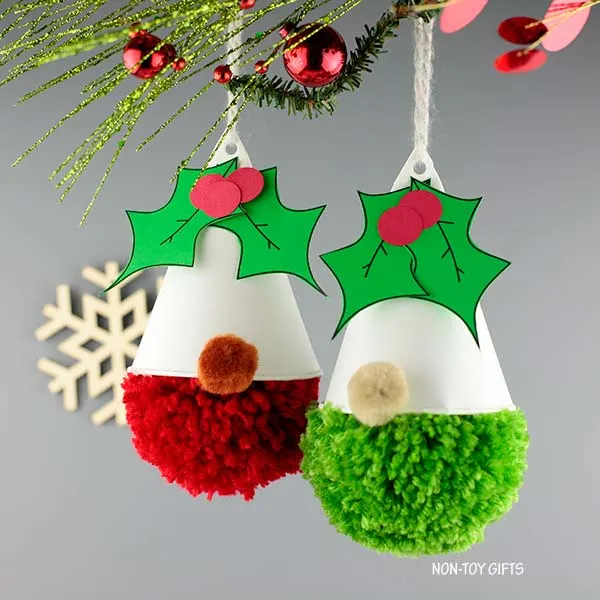
Materials:
- Mistletoe leaf printable – available at the end of the article
- Red and green construction paper
- Red and green yarn
- Pom pom maker
- Scissors
- Snow cone cups
- Hot glue gun and hot glue sticks
- Beige and brown pom poms
- Circle punch
- Hole punch
Step by step instructions
Create a green or red pom pom with a pom pom maker. (If you have not used one before, instructions are included, and you can also find tutorials on YouTube. They are simple to operate, and children enjoy making pom poms with them.) Choose the largest maker size.
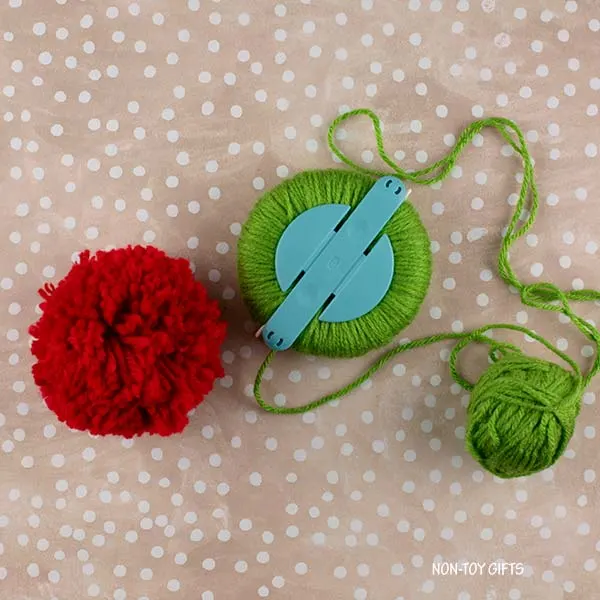
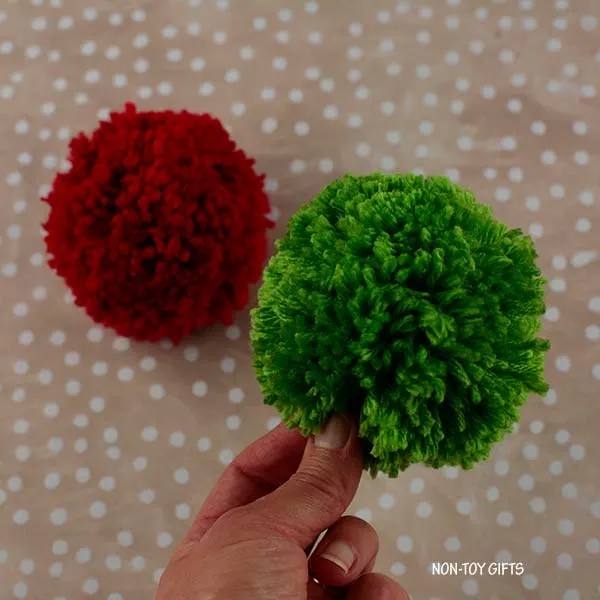
Attach the pom pom to the snow cone cup using hot glue.
Attach a brown and beige pom pom to create the nose.
Punch a hole in the top of the paper cone, then thread a piece of yarn through it for hanging.
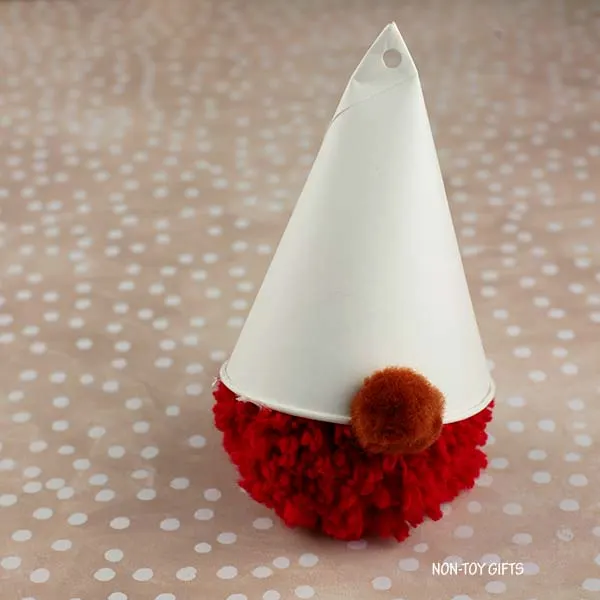
Print the mistletoe leaf pattern onto green paper. Cut out two leaves and secure them to the top of the paper cone, beneath the hole.
Punch two or three circles from red paper and attach them over the leaves.
Materials
- Printable mistletoe leaves – available at the end of the article
- Red and green paper
- Red and green yarn
- Snow cone cups
- Hot glue gun and hot glue sticks
- Beige and brown pom poms
Tools
- Pom pom maker
- Scissors
- Circle punch
- Hole punch
Instructions
1. Create a green or red pom pom with a pom pom maker. (If you have not used one before, instructions are included, and you can also find tutorials on YouTube. They are simple to operate, and children enjoy making pom poms with them.) Choose the largest maker size.
2. Attach the pom pom to the snow cone cup using hot glue.
3. Add a brown and beige pom pom to form the nose.
4. Punch a hole in the top of the paper cone, then thread a piece of yarn through it for hanging.
5. Print the mistletoe leaf pattern onto green paper. Cut out two leaves and secure them to the top of the paper cone, beneath the hole.
6. Punch two or three circles from red paper and attach them over the leaves.
Subscribe to our Newsletter and receive this Mistletoe Leaf Template as a thank you!