
This pine cone Christmas tree makes a delightful and simple holiday project that children will enjoy creating! These charming Christmas trees crafted from pine cones can be personalized, and they require only a handful of basic materials.
RELATED: Holiday Crafts for Children

Because children can personalize and embellish their trees in any way they wish, this is an ideal classroom activity!
Paint traditional green Christmas trees, or create vivid, multicolored versions! Colored pom poms can add extra brightness, or you can coordinate the decorations with your Christmas tree’s color palette.
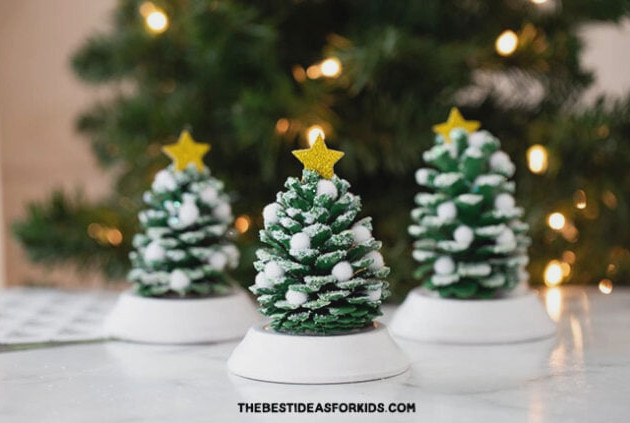
Decorate them with any other craft materials you have available, such as glitter, beads, craft jewels and more. Children may even wind ribbon around the trees so they coordinate with the Christmas tree at home.
They’re wonderful presents for teachers, neighbors or grandparents.
View the Video Guide
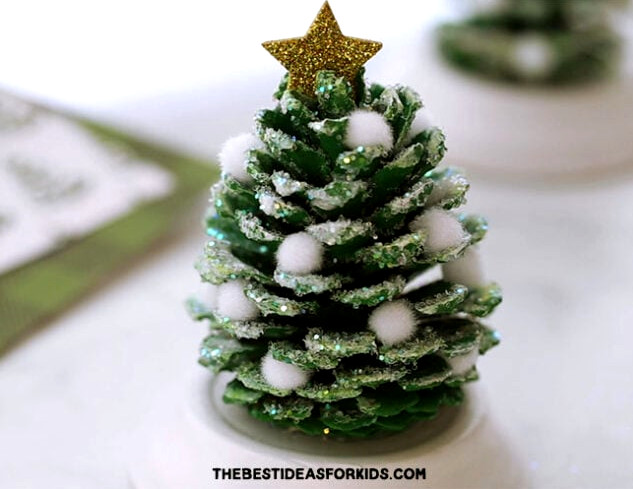
Materials Required
- Pine cones – we used pine cones measuring 3 to 5 inches. Gather a few outdoors, or purchase them from craft shops or Amazon.
- Small clay pot saucers – these saucers are 3 inches wide. You can purchase them in bulk from Amazon or get individual pieces from a craft store (we found ours at Michaels). A wood slice or thick piece of felt can also serve as the Christmas tree base.
Making a Pine Cone Christmas Tree
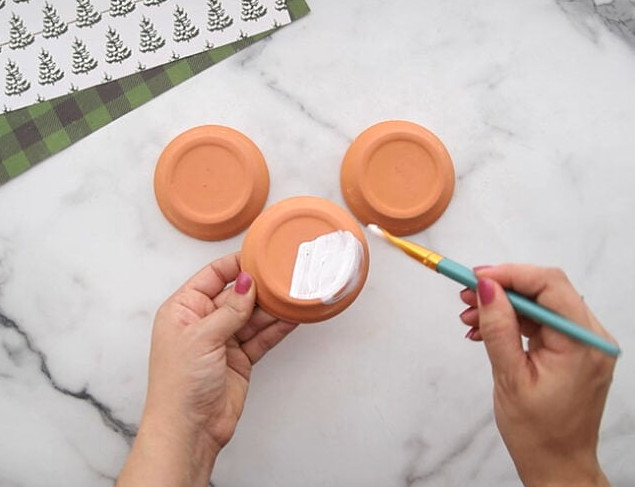
1. Paint the saucers white.
Begin by coating the clay pot saucers with white paint. Leave them aside until dry.
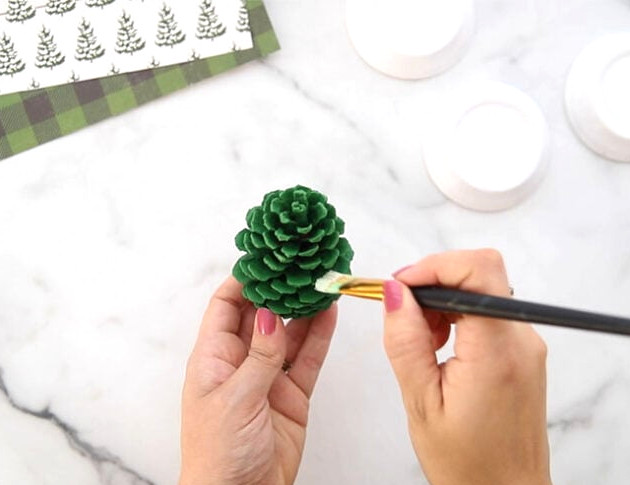
2. Paint the pine cones green.
Coat the pine cones with green acrylic paint.
It doesn’t need to be flawless; leaving a few areas bare will make the pine cones resemble the brown limbs of a natural tree.
3. Brush the edges with white paint.
Gently apply white paint along the pine cone edges to create a snow-covered appearance.
For the simplest technique, place only a very small quantity of white paint on your brush so it is nearly “dry,” then softly dab along the pine cone’s edges.
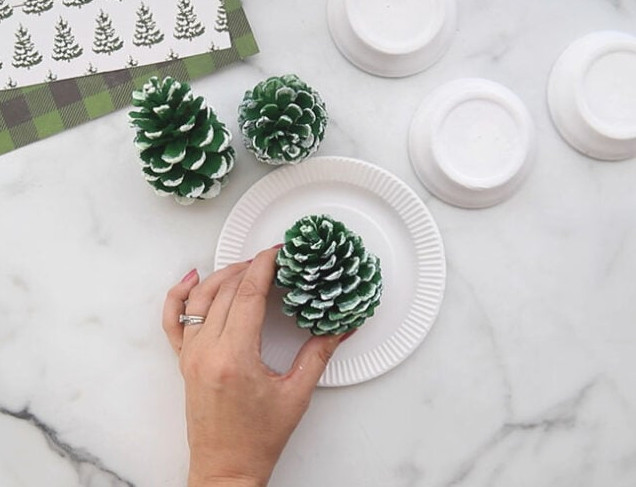
4. Leave the paint to dry.
Before you begin decorating, make sure the paint has dried completely.
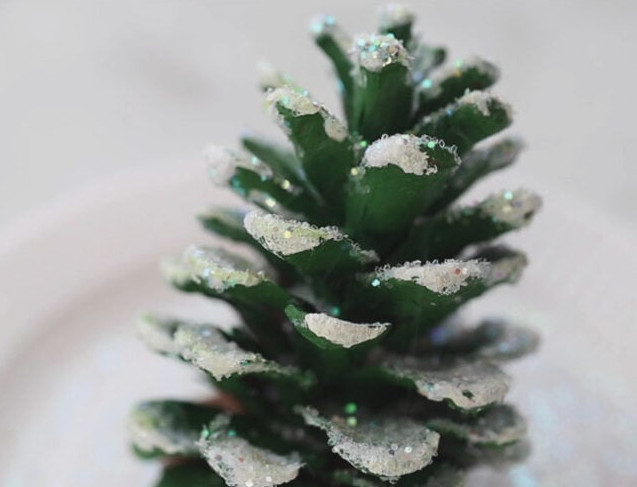
5. Sprinkle glitter onto the pine cones.
Brush a thin layer of Mod Podge (or white glue) over the pine cones.
Sprinkle iridescent glitter across the pine cones while the adhesive remains wet.
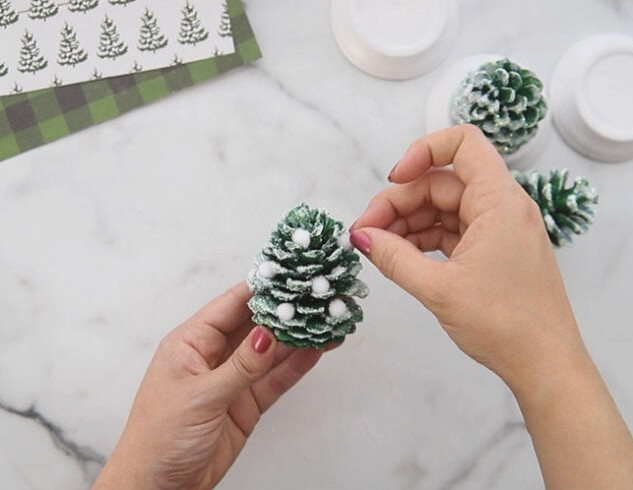
6. Attach pom poms.
Adhere small pom poms to the pine cones. They will resemble festive ornaments on the trees.
A hot glue gun may be used with adult supervision, or we prefer tacky glue, which provides a stronger hold for attaching pom poms.
7. Place a gold star atop the pine cone.
Stick two gold star foam stickers together with glue. Next, attach the star to the pine cone’s top to create the tree topper.
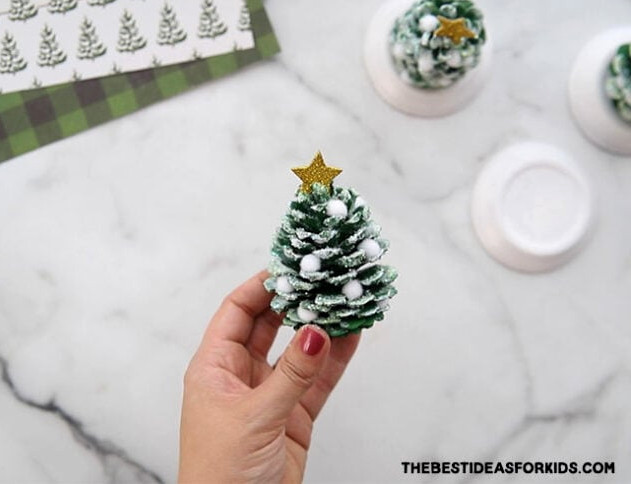
8. Secure the pine cone to the painted saucer.
To finish, use hot glue with adult supervision to fasten the pine cone’s bottom to the clay pot saucer.
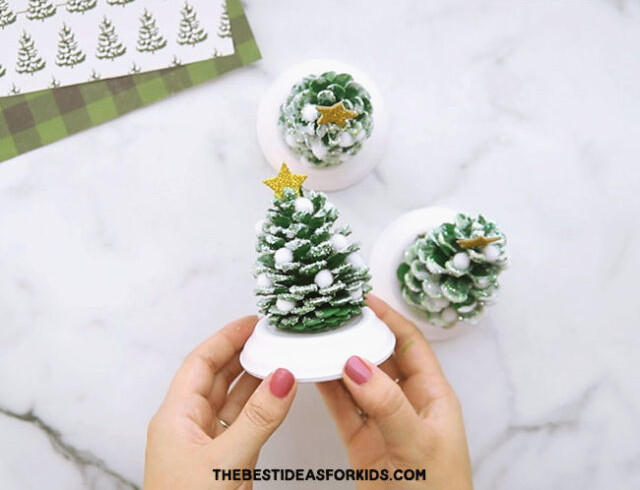
Your pine cone Christmas tree is complete! Experiment with colorful pom poms and other craft materials to see how many unique Christmas tree designs you can create.
Children will have fun using these to decorate the house throughout the holiday season! They’re also lovely gifts.
For another pine cone holiday project, try making this pine cone Christmas wreath.