
At Christmas, handmade cards are the most delightful ones to receive. This snow globe Christmas card is simple to create using our free printable. Your children will have so much fun making it!
RELATED: Christmas Handprint Cards
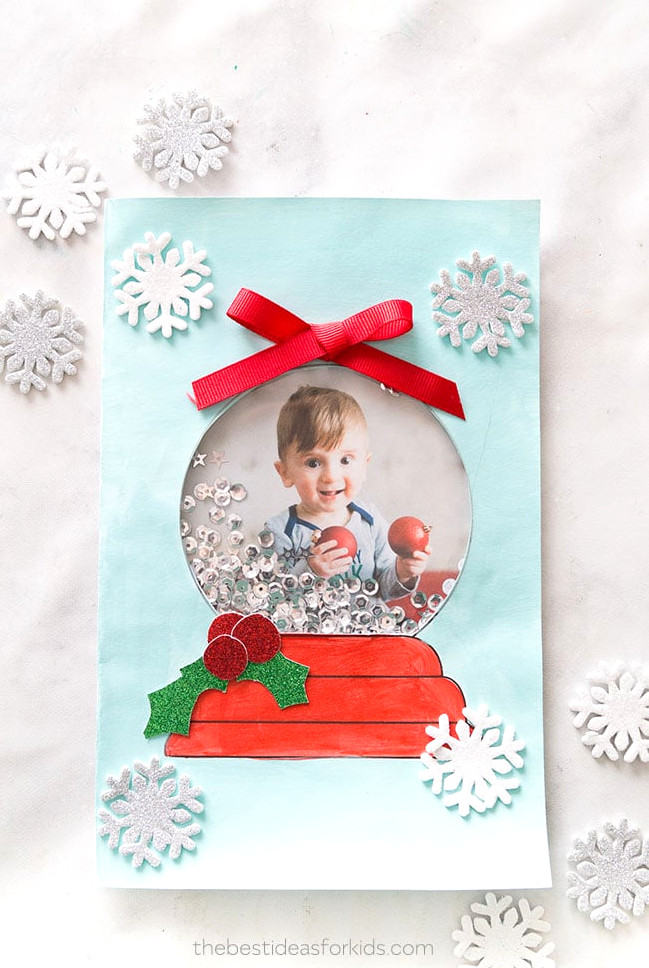
With our printable snow globe template, this Christmas card comes together quickly and easily.
Sign up for our newsletter on the form with the preview of the snow globe template to have the template sent to your email as a complimentary gift.
Children can decorate the front of the card using markers, crayons, pencil crayons or paint! They may also assist with gluing on the decorations and will enjoy adding the sequins inside the card.
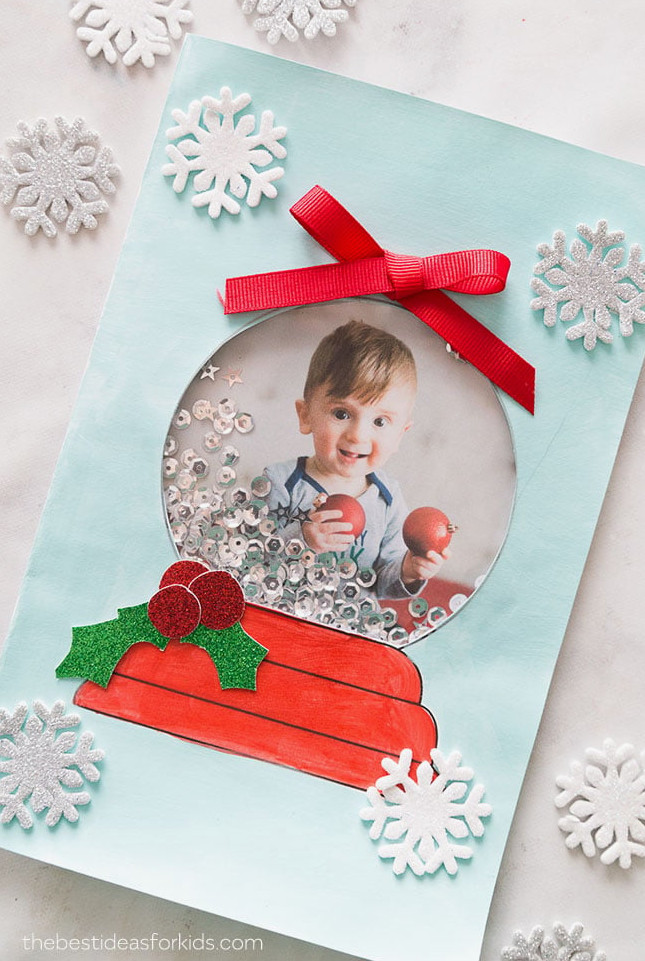
Whether it’s a handprint card (we have several adorable options you can seehere) or a card featuring a child’s drawing, a handmade card always feels more thoughtful than one purchased from a store.
Watch the Video Tutorial!
Supplies Needed
- White cardstock (choose the heaviest option available, as thicker paper works best for a card – we prefer paper above 100 lb)
- Snow Globe Card Template – sign up for our newsletter on the form with the preview of the snow globe template to receive the template by email as a free gift
How to Make a Snow Globe Card
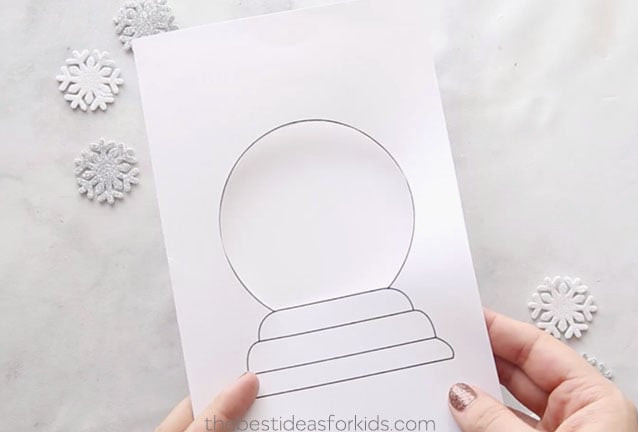
1. Begin by printing the snow globe template.
Printing Tips
Before printing, confirm that your printer settings are set to fit the page and that the snow globe template sits in the center of the paper’s right side. This positioning ensures the snow globe will be centered on the card after folding. Since printers and their settings vary, you might have to resize the template during printing. Look for a setting labeled “scale,” which lets you change the size to 80% or 90%, or select the “fit to page” option.
After printing, cut out the circular section of the snow globe.
Slightly curve the paper to create a starting mark, then trim around the template’s inner edge. Keep the black border intact so the snow globe outline remains visible.
2. Decorate your snow globe card with paint or coloring.
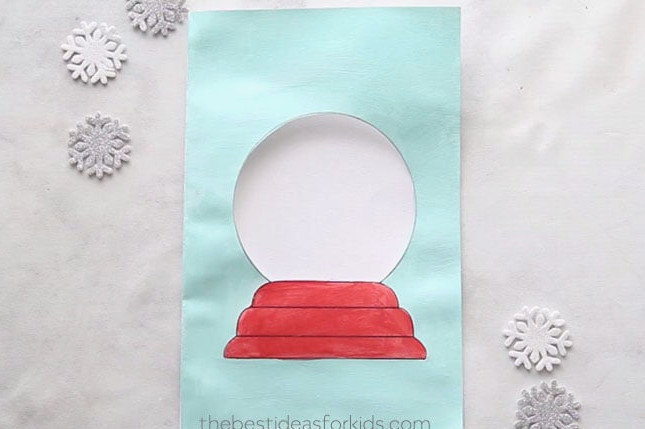
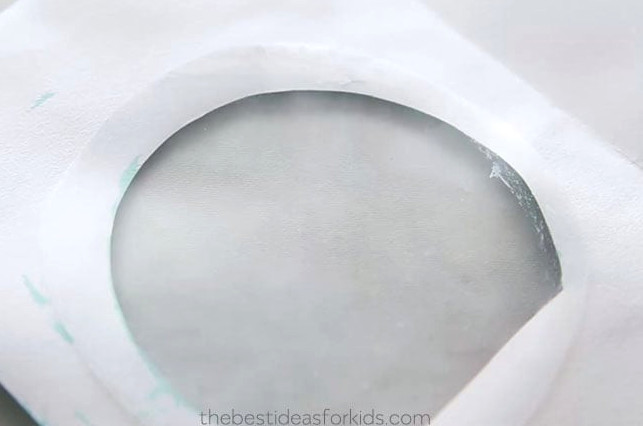
3. Trim a transparent plastic sheet so it covers the area around your snow globe opening.
Next, adhere it to the card’s interior.
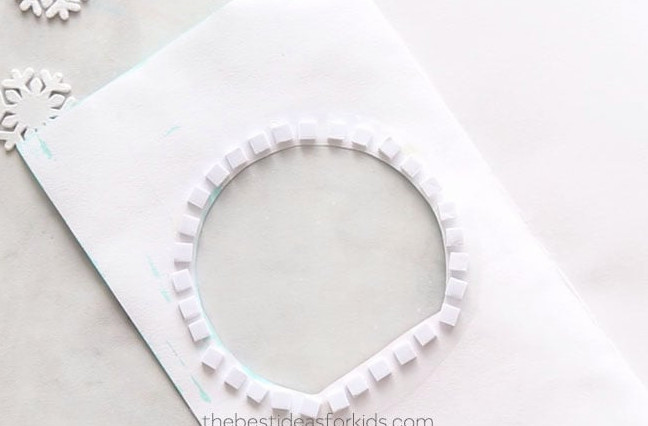
4. Apply dual adhesive foam mounts around the entire inside edge of the card.
Position them as near to the opening as possible without allowing them to appear through the snow globe cut-out. Keeping them close to the border stops the sequins from sliding behind the cut-out section, where they cannot be seen from the front.
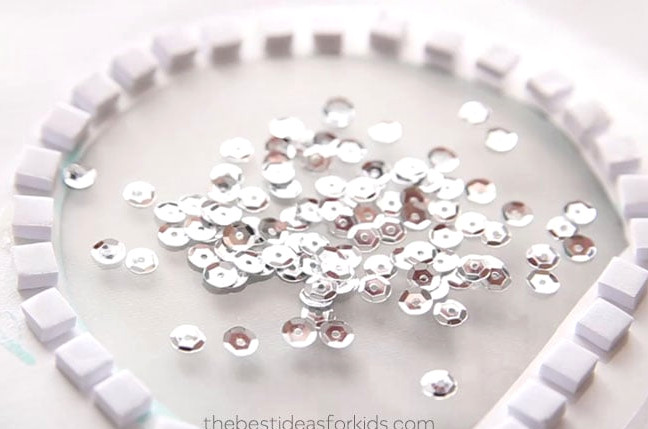
5. Put the sequins inside the card.
Choose sequins that are small enough to fit but not so tiny that they can pass through the gaps between the foam mounts. If they keep slipping out, bring the foam mounts closer together.
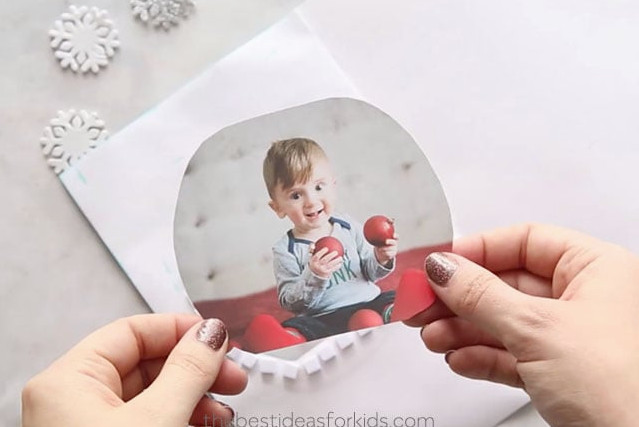
6. Position your photo over the top.
When using dual-adhesive foam mounts, the photo should attach securely and remain in position.
7. Complete the decoration on the front of your card!
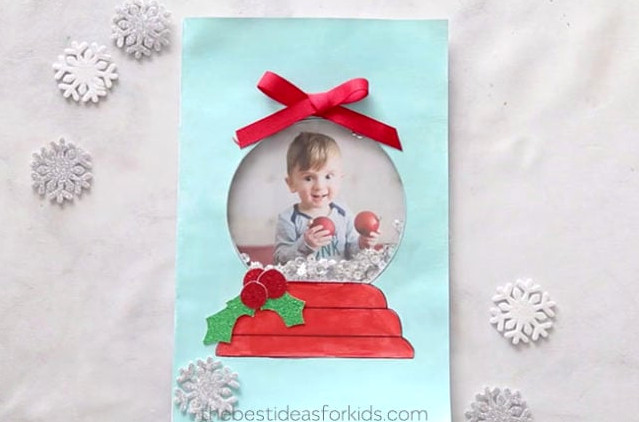
We created holly leaves and berries using red and green glitter paper, then attached them with glue. We also placed a tiny red bow at the top along with glittery foam snowflakes.
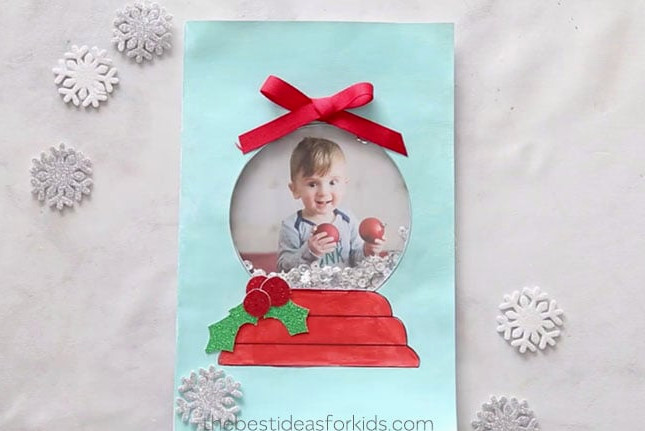
8. To finish, add your heartfelt Christmas greeting inside the card!

We adore how simple this card is to create!
Parents and grandparents will be delighted to receive this thoughtful card from your children. You could even add a family picture inside and turn it into your family’s Christmas card.
Find the Template Here
Download the Free Card Template
Have the free card template delivered directly to your inbox. You’ll also get our complimentary weekly newsletter.
Already subscribed? No problem—you won’t be signed up twice!
Additional Christmas Card Inspiration
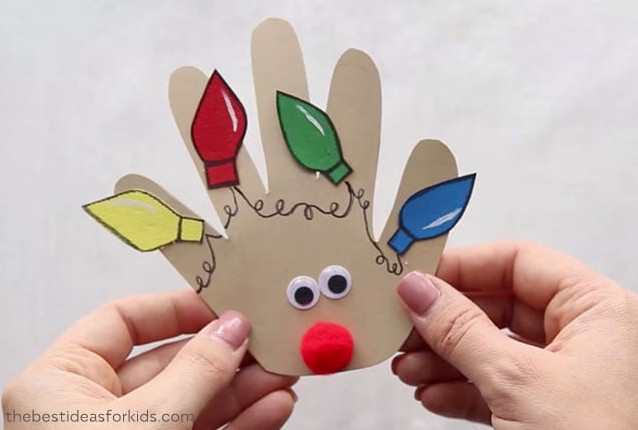
These adorable handprint Christmas cards are wonderful holiday keepsakes!
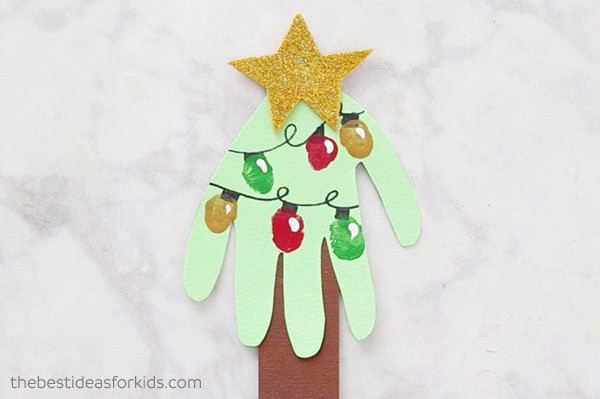
This handprint Christmas tree card features fingerprints as colorful lights!
Explore 50+ Christmas Crafts for Kids – this post is packed with enjoyable holiday craft projects.