
This adorable handprint bunny makes a cheerful and effortless Easter project! It comes together in no time, and the completed craft becomes a wonderful Easter keepsake. You can even transform them into greeting cards!
RELATED: Footprint Bunny
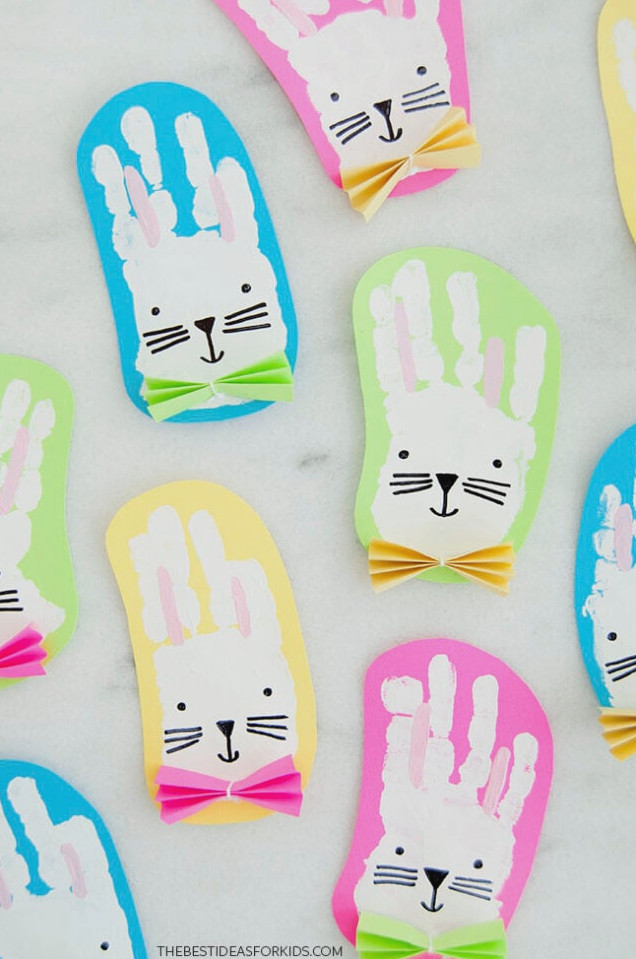
Handprint Bunny Craft
For this handprint bunny project, we chose white paint paired with vivid paper backgrounds for a traditional Easter Bunny appearance. You can also vary the design by creating brown or pastel-hued bunnies.
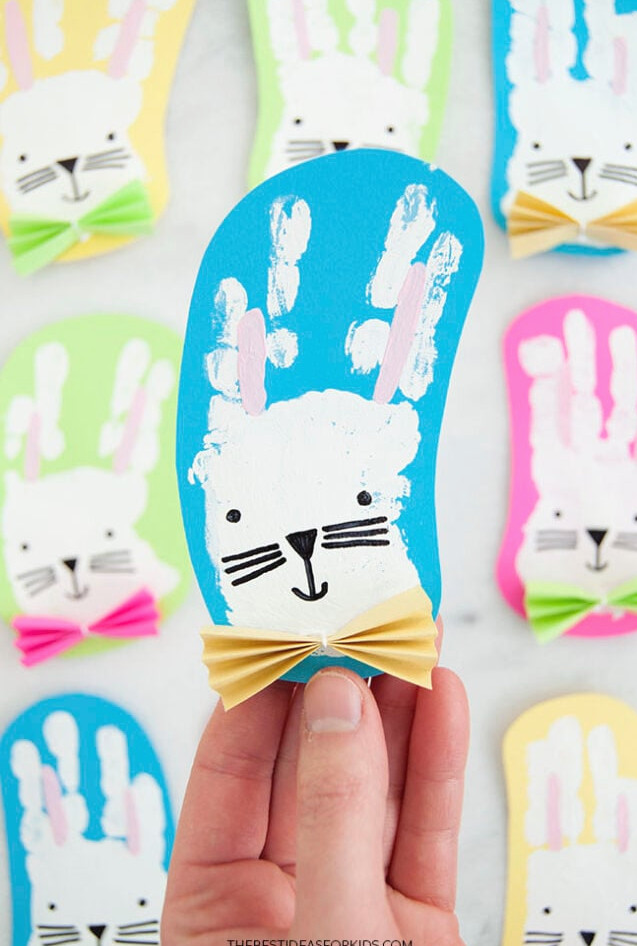
Remember to add your children’s names and the date to the back of each handprint Easter bunny! Creating them annually would make a lovely Easter tradition.
Supplies Needed
- Paintbrushes – medium and small sizes
- Black marker – for sketching the bunny faces
- Tacky glue – for fastening the bowties (hot glue may also be used with adult supervision)
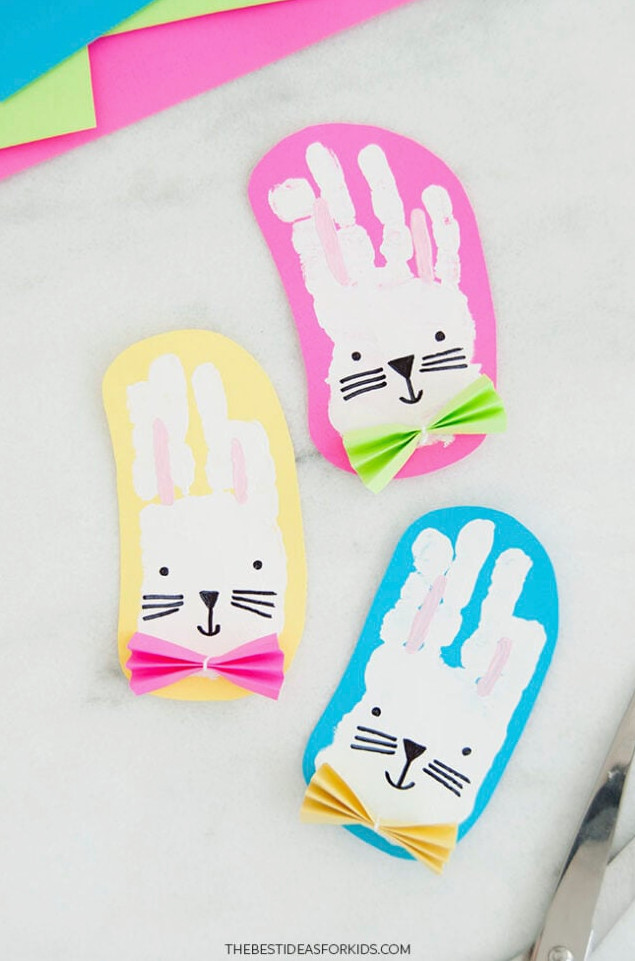
How to Make a Bunny Handprint Craft
1. Create the handprint.
Coat your child’s hand with white non-toxic tempera paint, keeping the thumb free of paint.
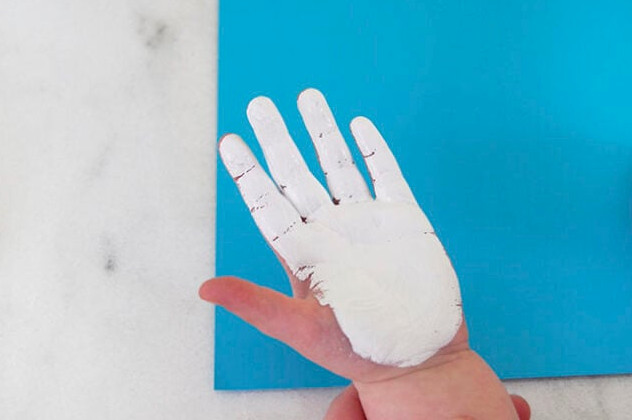
Carefully place your child’s hand onto the paper.
Ask them to hold their fingers together at first, then spread them apart so a narrow space remains between the middle and ring fingers.
A flawless print isn’t necessary. Any uneven areas can be corrected using a paintbrush.
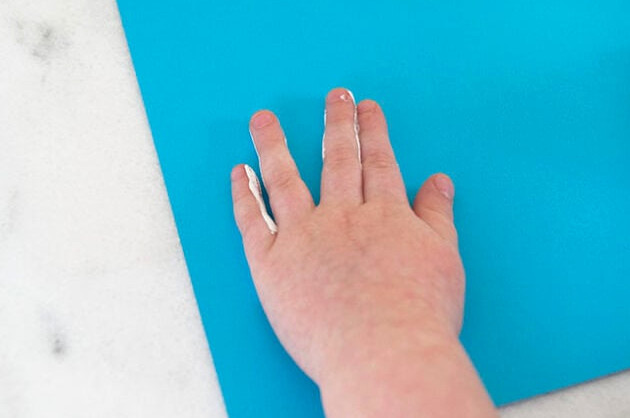
Lift the hand away and add more prints by repainting it. If some areas are missing paint, apply a small amount to fix them.
Allow the handprints to dry thoroughly.
Afterward, clean their hands carefully using soap and water.
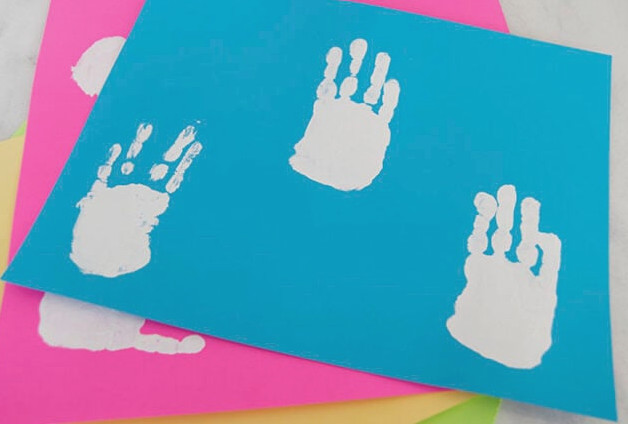
2. Trim the handprints.
Snip around the handprints, keeping a little bit of the surrounding color along the borders.
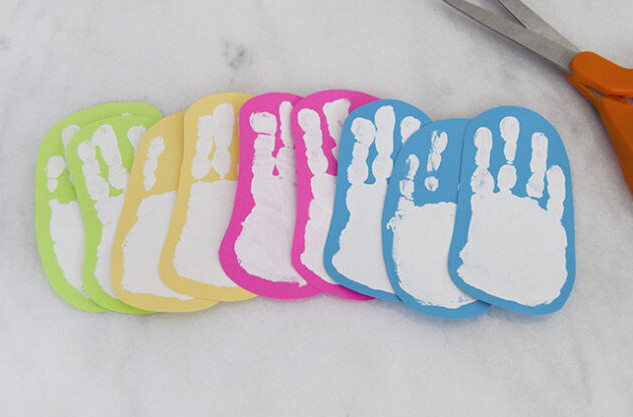
3. Add color to the ears.
Brush one pink line between the pointer and middle fingers, then paint another between the ring and pinkie fingers. Leave the paint to dry.
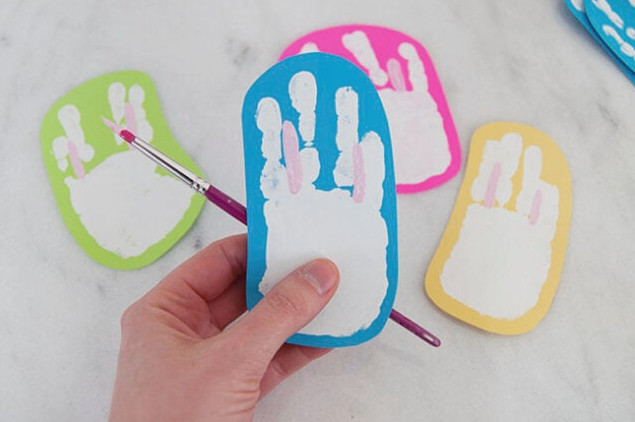
4. Sketch the bunny faces.
With a black marker, add eyes, a nose, a mouth, and whiskers to every bunny.
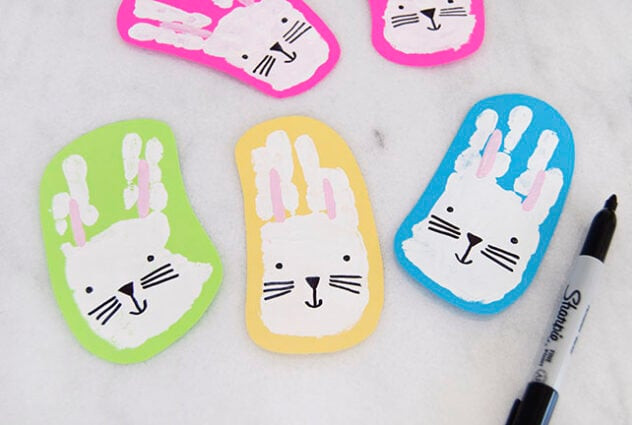
5. Create the bowties.
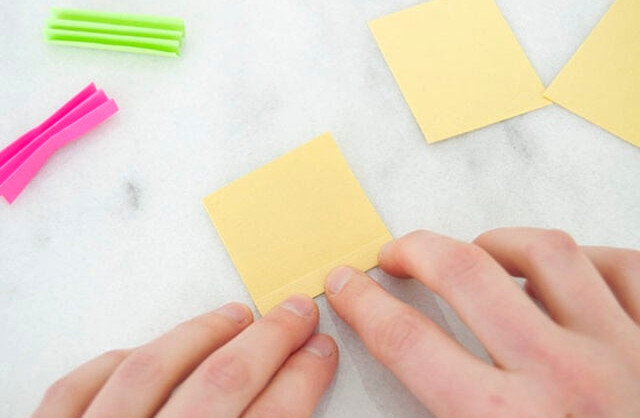
Begin by cutting colored paper into a rectangle measuring approximately 2″ wide by 2 1/2″ long.
Position the 2″ edge nearest to you, then fold the paper accordion-style, similar to making a paper fan, creating pleats about 1/4″ wide.
Continue folding until the entire sheet becomes pleated.
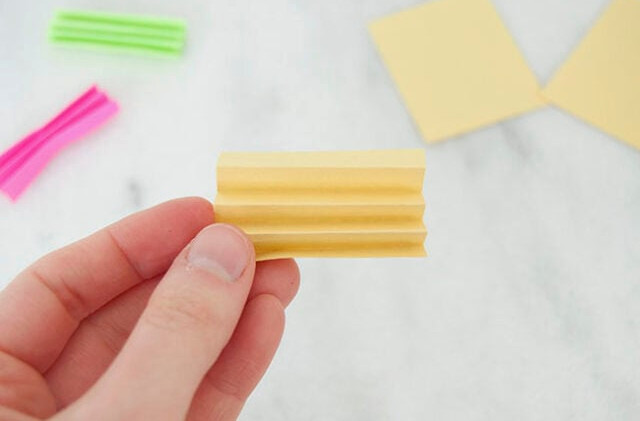
Snip a piece of string approximately 4″ long. Wrap it around the middle of the accordion-folded paper and secure it with a double knot.
Cut off any remaining string ends.
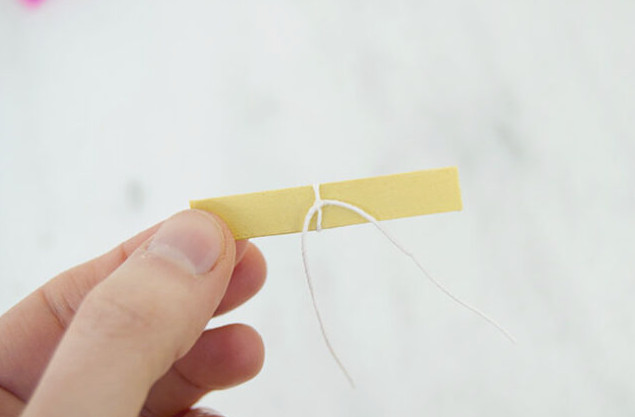
Carefully spread the folds with your fingers so the paper takes on the appearance of a bow.
Place a tiny amount of tacky glue beneath the bunny’s chin, then set the bow on it and press firmly. Should the bow tie come loose, apply a little hot glue with help from an adult.
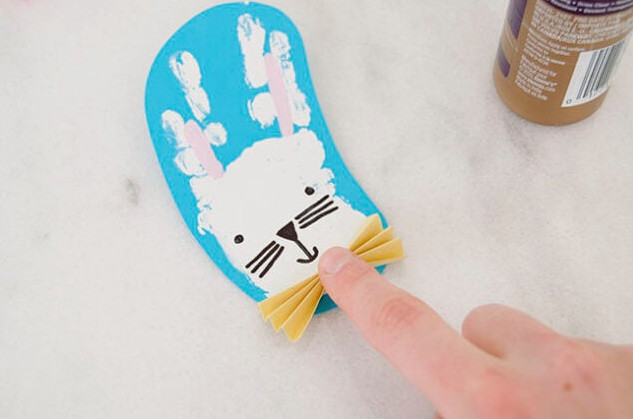
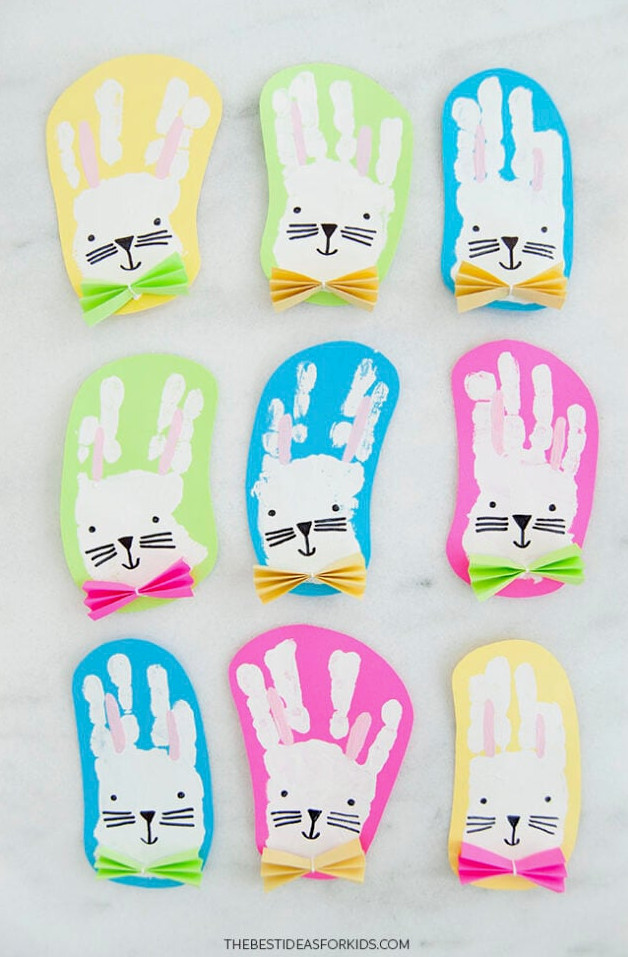
Craft as many bunnies as you want, using different colors to create an entire collection! You could also attach them to a card to make an Easter greeting card.
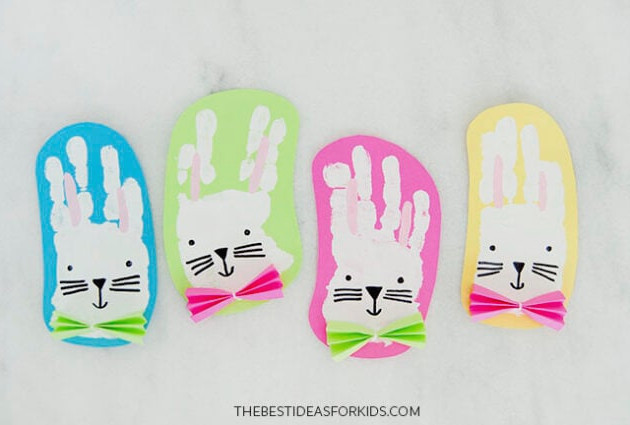
After the glue has fully dried, remember to put your children’s names and the date on the back of every bunny!
Explore these additional Easter bunny crafts: