
Build the ideal workspace with a brand-new DIY built-in desk.
Few things inspire productivity like an attractive built-in desk with plenty of storage! Creating your own DIY built-in desk may seem challenging, but it is actually quite simple.
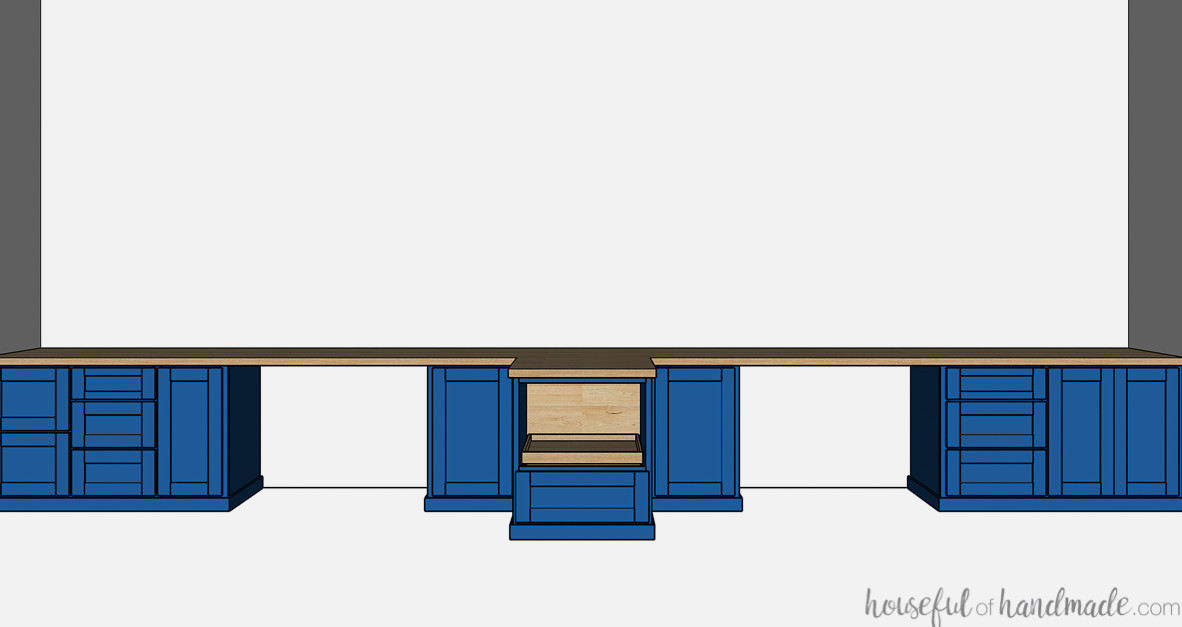
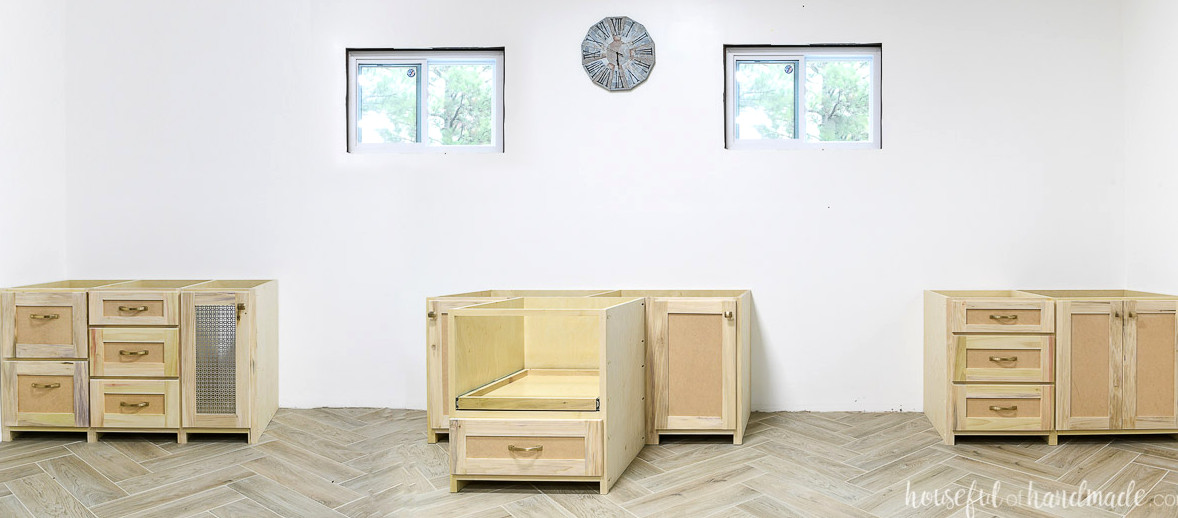
A built-in desk consists of several desk cabinets with an opening between them where you can sit. Constructing the cabinets is as straightforward as assembling boxes, since every cut is made at a 90-degree angle.
To begin the New Year on a productive note, I teamed up with Kreg Tools and used their Hardware Installation Kit to build the ideal built-in desk for my new office.
The Kreg Hardware Installation kit contains a concealed hinge jig for mounting doors, a cabinet hardware jig for quickly attaching knobs and pulls, two 3″ face clamps for producing precise face frames and cabinet doors, and the 310 pocket hole jig for creating pocket holes with ease.
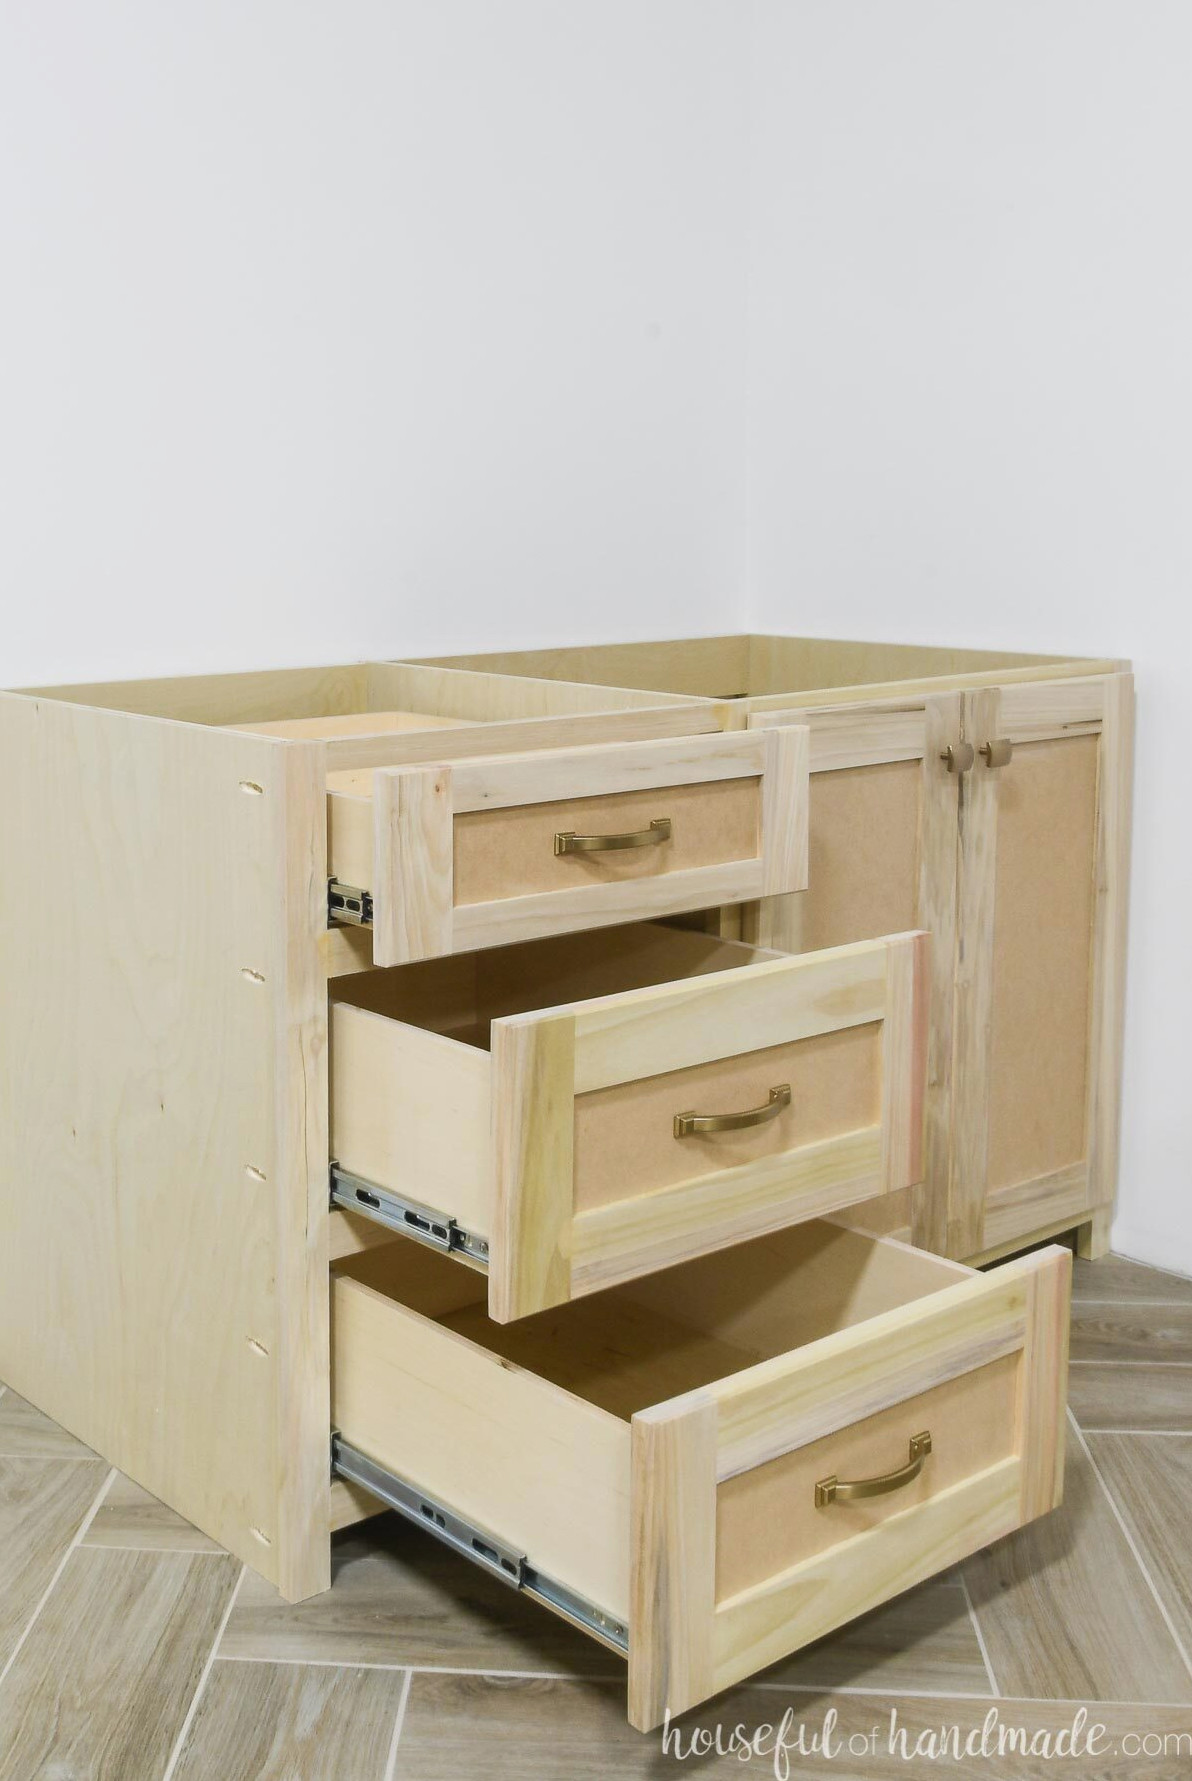
Built-in Desk Cabinets
A built-in desk is made up of multiple cabinets with an opening in between for seating. A desktop is then installed across the tops of the cabinets and over the opening.
You can arrange the cabinets in any way that suits your requirements. Common desk cabinet options may include:
- Drawers for storing office supplies
- Drawers for filing documents
- Bookcases
- Cabinet for concealing a computer stack (use a decorative metal sheet for the door panel to allow airflow)
- Printer cabinet for keeping the printer off the desktop
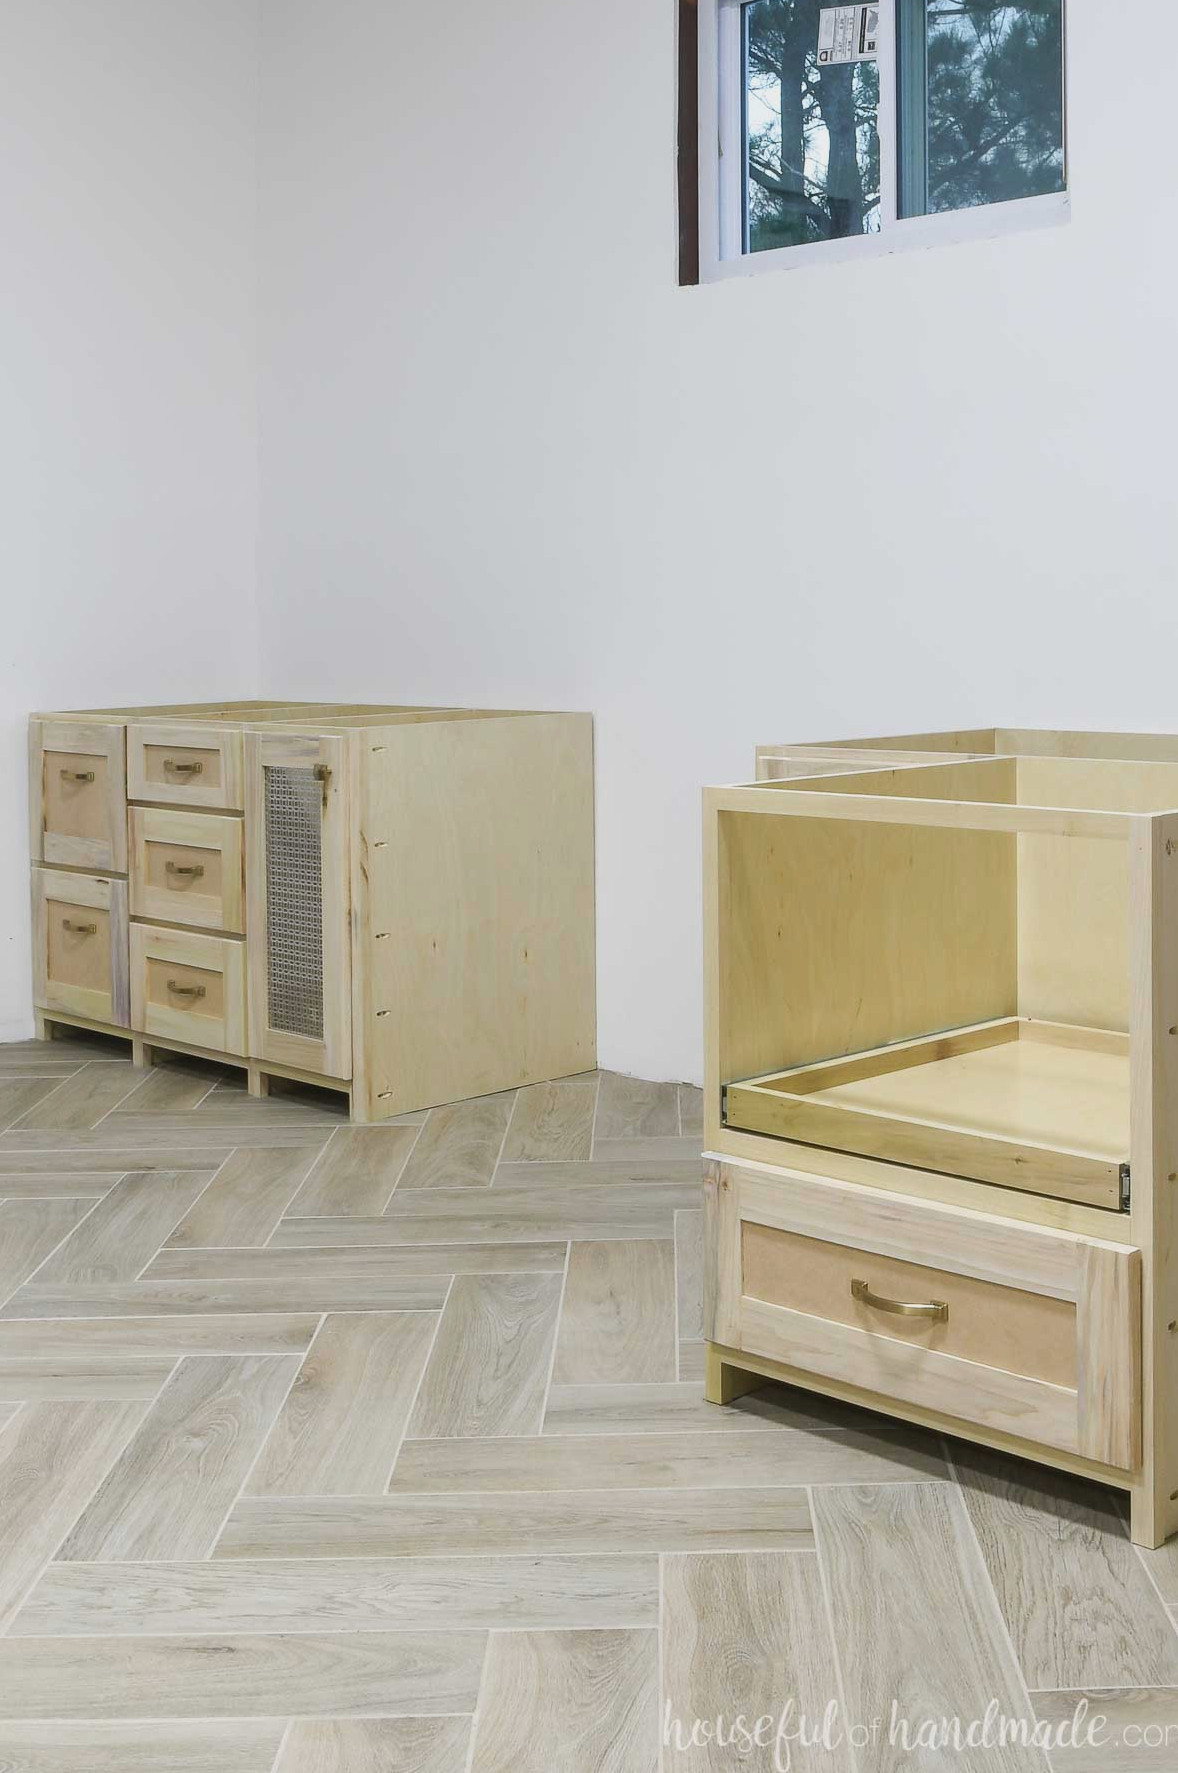
Constructing cabinets for a built-in desk differs slightly from making cabinets for a kitchen or bathroom vanity. However, many of the same principles still apply.
For plenty of general cabinet guidance, I suggest starting with this how-to-build-cabinets post.
What height should desk cabinets be?
A typical desk stands about 28-30 inches high, including the desktop.
To determine the height of your built-in desk cabinets, first decide the finished desk height you prefer and note the thickness of the desktop. Next, subtract the desktop thickness from the overall height.
You may need to elevate your monitor on the desktop using something like this simple DIY monitor stand so it reaches the proper level. Desk height is determined by a comfortable position for using your keyboard and mouse.
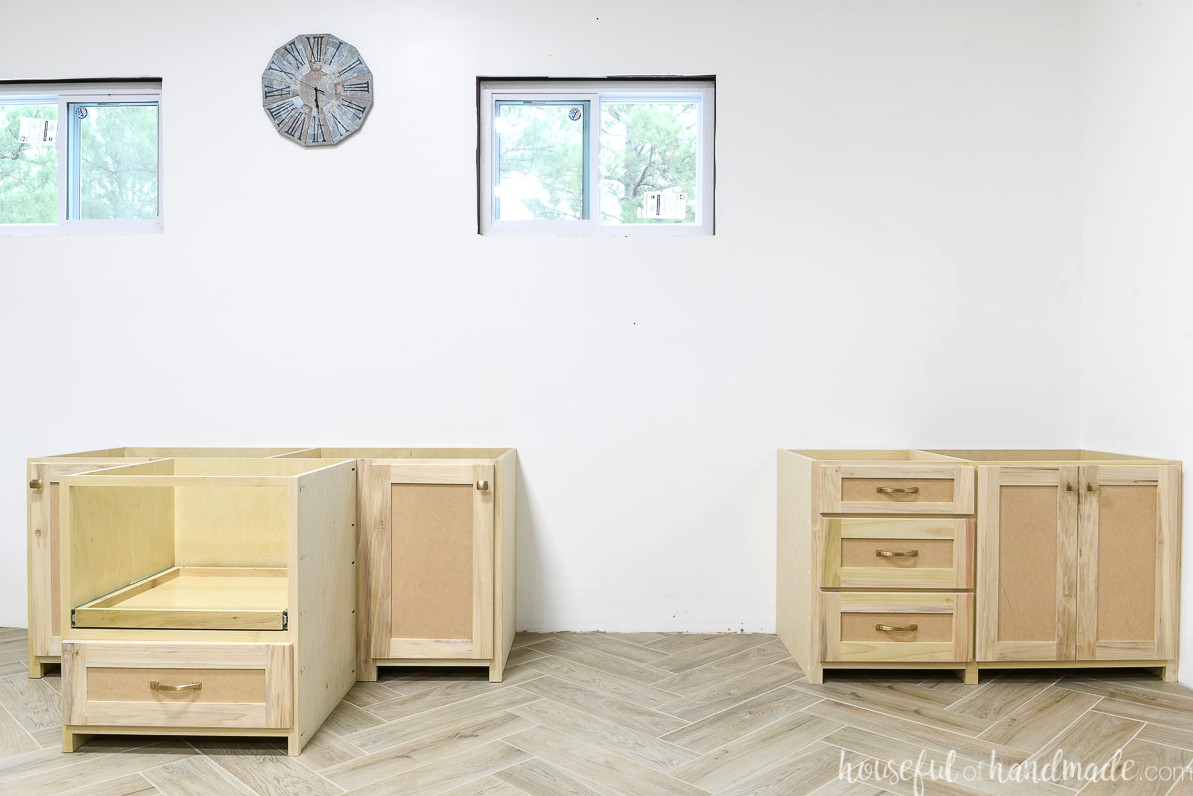
What depth should desk cabinets have?
Most conventional desks measure 24-36″ deep. However, because modern computers are more compact, a less-deep desk can work well.
If you have sufficient room, I would advise making your built-in desk at least 24″ deep. When space is limited, though, an 18″ deep desk may be suitable.
Be certain that there is enough legroom beneath the desk so your knees do not press against the wall.
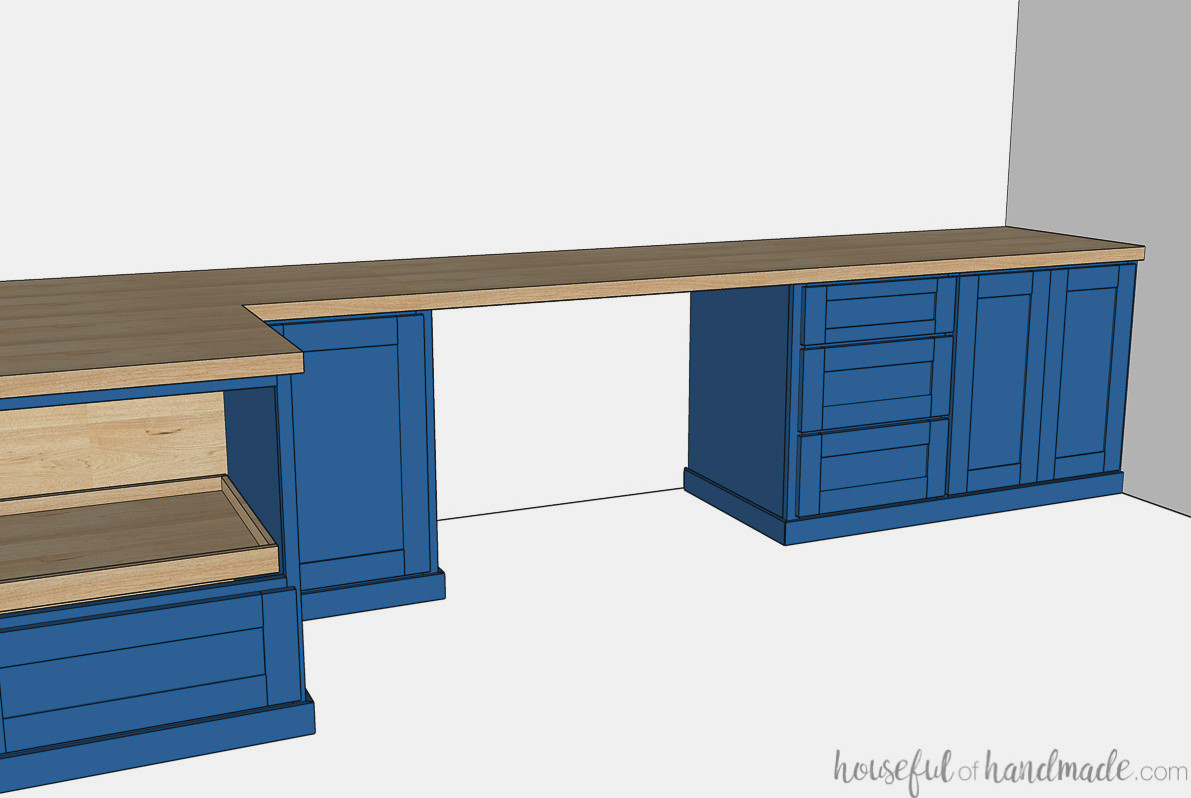
If your desktop is 24″ deep, the cabinets should be a little shallower. Plan for a 1/2″-3/4″ overhang along the desktop. Also, when using overlay cabinet doors, subtract the thickness of the doors.
For my built-in desk cabinets, I cut the plywood sides to 22 1/2″ wide. I then attached a 3/4″ thick face frame, creating a cabinet depth of 23 1/4″. Since the cabinet doors are 3/4″ thick, the completed cabinet depth is 24″.
I plan to make the desktop 24 1/2 to 25″ deep so it extends slightly beyond the cabinets.
How wide should the opening between desk cabinets be?
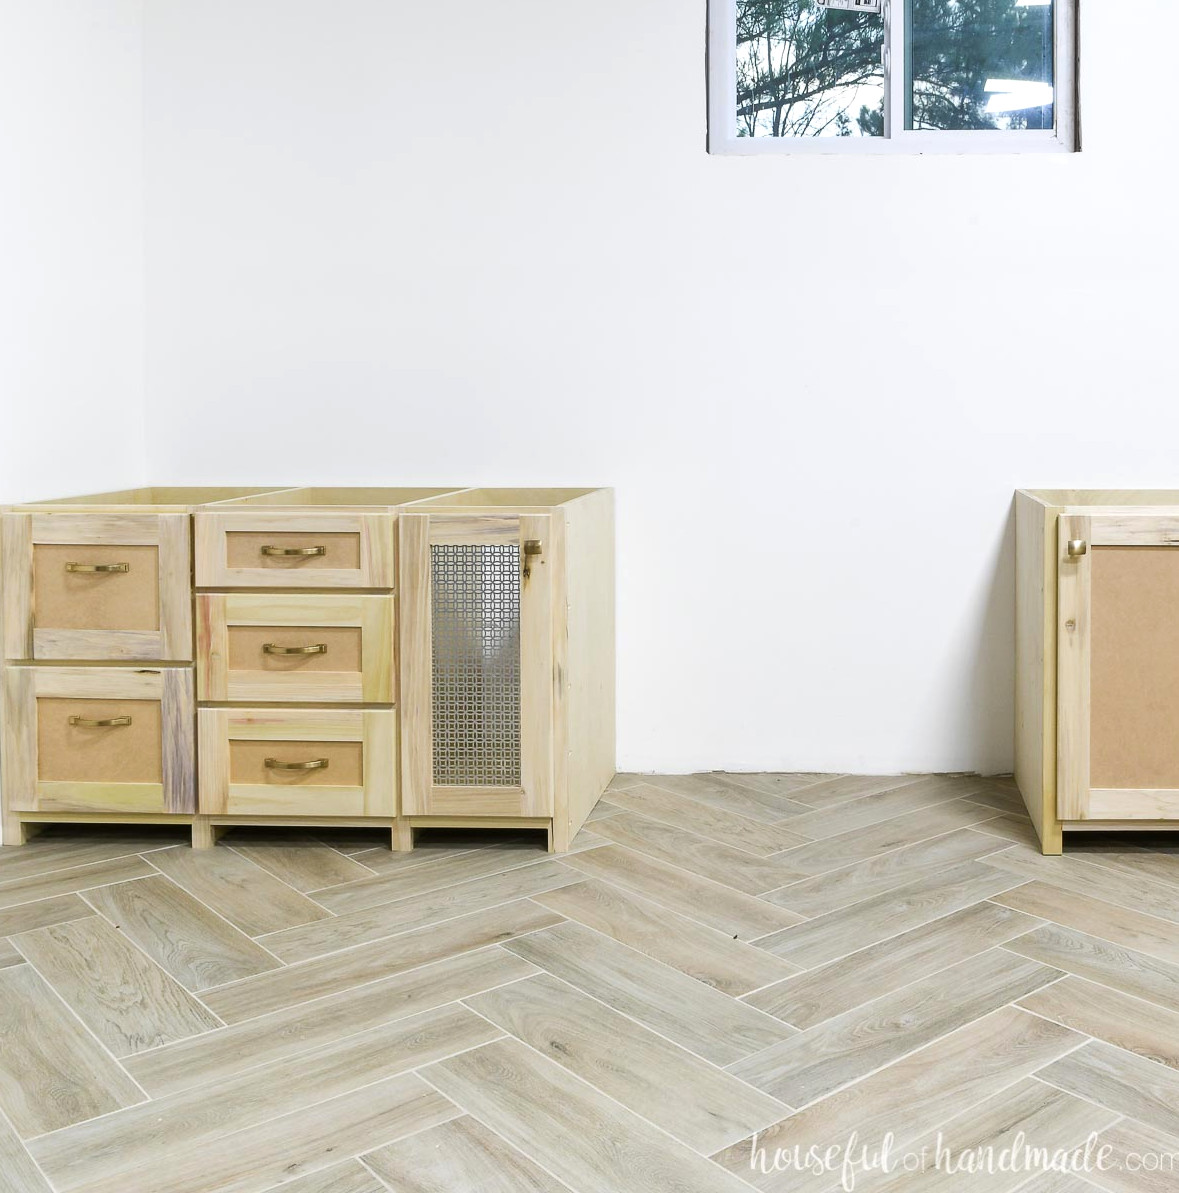
For an adult workspace, leave an opening of 30-40″ between the desk cabinets. A child’s desk can have a somewhat narrower opening.
It is wise to measure the chair you intend to use at the desk first, ensuring it fits comfortably within the workspace.
Should you choose face-frame or frameless cabinets?
Either cabinet box style can be used to build your built-in desk. Details about the advantages and disadvantages of both options can be found in this cabinet-building post.
I decided to use face-frame cabinets for my built-in desk. This approach let me create each cabinet section as one unit with a shared face frame and common interior walls.
This construction method reduced the amount of lumber I needed and saved money. Rather than using two sides for every cabinet, I used one shared center wall. Likewise, instead of adding two face-frame stiles, I incorporated one shared stile.
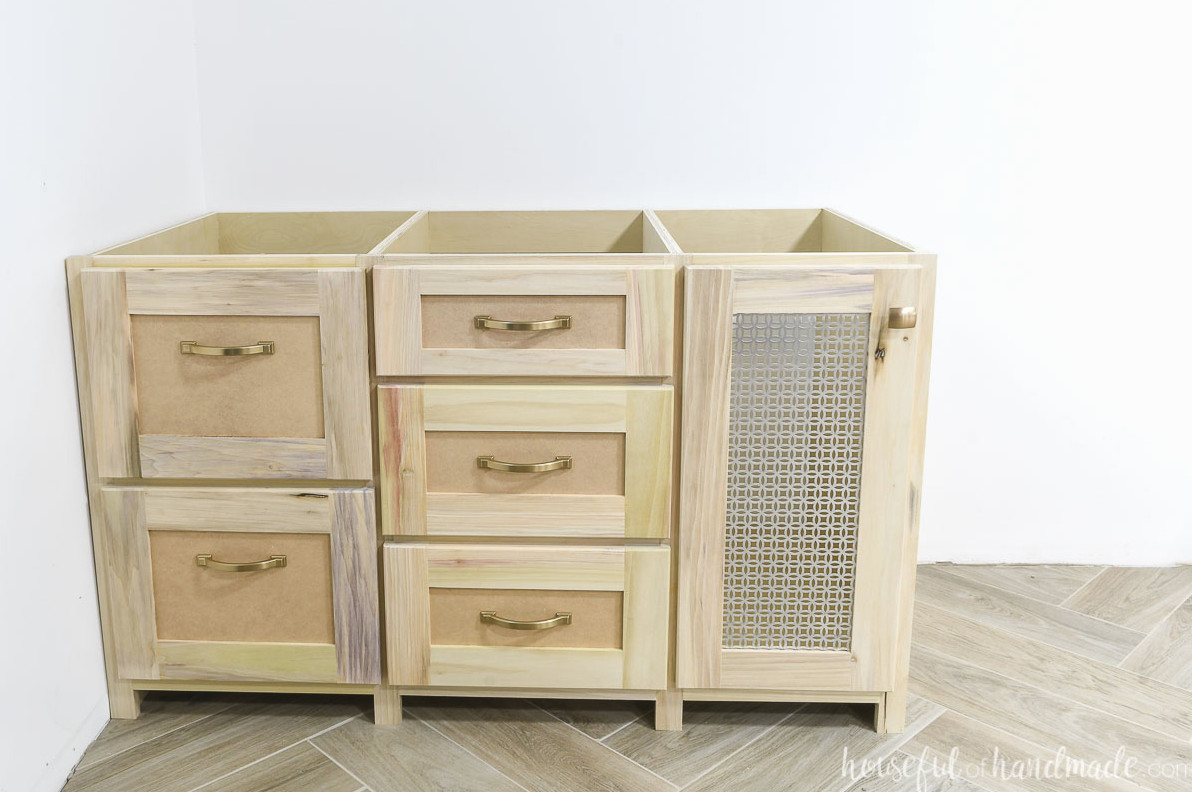
This cabinet-building approach also allowed me to make use of the entire available space.
Usually, each cabinet is constructed as an individual box. The sections are then fastened together during installation. With a large cabinet bank, this is important because oversized cabinet sections cannot be carried through doors or moved easily.
For this built-in desk, however, each cabinet section was compact enough to move as one piece, making this an excellent approach.
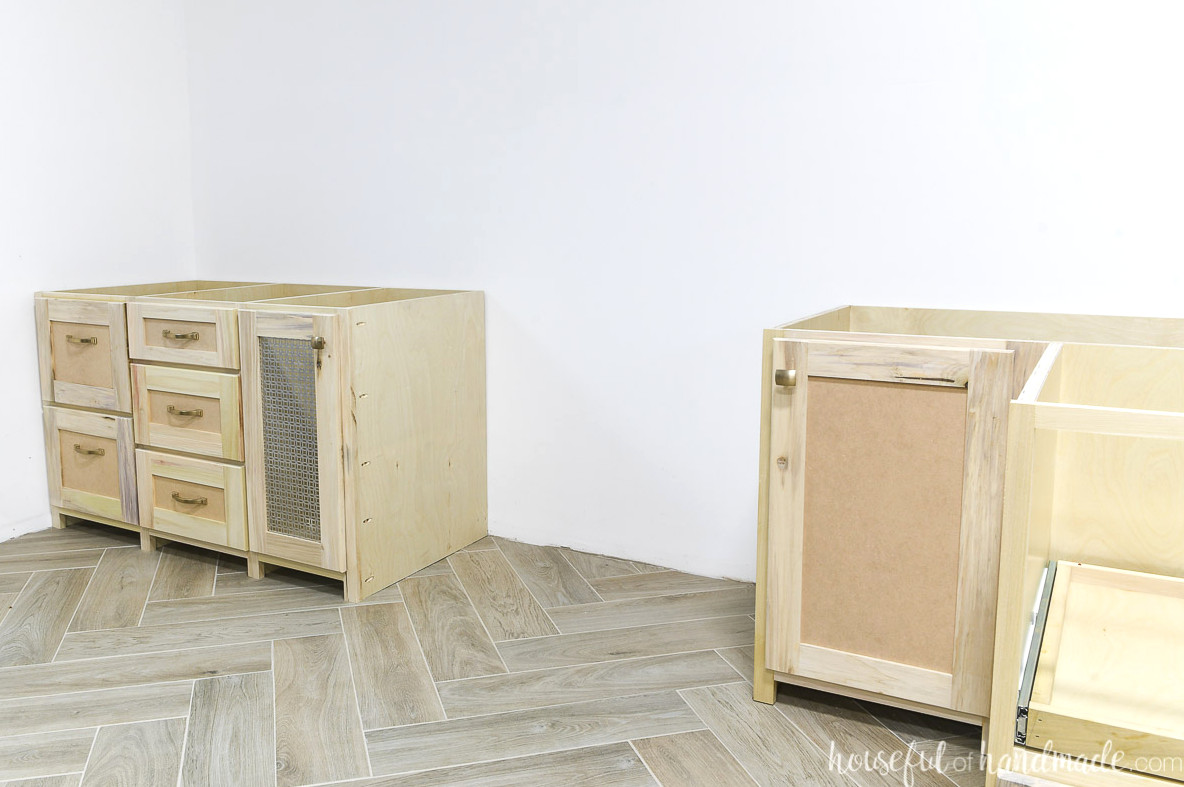
How to Build a Built in Desk
This guide covers everything you need to know to construct your own built in desk cabinets. I am not providing precise dimensions for my cabinets since they were made specifically for my space.
Instead, I am explaining what I did and why I chose those methods so you can create a DIY built in desk that fits the area available to you.
To complete your desk, you will need a countertop. I used a butcher block countertop for our desk project, and it turned out beautifully!
Construct the face frame
Because each cabinet section is being built as an individual cabinet, begin by constructing the entire face frame. Afterward, attach the cabinet box to the face frame.
Because 3/4″ plywood is slightly thinner than its stated thickness, measure and trim each base component to fit. This helps the cabinet align correctly with the face frame.
EXPERT TIP:
Spend additional time aligning your saw blades to an exact 90 degree angle. Doing so will give you perfectly square cabinet boxes and face frames.
Cut the components
Cut each component for the face frames. These pieces do not have to be trimmed for a precise fit.
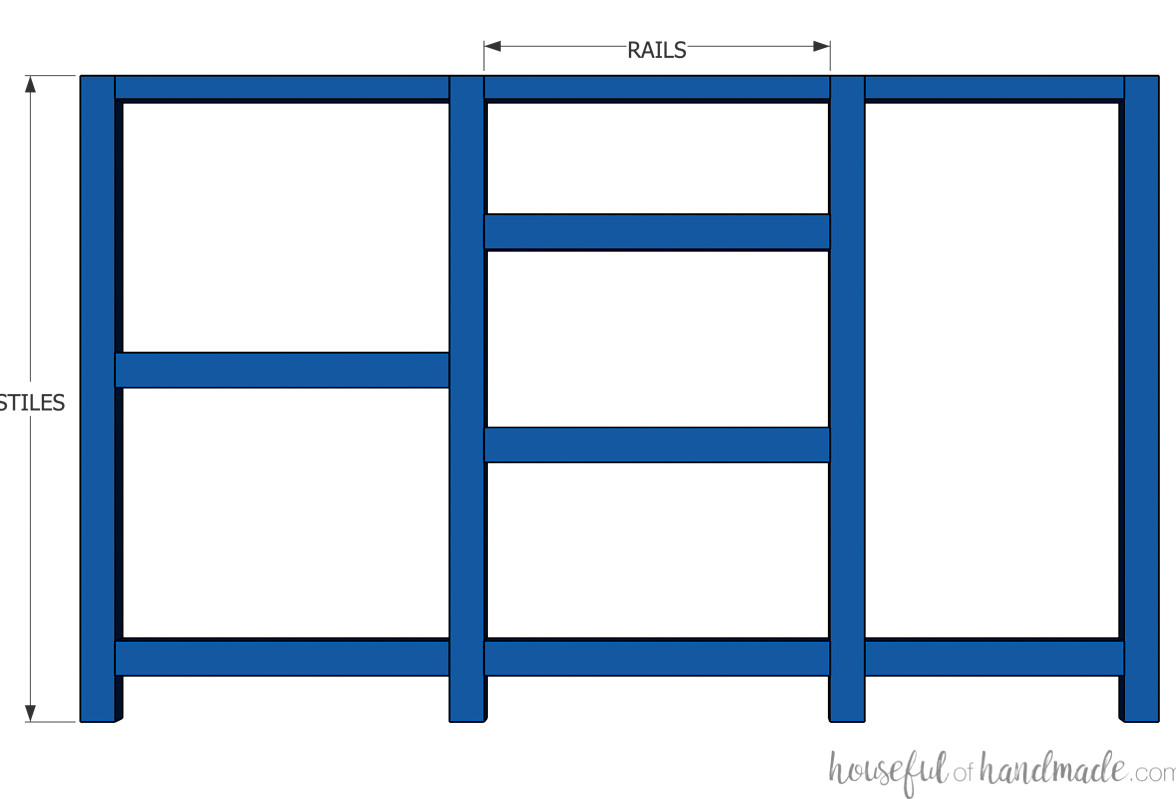
The upright face frame components are called stiles, and they should be cut to the full height of the desk cabinet.
The crosswise face frame components are the rails, which should be cut to match the width of the cabinet or drawer openings.
For additional guidance on creating cut lists, be sure to visit the posts on building base cabinets and drawer base cabinets.
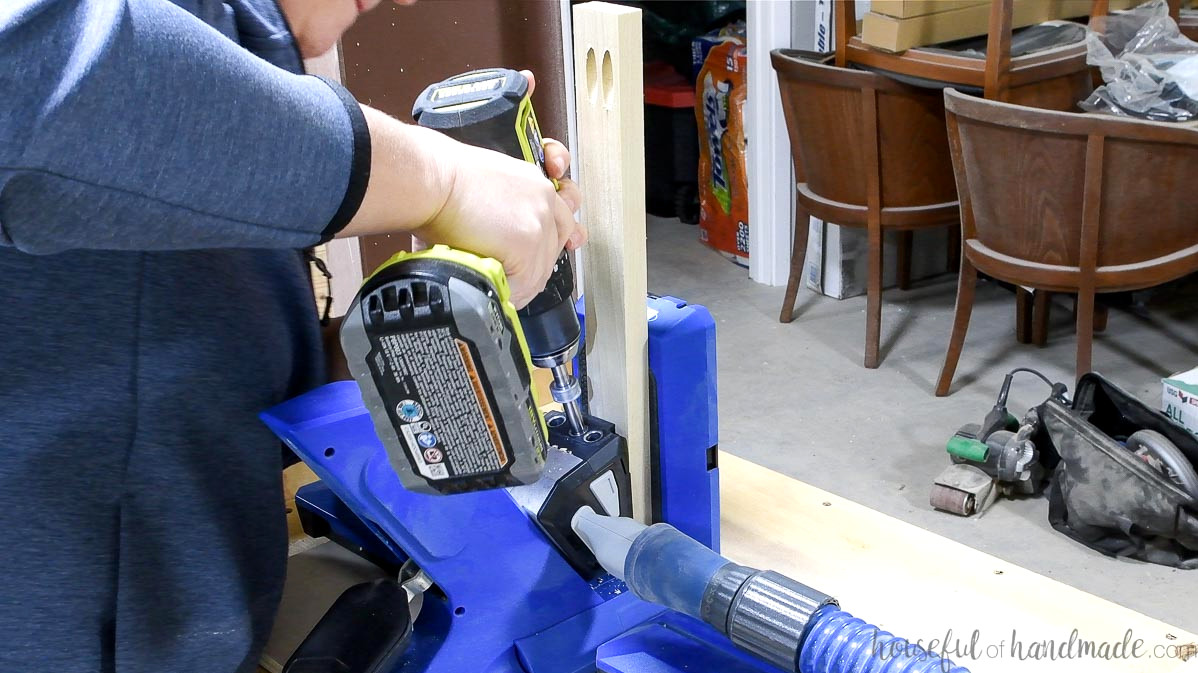
Create pocket holes
Adjust your pocket hole jig for use with 3/4″ thick material.
Make two pocket holes at each end of every face frame rail.
Put together the face frame
Determine the rail positions along the stiles, then mark them on both sides.
Because a toe-kick is not required for the built in desk, a baseboard will conceal the bottom. Therefore, raise the lower rail from the bottom of the stiles by the baseboard height minus 1/4-1/2″.
For the drawers, indicate the positions where the rails will sit between them.
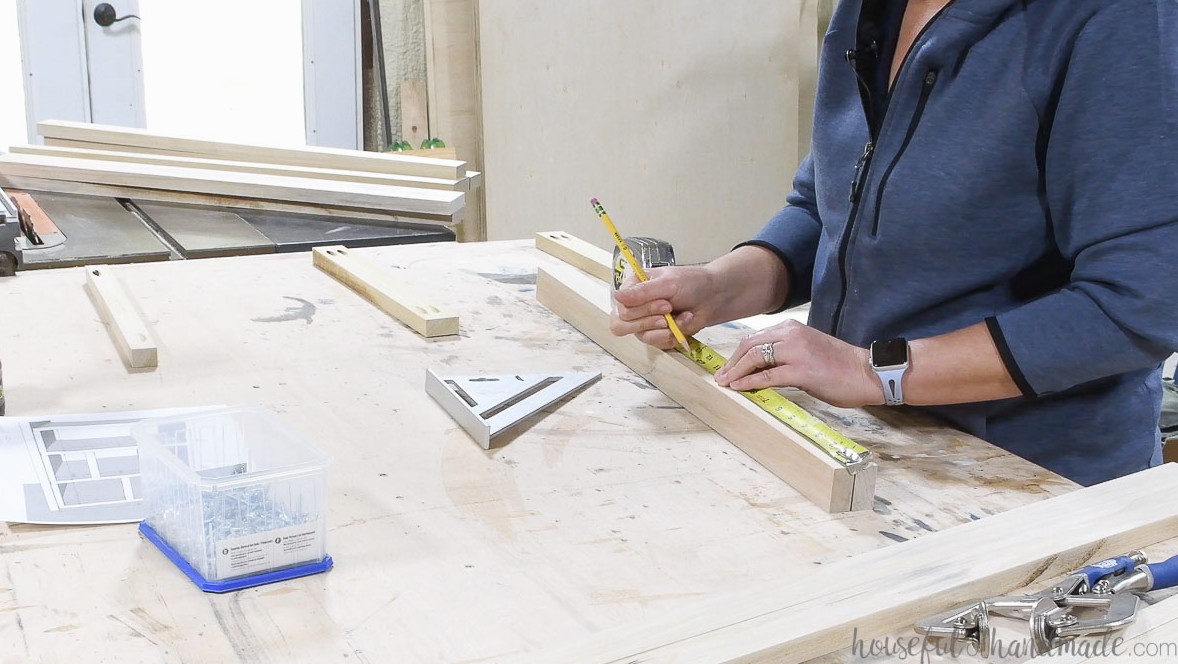
Apply wood glue to the rail edges, then clamp them onto the stiles with the face clamp.
Using the face clamp keeps the front and back of the face frame flush.
Fasten everything with 1 1/4″ pocket hole screws.
EXPERT TIP:
When fastening rails to the ends of the stiles, begin with the screw nearest the board end. This helps keep the wood from splitting along the stile edge.
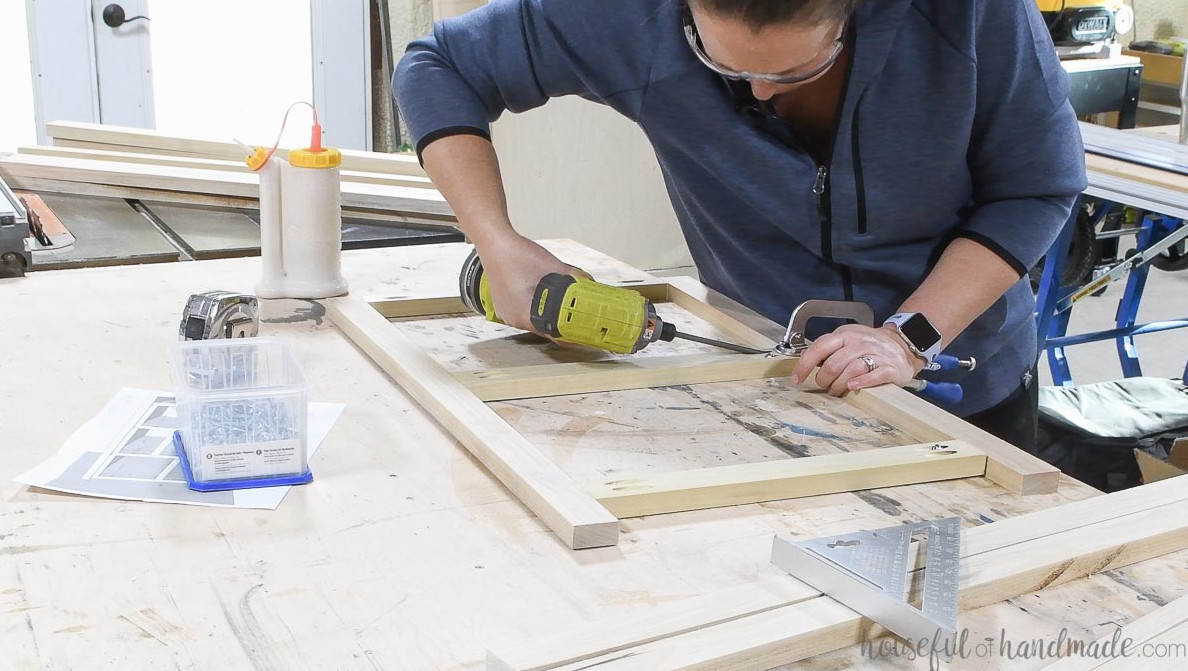
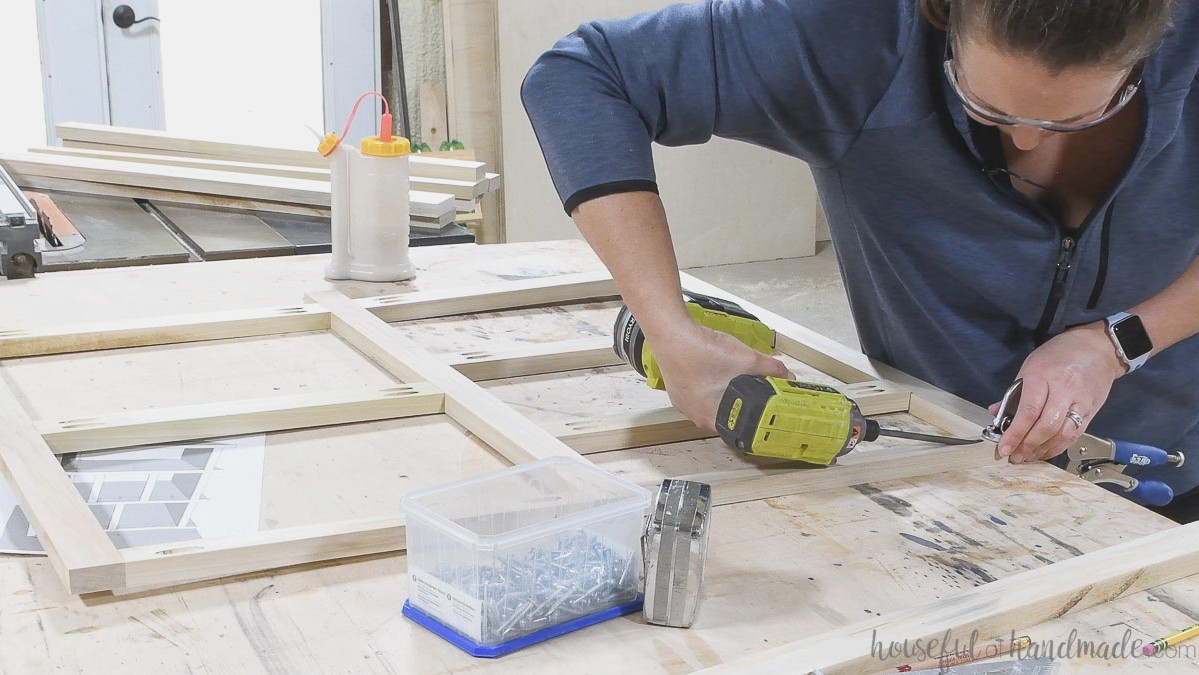
First secure every rail to one stile, and then fasten them to the other stile.
Keep adding rails between the stiles until the complete face frame for that desk section is assembled.
Construct the cabinet box
With the face frame complete, you can now build the cabinet box onto it.
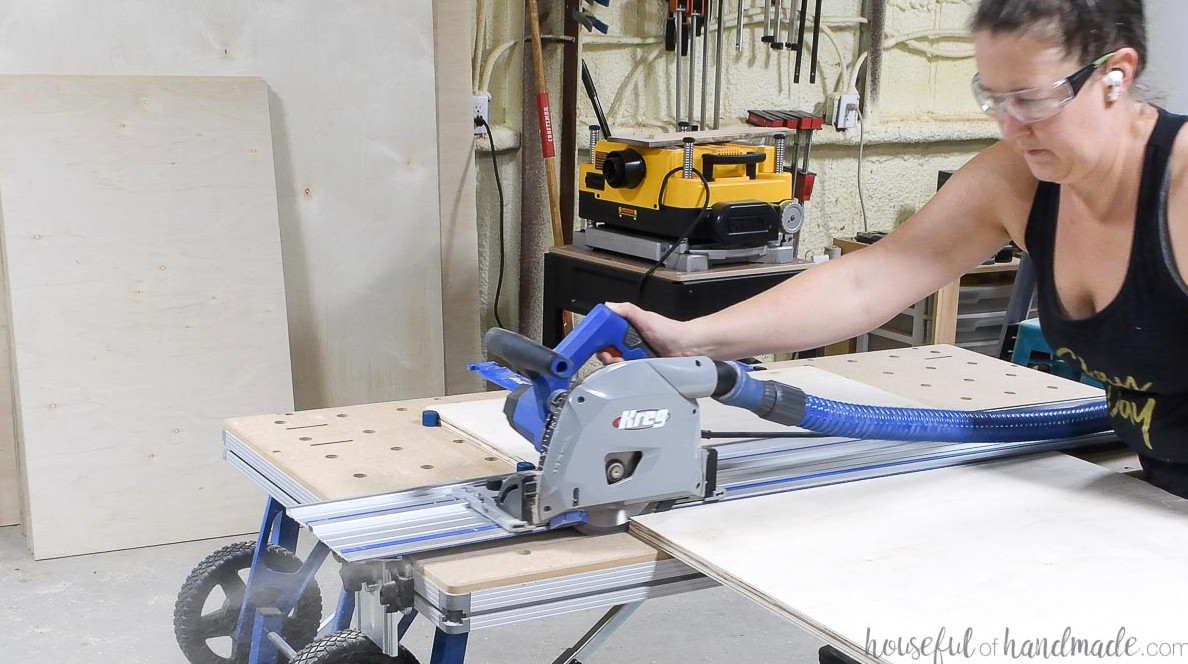
Trim the plywood
Begin by cutting all of the side panels from the plywood. Each one should have identical dimensions.
Wait to cut the cabinet bottom pieces. You will size those parts during assembly for the best fit.
Drill the pocket holes
After setting the pocket hole jig for 3/4″ thick material, drill holes along one side of every side panel. These holes will be used to fasten the side panel to the face frame.
Position the pocket holes 4-6″ apart to create a sturdy cabinet box. On my 28″ tall cabinet, I drilled 5 pocket holes in each side panel.
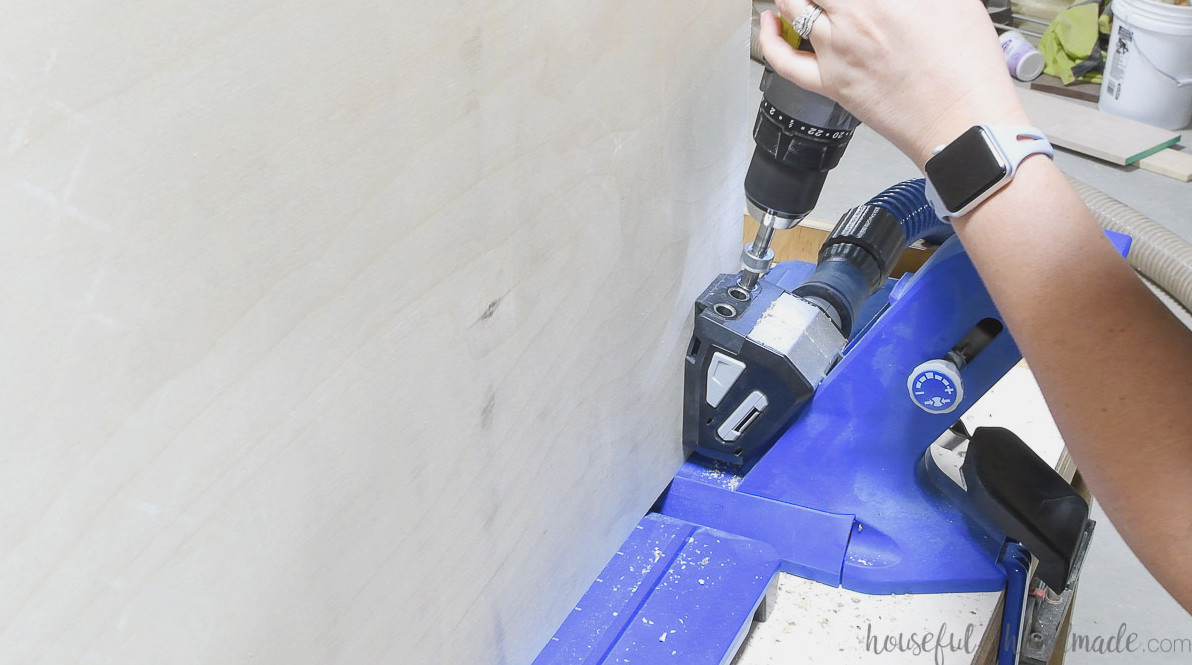
Put the cabinet together
Fasten the side panel to the face frame stile, keeping the pocket holes facing toward the cabinet’s exterior.
Use wood glue and 1 1/4″ pocket hole screws to secure it.
When attaching the side to the cabinet end that will sit against the wall, position it 1/4″-1/2″ inward. This leaves room to scribe the face frame so it fits against the wall.
When attaching the side to the cabinet end beside the chair opening, you may align it flush with the face frame edge. In this case, orient the pocket holes toward the inside of the cabinet.
Alternatively, if you selected prefinished plywood, attach a paintable/stainable panel to the cabinet end. Use 1/4″ thick plywood for this panel, noting that it is not truly 1/4″ thick.
Therefore, place the side panel inward from the edge by the thickness of the end panel. Arrange the pocket holes so they face the cabinet’s exterior.
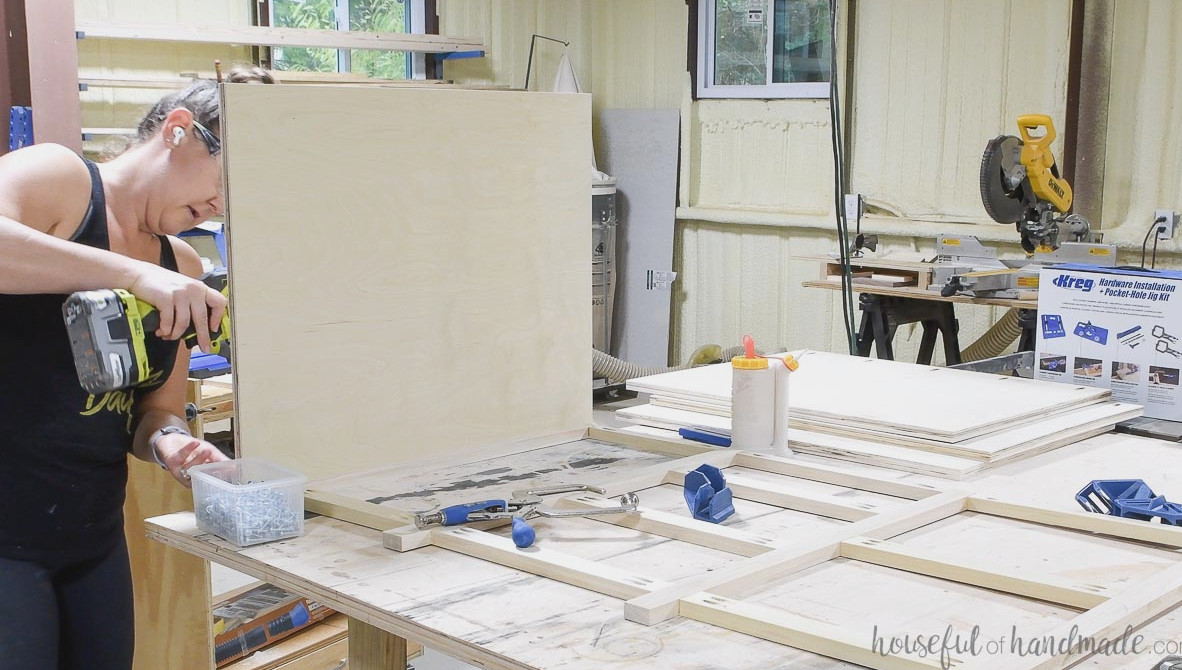
Position the second side panel, clamp it securely, and measure the gap between the two panels.
Trim the bottom panel to match this measurement. Then cut a 3″-wide scrap piece to the same width to serve as a support at the cabinet’s upper back.
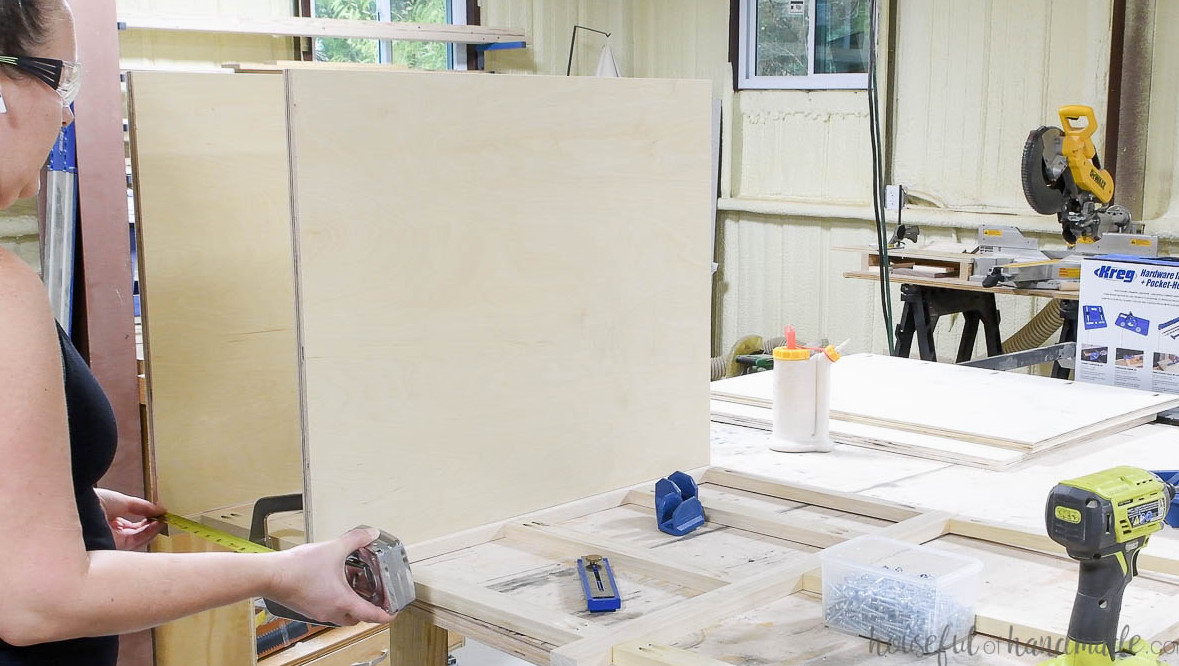
Make pocket holes along both sides and the front edge of the plywood bottom.
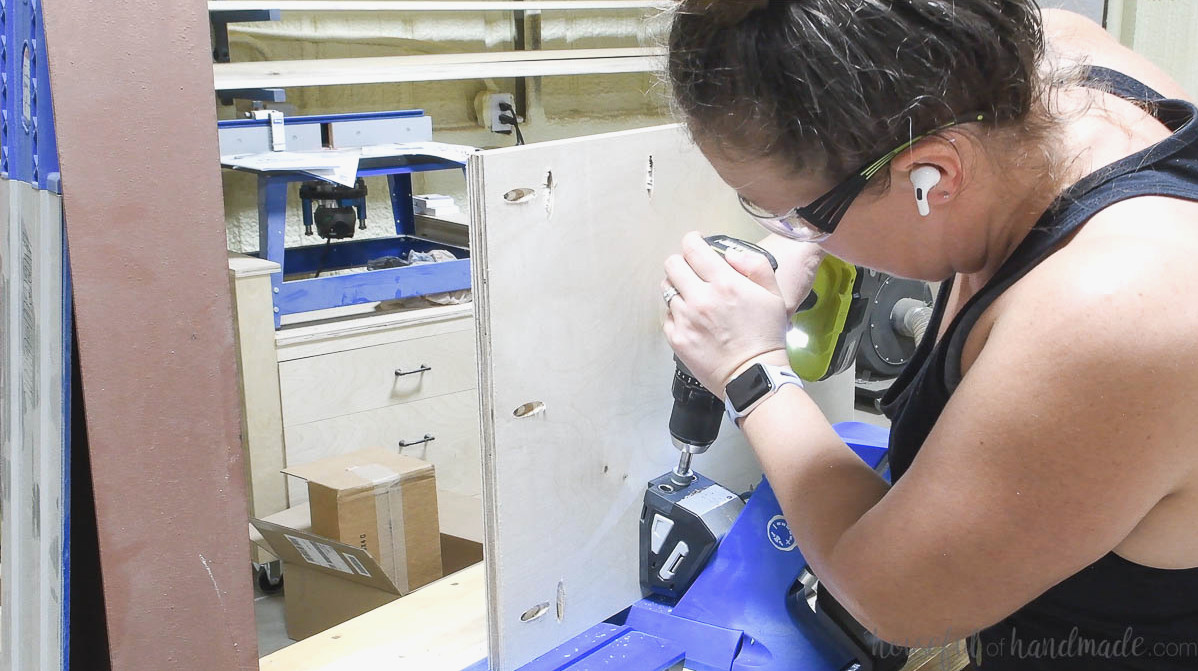
Fasten the bottom panel to the attached side and the face frame. Apply wood glue, then secure everything with pocket hole screws.
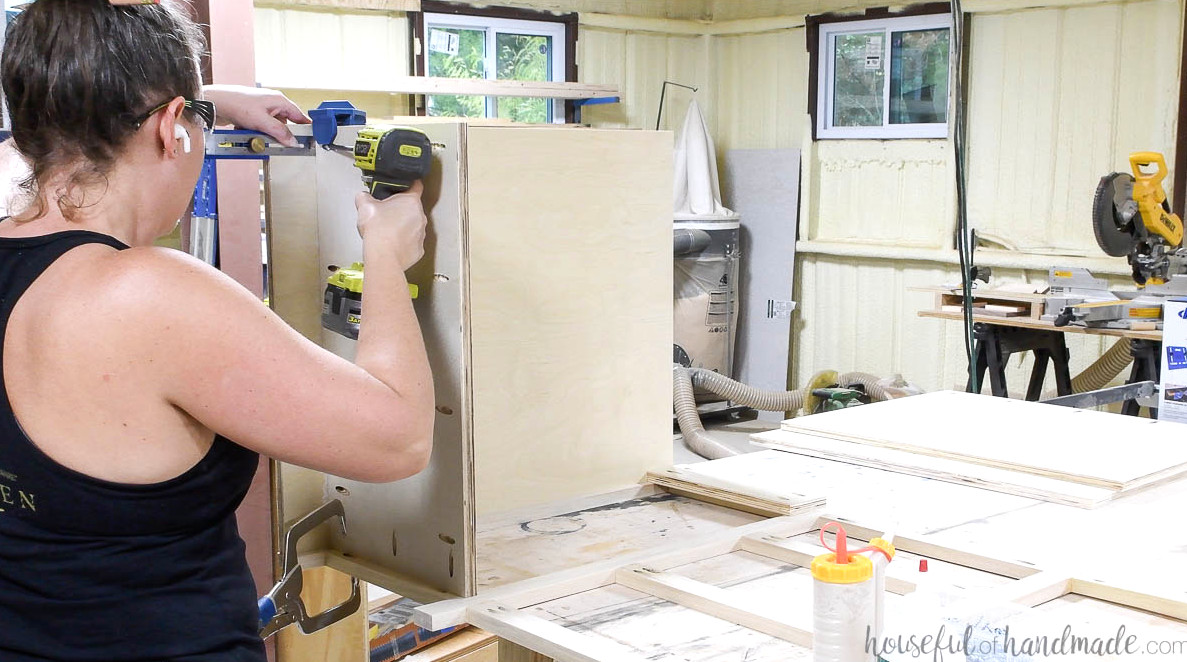
Next, connect the remaining side panel to the face frame and bottom.
As you join the components, check that the assembly stays square.
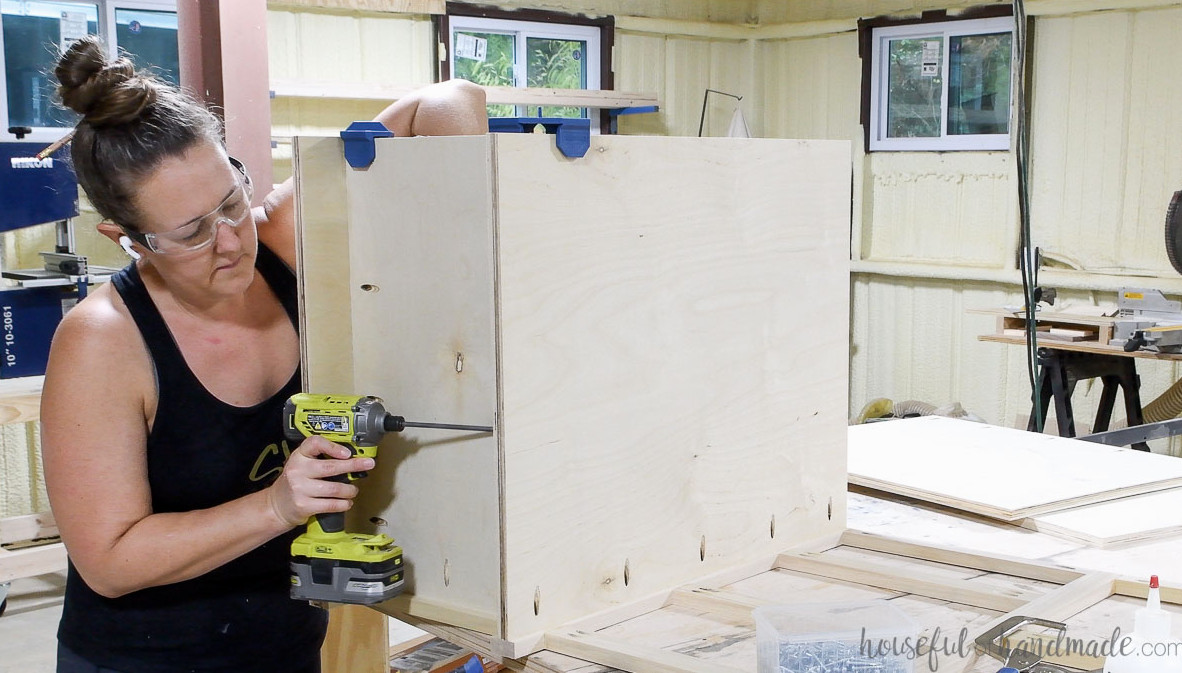
Keep fastening the side and bottom panels until the complete cabinet section has been put together.
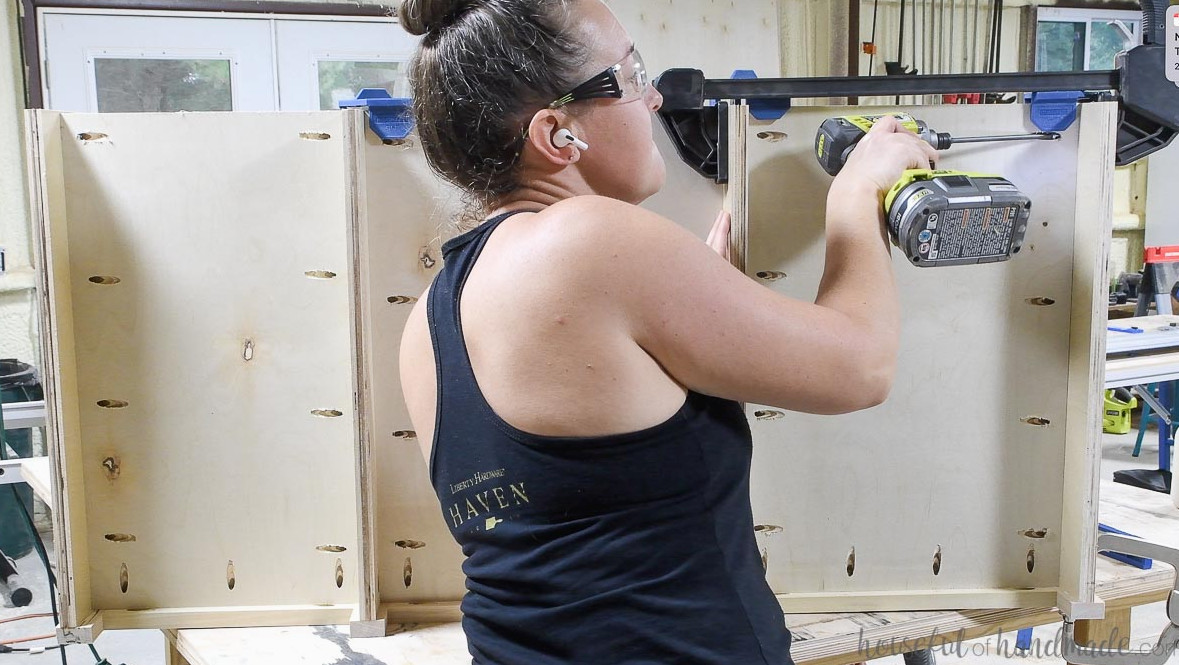
Install support pieces in the upper back corners of the cabinet boxes to help maintain their square shape.
These supports also provide a point for fastening the cabinet securely to the wall.
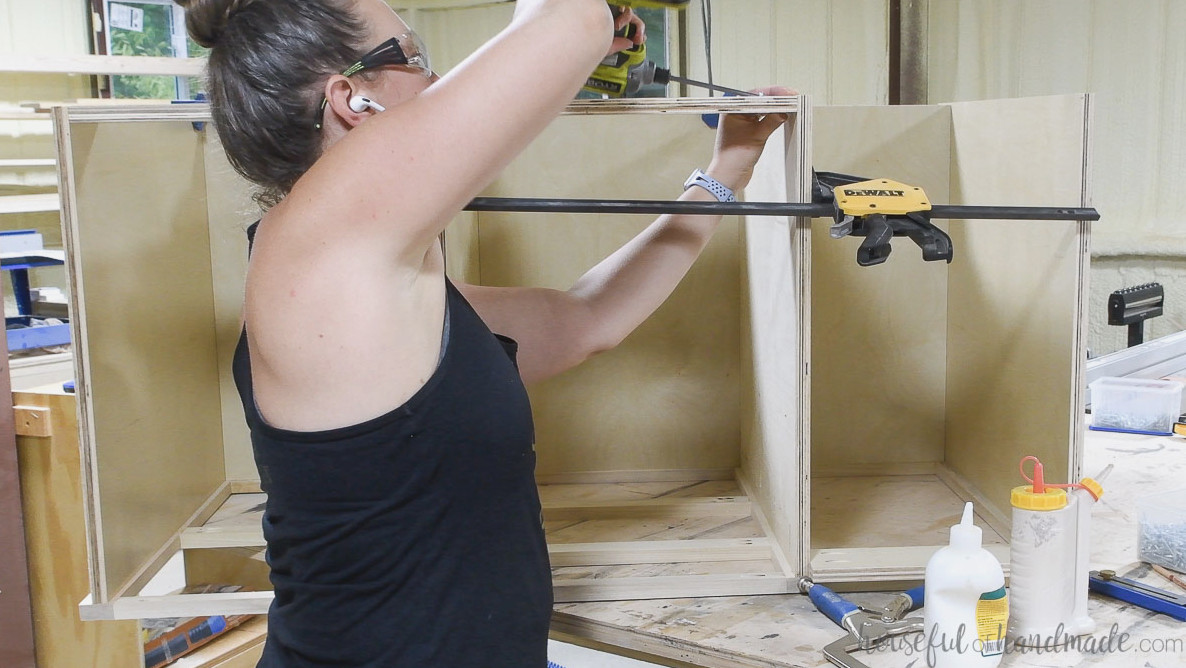
Your first desk cabinet is now complete. Build the remaining sections in the same way.
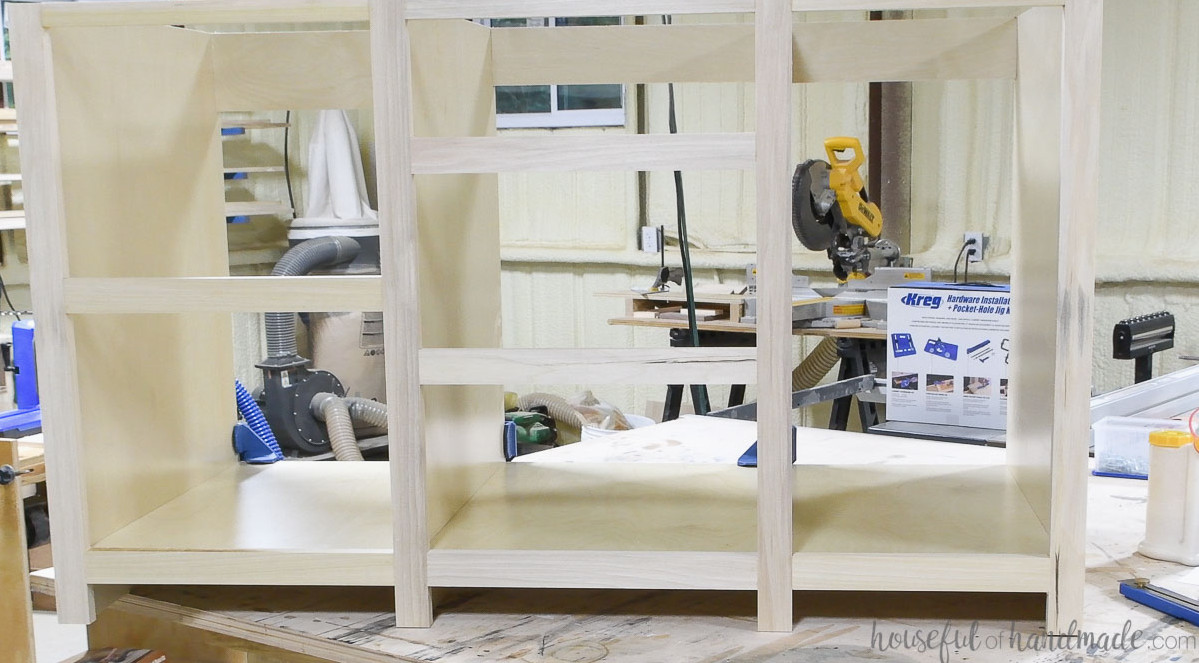
T-shaped Cabinet
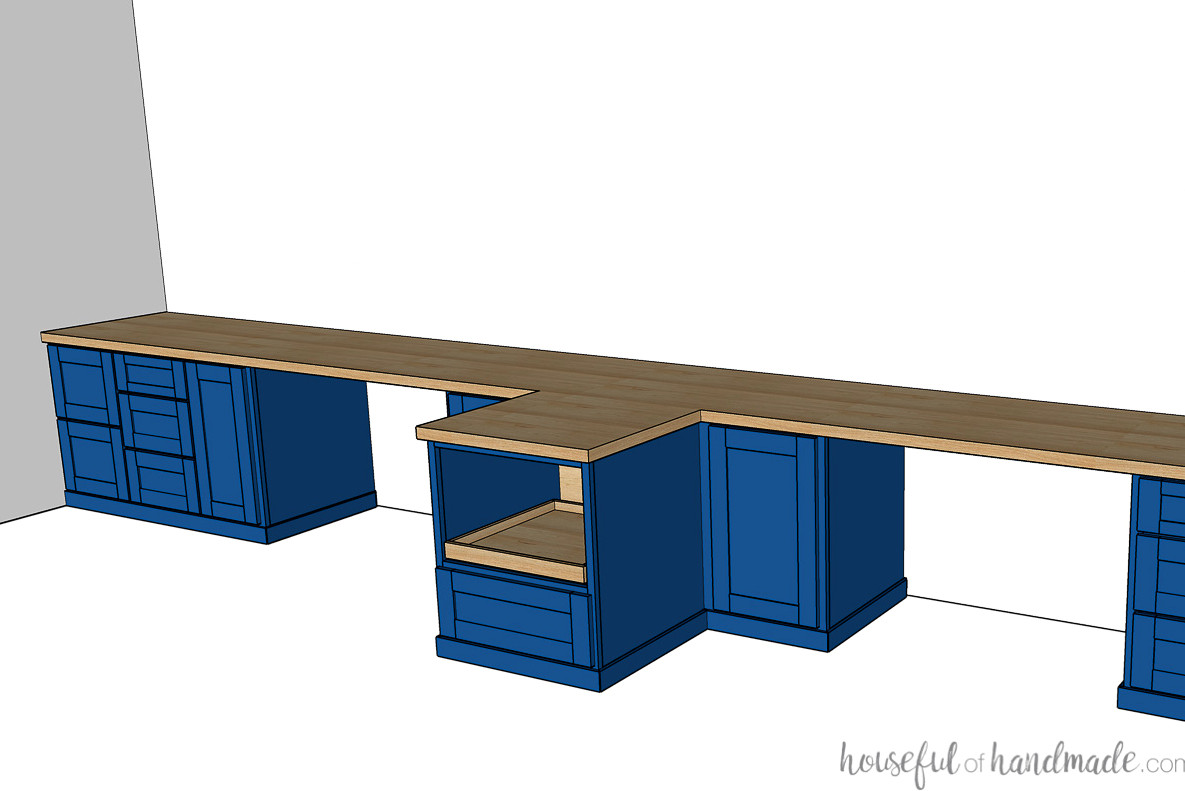
For the middle section, I built a T-shaped cabinet.
The front portion will hold the printer on a pull-out shelf, while the rear section contains two blind corner cabinets for abundant storage.
To create the face frame for the blind corner cabinets, I cut a plywood panel to the precise width of the assembled printer cabinet back, which is recessed just under 1/4″ for the side panel.
The two corner cabinet face frames were then fastened to the plywood panel’s edges.
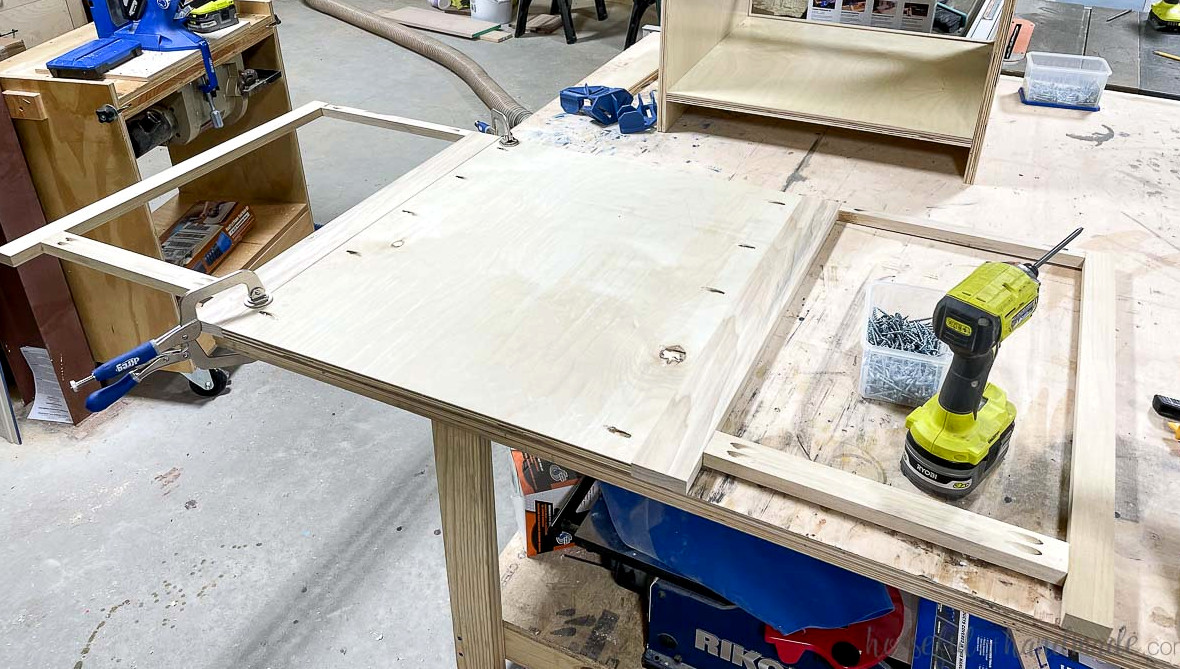
The remaining cabinet components were built onto this face frame, following the same process used for the other cabinets.
I drilled pocket holes into the rear of the printer cabinet sides so they could be connected to the back cabinet after installation.
The assembly will align precisely with the plywood panel between the face frames, which will serve as the printer cabinet’s back.
Once installed, side panels will cover the pocket holes and any exposed seam between the connected cabinets.
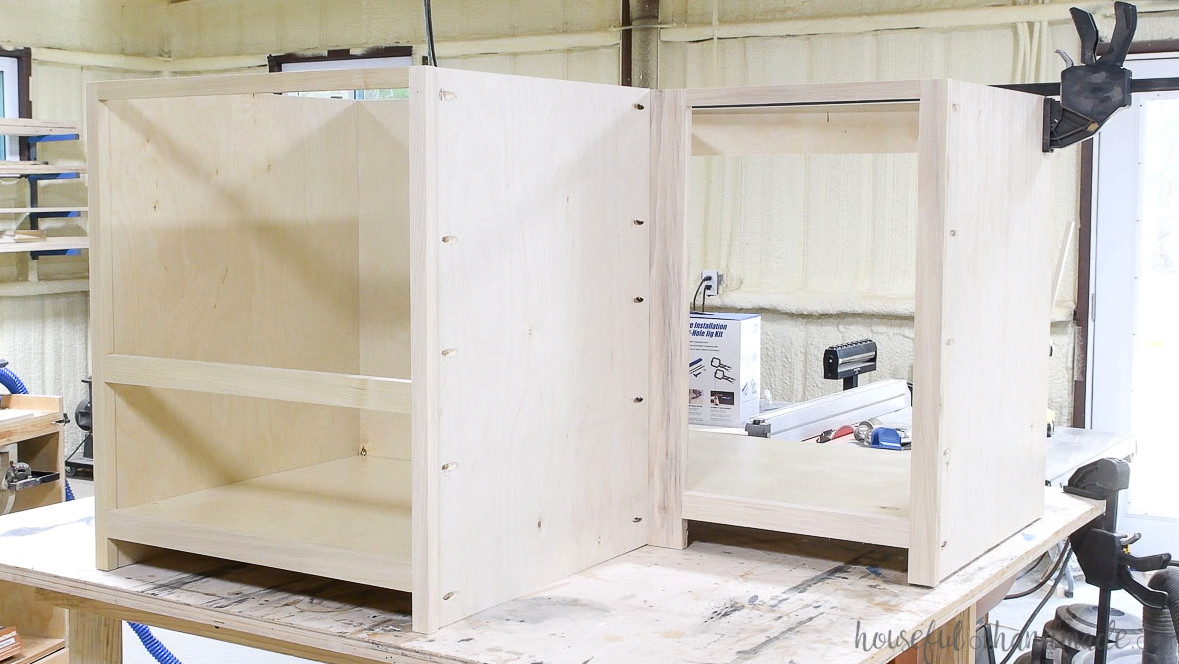
Keep in mind that shelves for the blind corner cabinet must be installed before the desktop goes on. Otherwise, fitting the oversized shelves through the smaller opening may be difficult.
Install Desk Cabinets
Bring the cabinet boxes into the room and use shims to level them where necessary.
Because most walls are uneven, scribe the face frame against the wall for a precise fit. Alternatively, conceal the gap with corner trim.
Fasten the cabinets to the wall through the support piece and into the wall studs.
Build cabinet doors and drawer fronts
Cabinet doors and drawer fronts can be made in any style you prefer. I chose a straightforward shaker-style drawer. Learn how to make easy DIY drawers here.
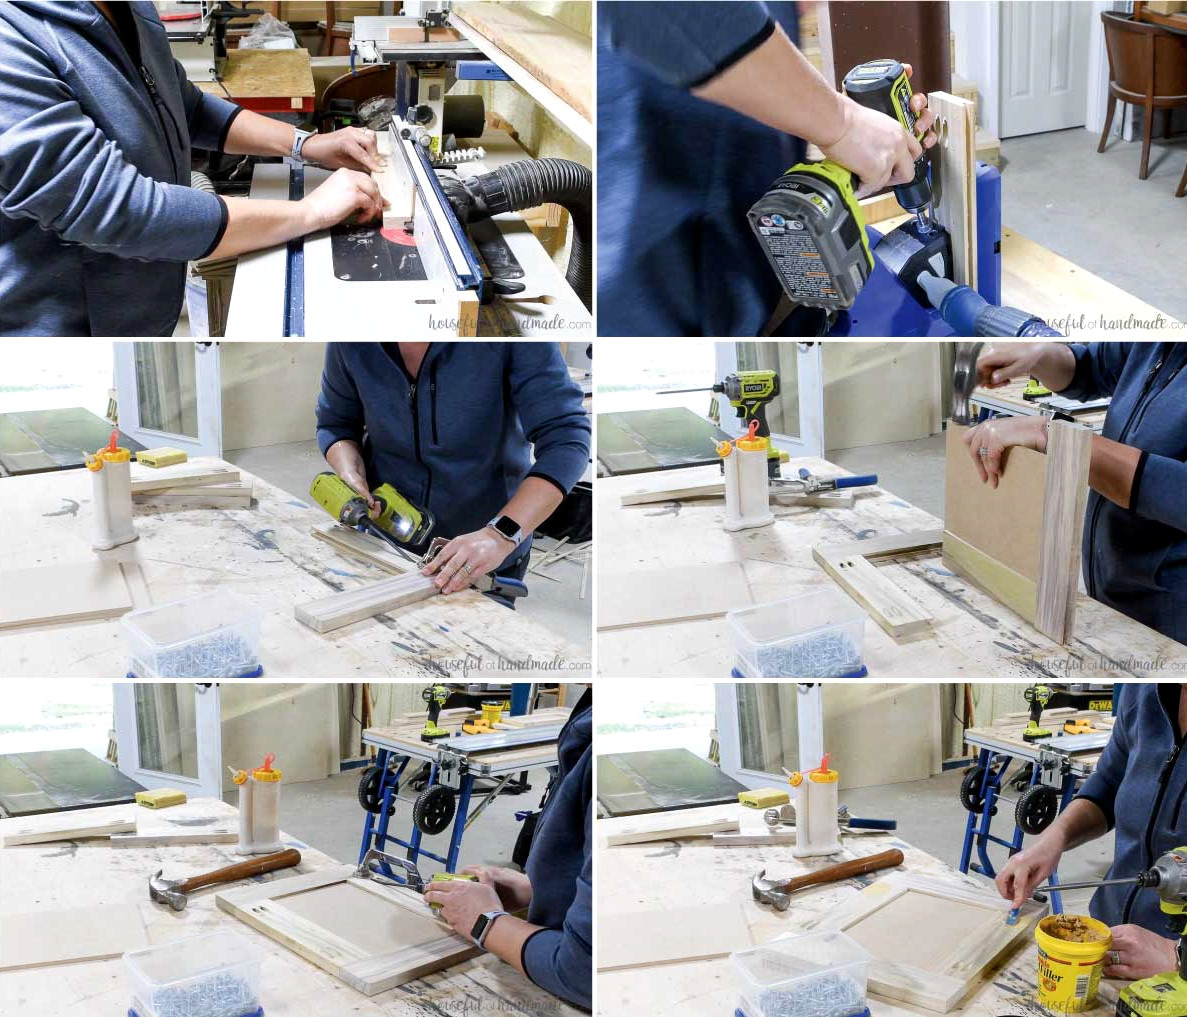
Because I plan to paint the drawers, I joined the rails and stiles with pocket holes and fitted a 1/4″ MDF center panel into a routed groove.
The desk cabinet face frame measures 1 1/2″, so I used a 1/2″ overlay for every cabinet door and drawer front. This simplified the sizing process: each piece was exactly 1″ wider and taller than the cabinet opening.
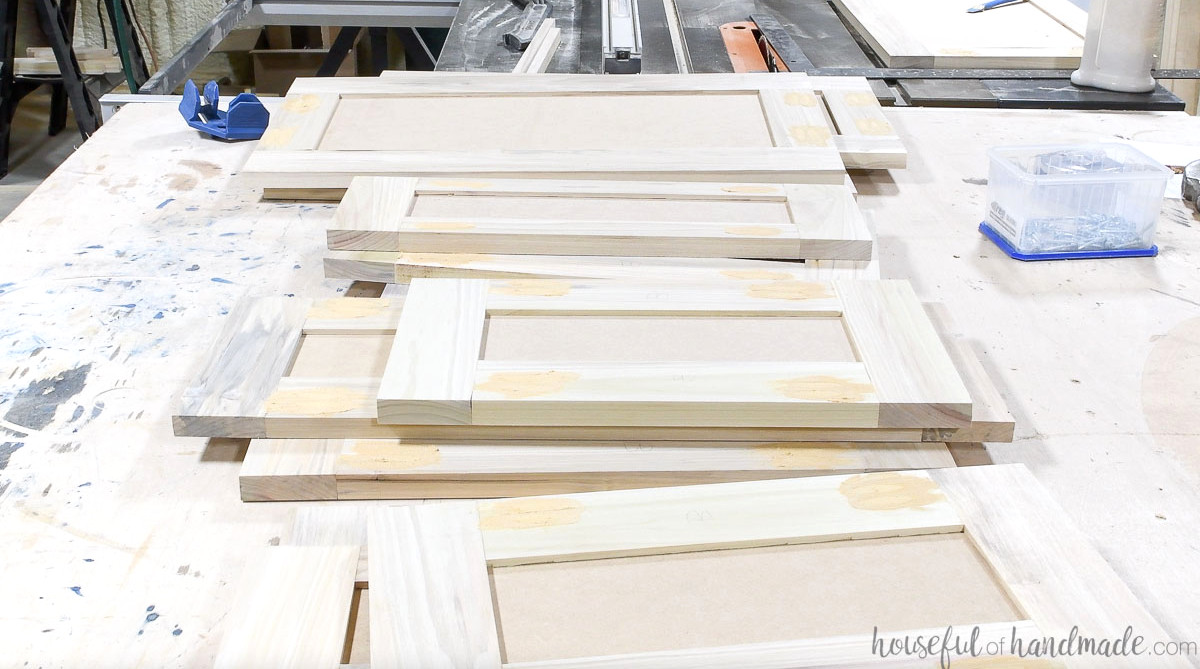
A router is not required for building cabinet doors. I made the first doors for my mission-style bathroom vanity from 1/2″ plywood joined with pocket holes.
I will not explain the full cabinet door-building process in this article. Instead, see the post covering 3 ways to make DIY cabinet doors, including the method I used and the no-router approach.
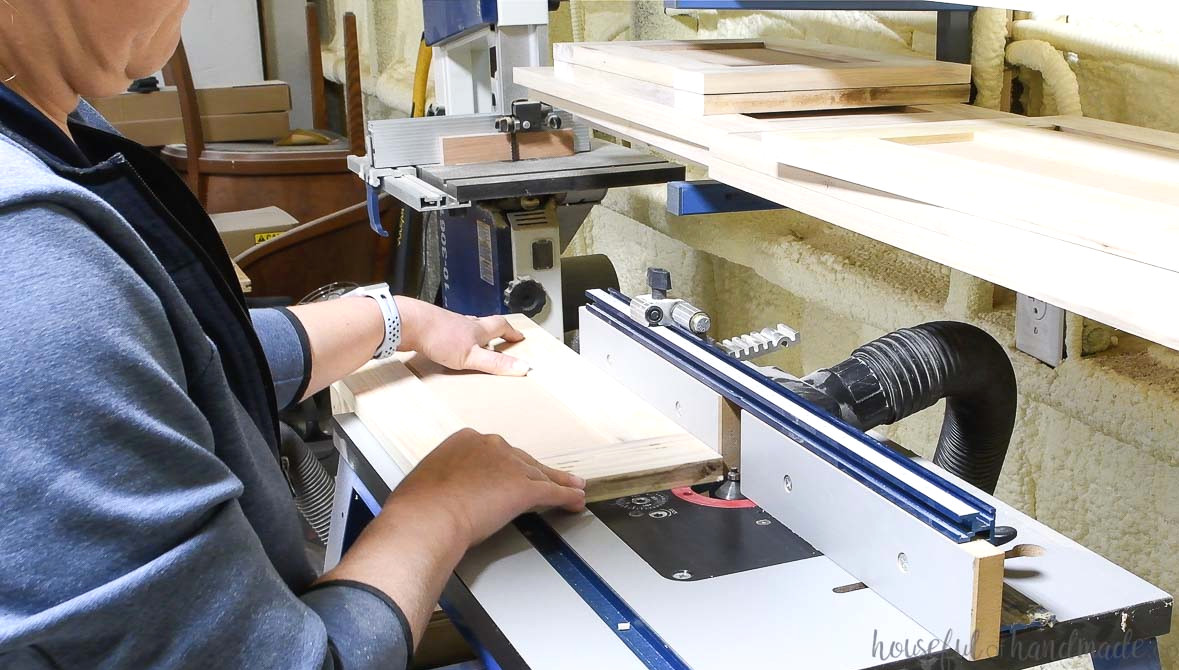
Once the cabinet doors were sanded, I routed a slight chamfer along the edges for a polished finished appearance.
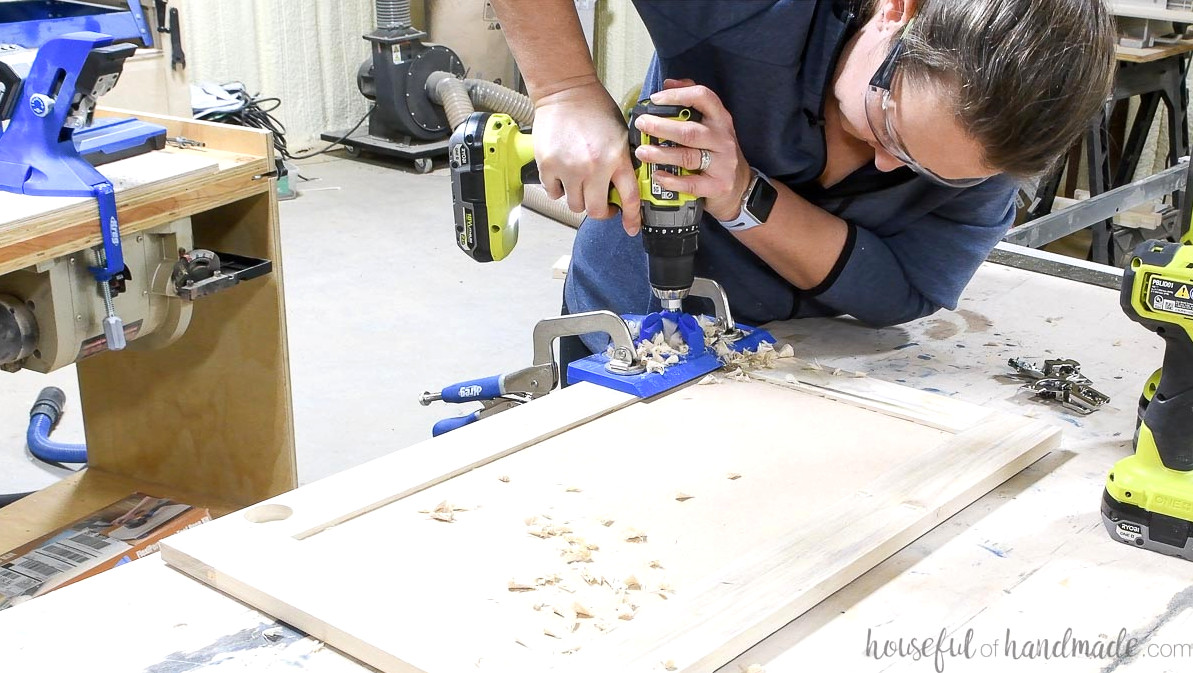
Add concealed hinges to cabinet doors
The Kreg concealedThis hinge jig makes installing concealed hinges incredibly simple. All you need is a drill and the jig.
Adjust the gray depth stop on the jig’s edge so it matches the required distance between the cabinet door’s edge and the hinge cup, following your hinge instructions.
The depth-stop measurements are shown in millimeters. I set mine to 3mm for the 1/2″ Blum overlay hinges I used.
Clamp the jig onto the cabinet door. Position the measurement marks along the edge so they align with the desired distance from the cabinet door’s edge. I positioned mine 3″ from the edge.
Insert the drill bit into your drill, attach it to the jig, and bore the hole until the stop prevents it from going farther.
Remove the drill bit from the jig, but leave the jig clamped in place.
Before taking off the clamp, drill pilot holes through the jig’s openings for the hinge screws.
Then remove the clamp and perform the same steps for the second hinge.
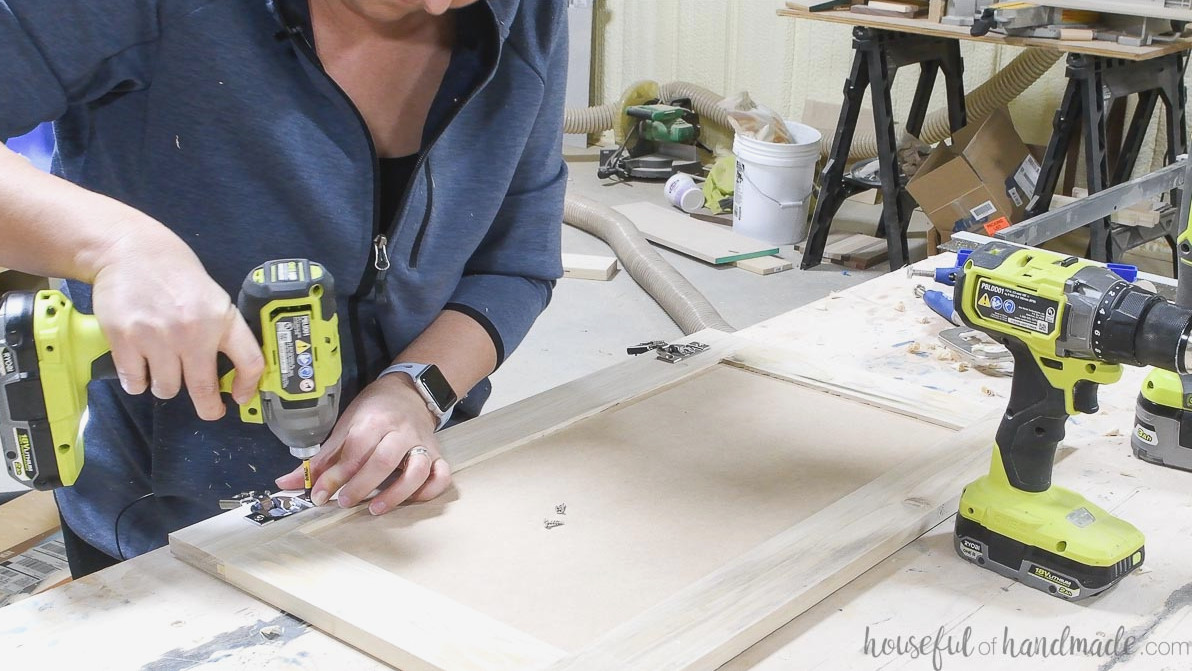
Clear the sawdust out of the pocket, then position the hinge inside it.
Fasten it using the screws and the pilot holes.
Install doors and drawer fronts
To mount the doors, measure and mark the location where the hole must be predrilled for attaching the cabinet door hinge.
For a 1/2″ overlay door with the concealed hinge positioned 3″ from the door’s edge, the hole should be 2 1/2″ below the cabinet door opening.
Next, secure the door with the supplied screw, then repeat the process for the lower hinge.
Adjust the cabinet door using the screws on the hinge.
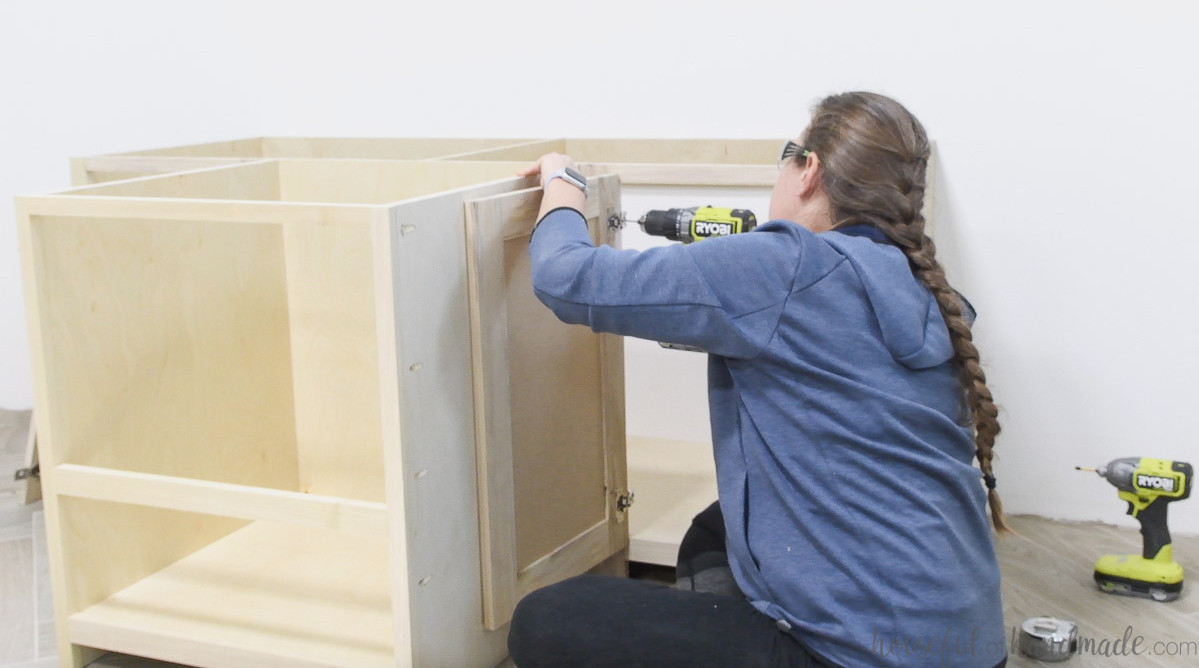
Adjust the Kreg hardware jig to the spacing required for your cabinet knobs.
I selected a traditional layout for mine. The knob sits in the center of the stile and aligns with the rail’s bottom edge.
Bore the hole, then fasten the knob.
Do the same for every cabinet door.
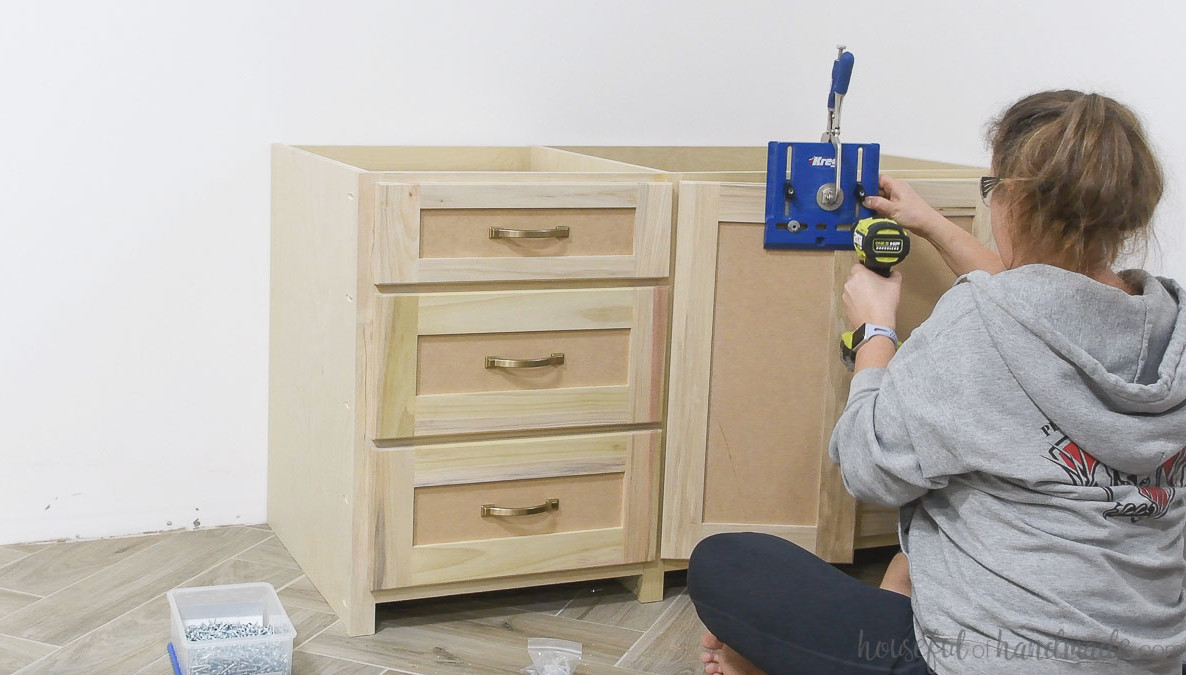
How to line up and install drawer fronts
Install the drawer boxes first. For advice and techniques on fitting drawers with ball bearing slides, you can read this post.
Getting drawer fronts aligned exactly can be difficult. However, the Kreg cabinet hardware jig makes the task easier!
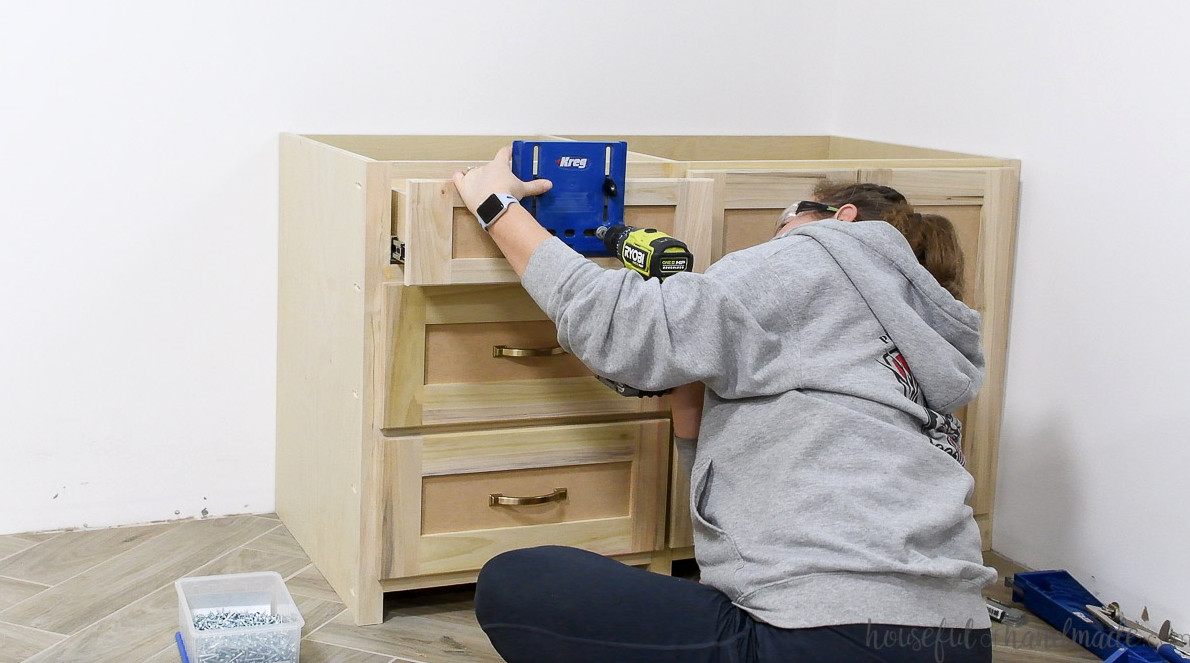
Adjust the jig so its holes match the width between the holes in your cabinet pulls. Set the depth to your preferred measurement. I prefer centering mine on the drawer fronts.
Center the jig on the drawer front and clamp it in position. With the drill bit fitted in your drill, make a small indentation to mark the hole location, but wait to drill completely through.
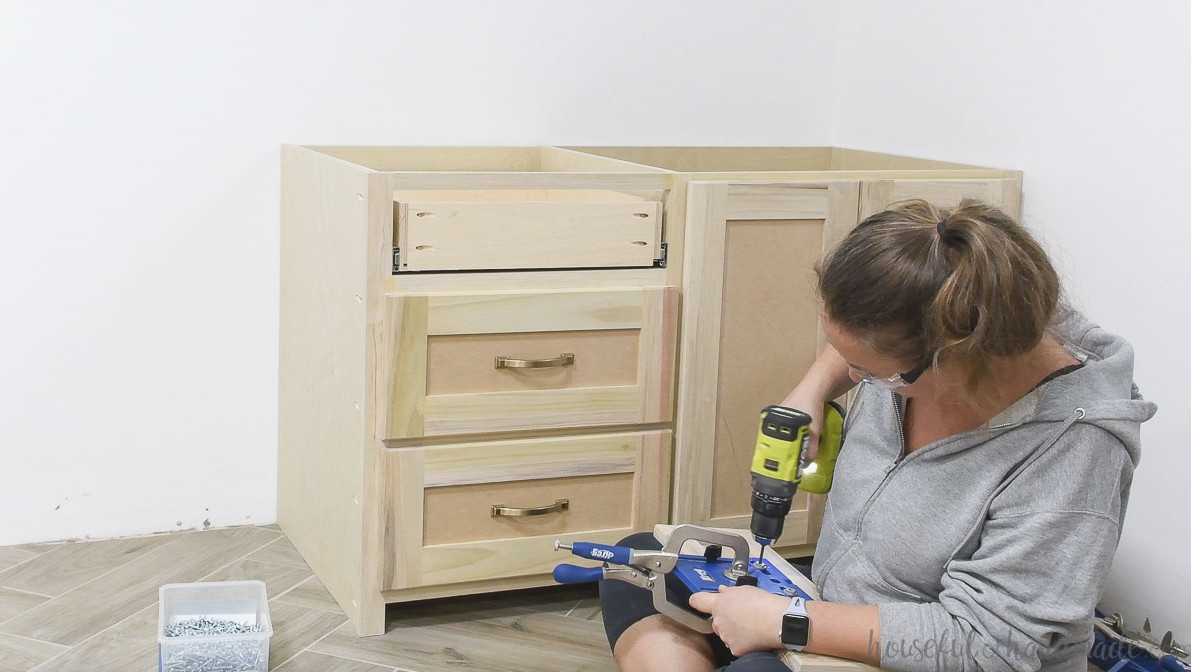
Place the drawer front against the cabinet. Be sure to inspect the reveal around the entire drawer.
Fasten the drawer front to the drawer box with 1″ screws driven through the indentations created with the hardware jig. I prefer Kreg pocket hole screws because they are self-tapping.
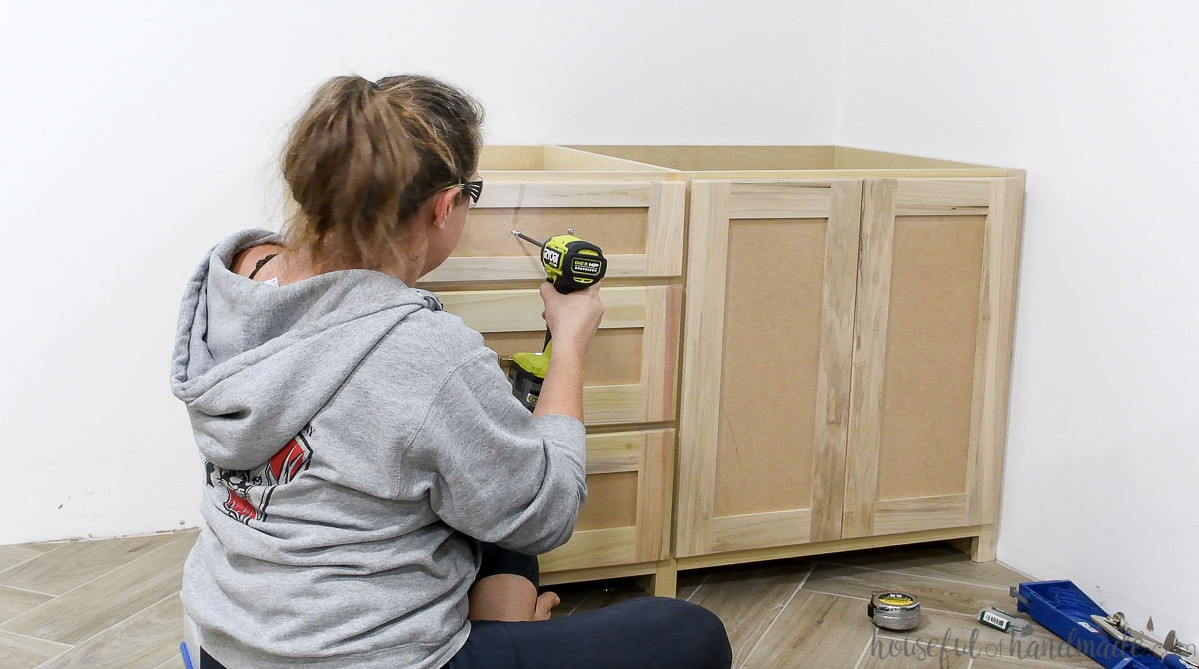
Once the drawer front is attached and remains perfectly aligned, open the drawer and secure the front to the drawer box using four 1″ screws.
Ensure the screws enter the stiles of the door fronts, as the center panel is not deep enough.
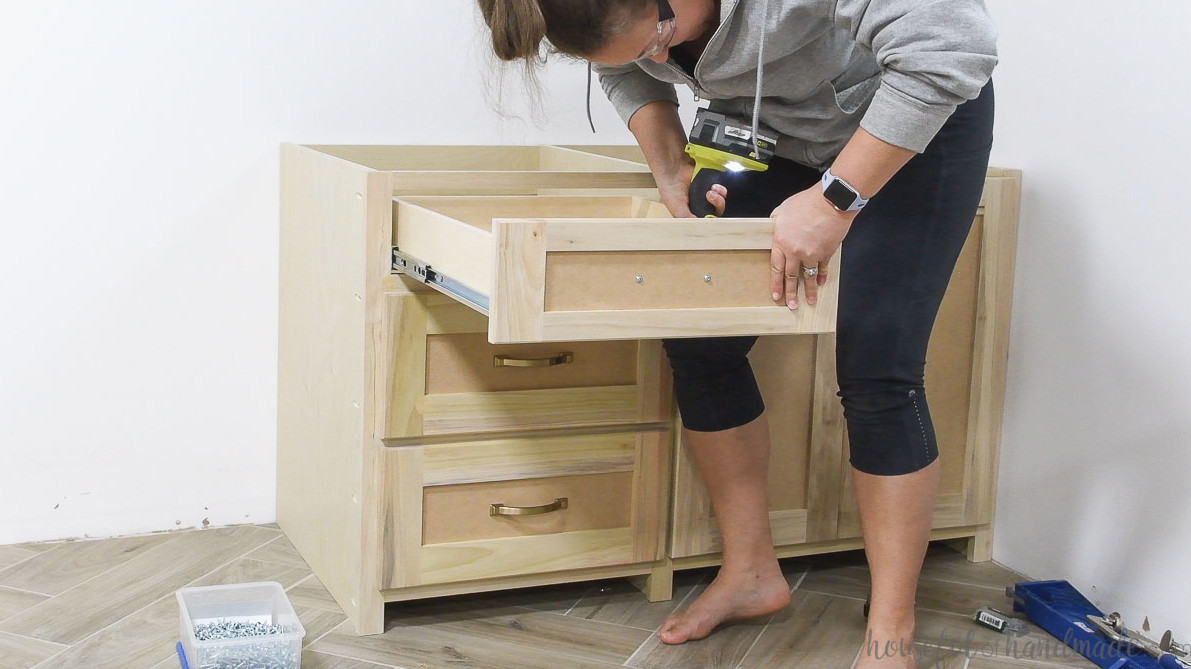
Take the two screws out of the drawer front.
Position the hardware jig again, then drill through the drawer front and cabinet box.
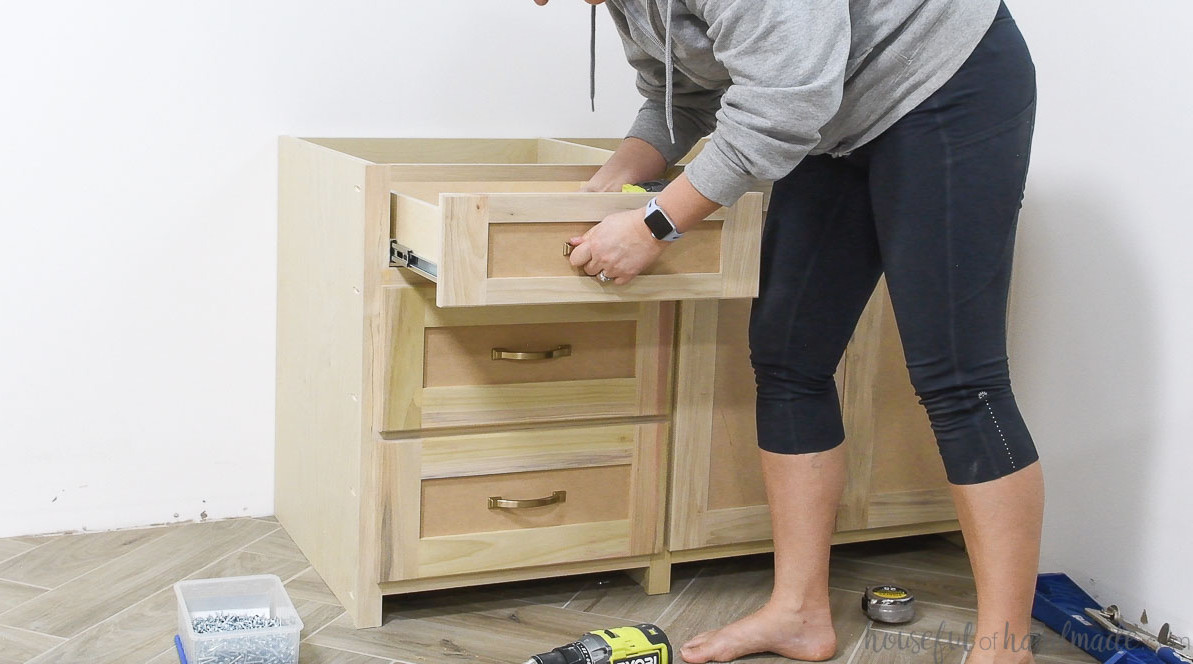
Install the drawer pulls through the newly drilled holes.
Now your drawer fronts will be aligned perfectly.
This method works with any drawer, whether the front is overlay or inset, and regardless of whether it has a large or small overlay.
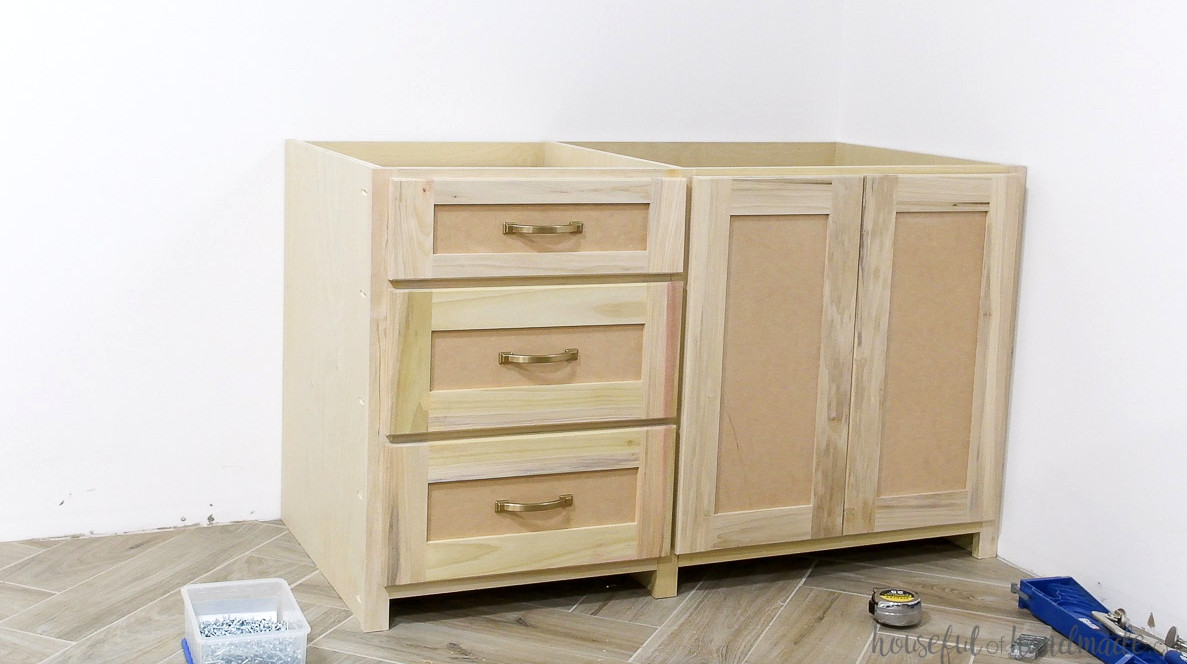
I know the desk still needs to be completed. I have to cut panels for the cabinet sides to conceal the exposed pocket hole screws.
After that comes the difficult part… choosing the paint color and deciding what type of desktop I want. I can’t determine whether to keep it classic white or choose a darker navy or charcoal shade???
Any countertop can be used as the desktop. I’m considering a wooden top like the DIY wood countertop I made for our kitchen, or a highly practical laminate countertop.
Whatever I decide, I’ll be sure to share it. Subscribe to my newsletter so you can be among the first to see the completed reveal.
I wanted to publish this post quickly so you can begin creating your own DIY built-in desk for the New Year as well!
Happy Building!