


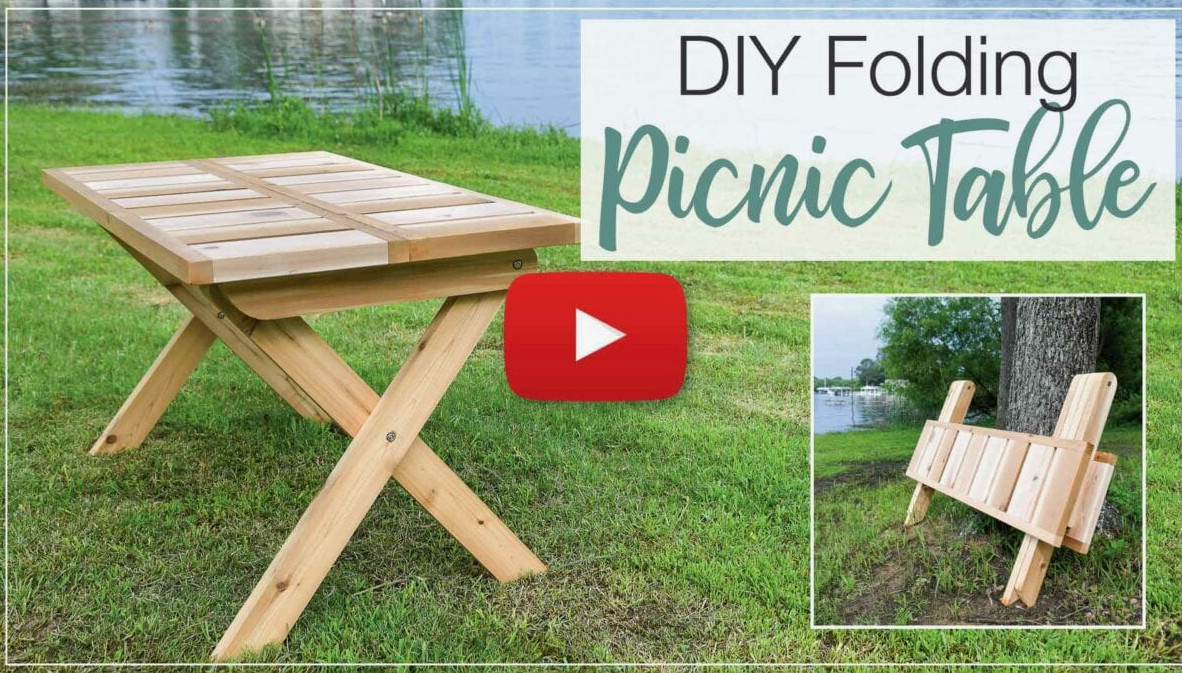
Prepare for outdoor meals with a brand-new folding picnic table.
Summer will be here before long, and as the temperatures rise, I become eager to enjoy meals outside. At our previous home, we had a lovely patio with a pergola and an outdoor dining table.
Our new house, however, has no space for a permanent picnic table. That is why I teamed up with Kreg Tools to create a folding picnic table!
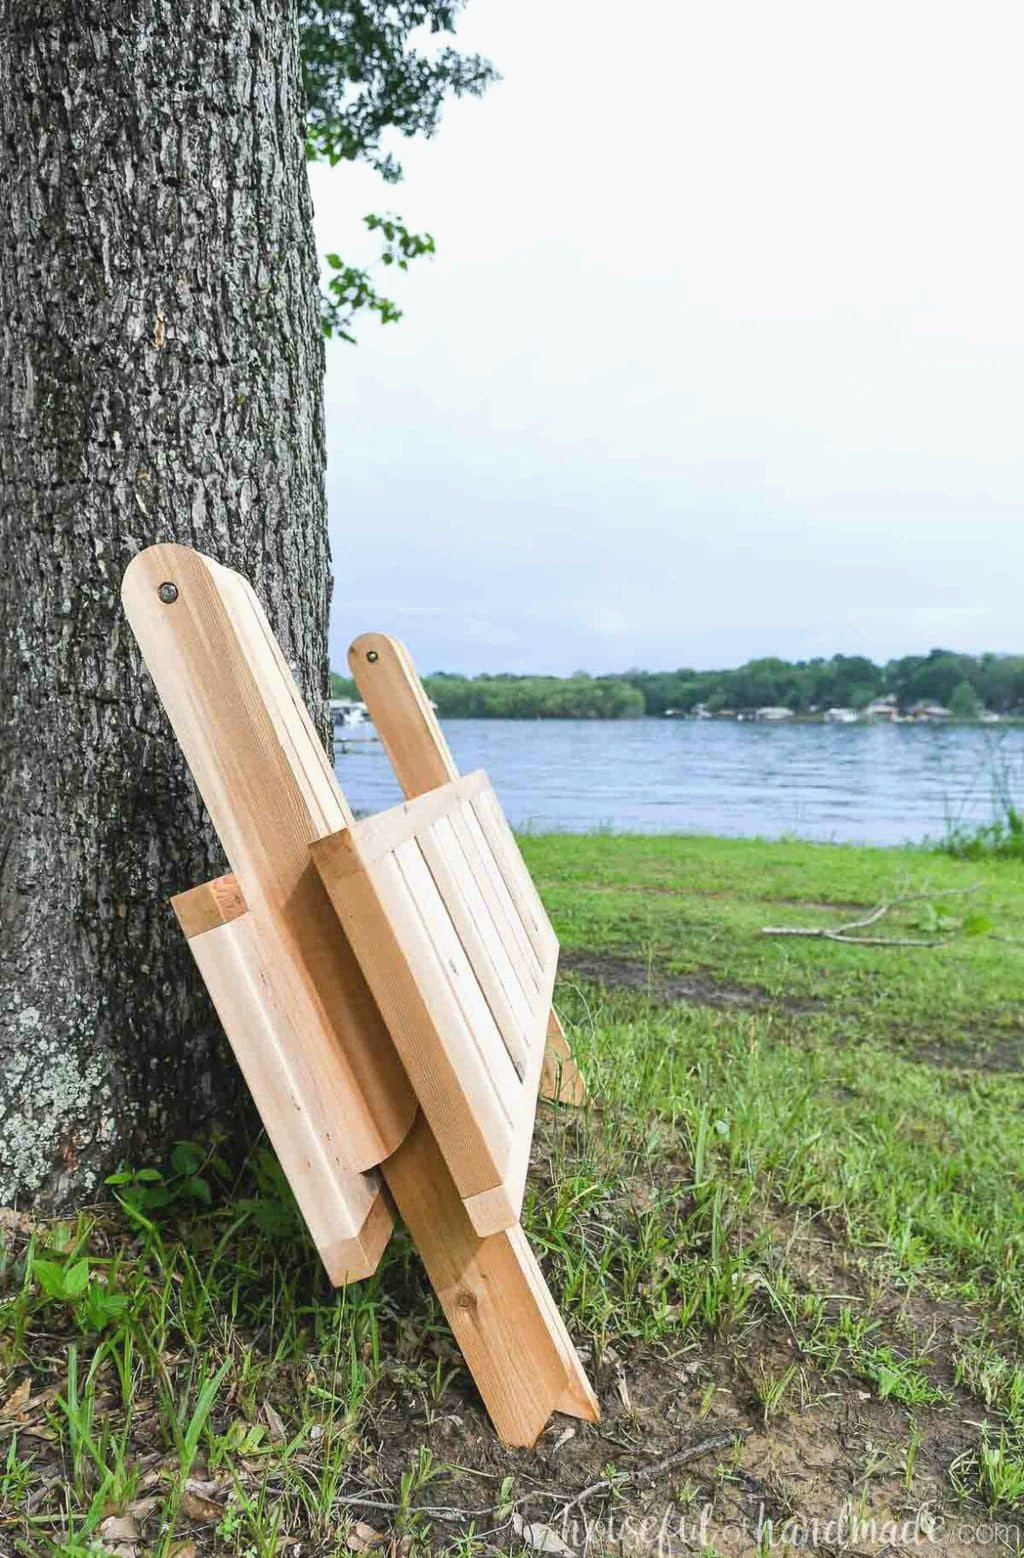
Now we can eat outdoors beside our new fire pit. When we finish, the picnic table can be stored away with ease!
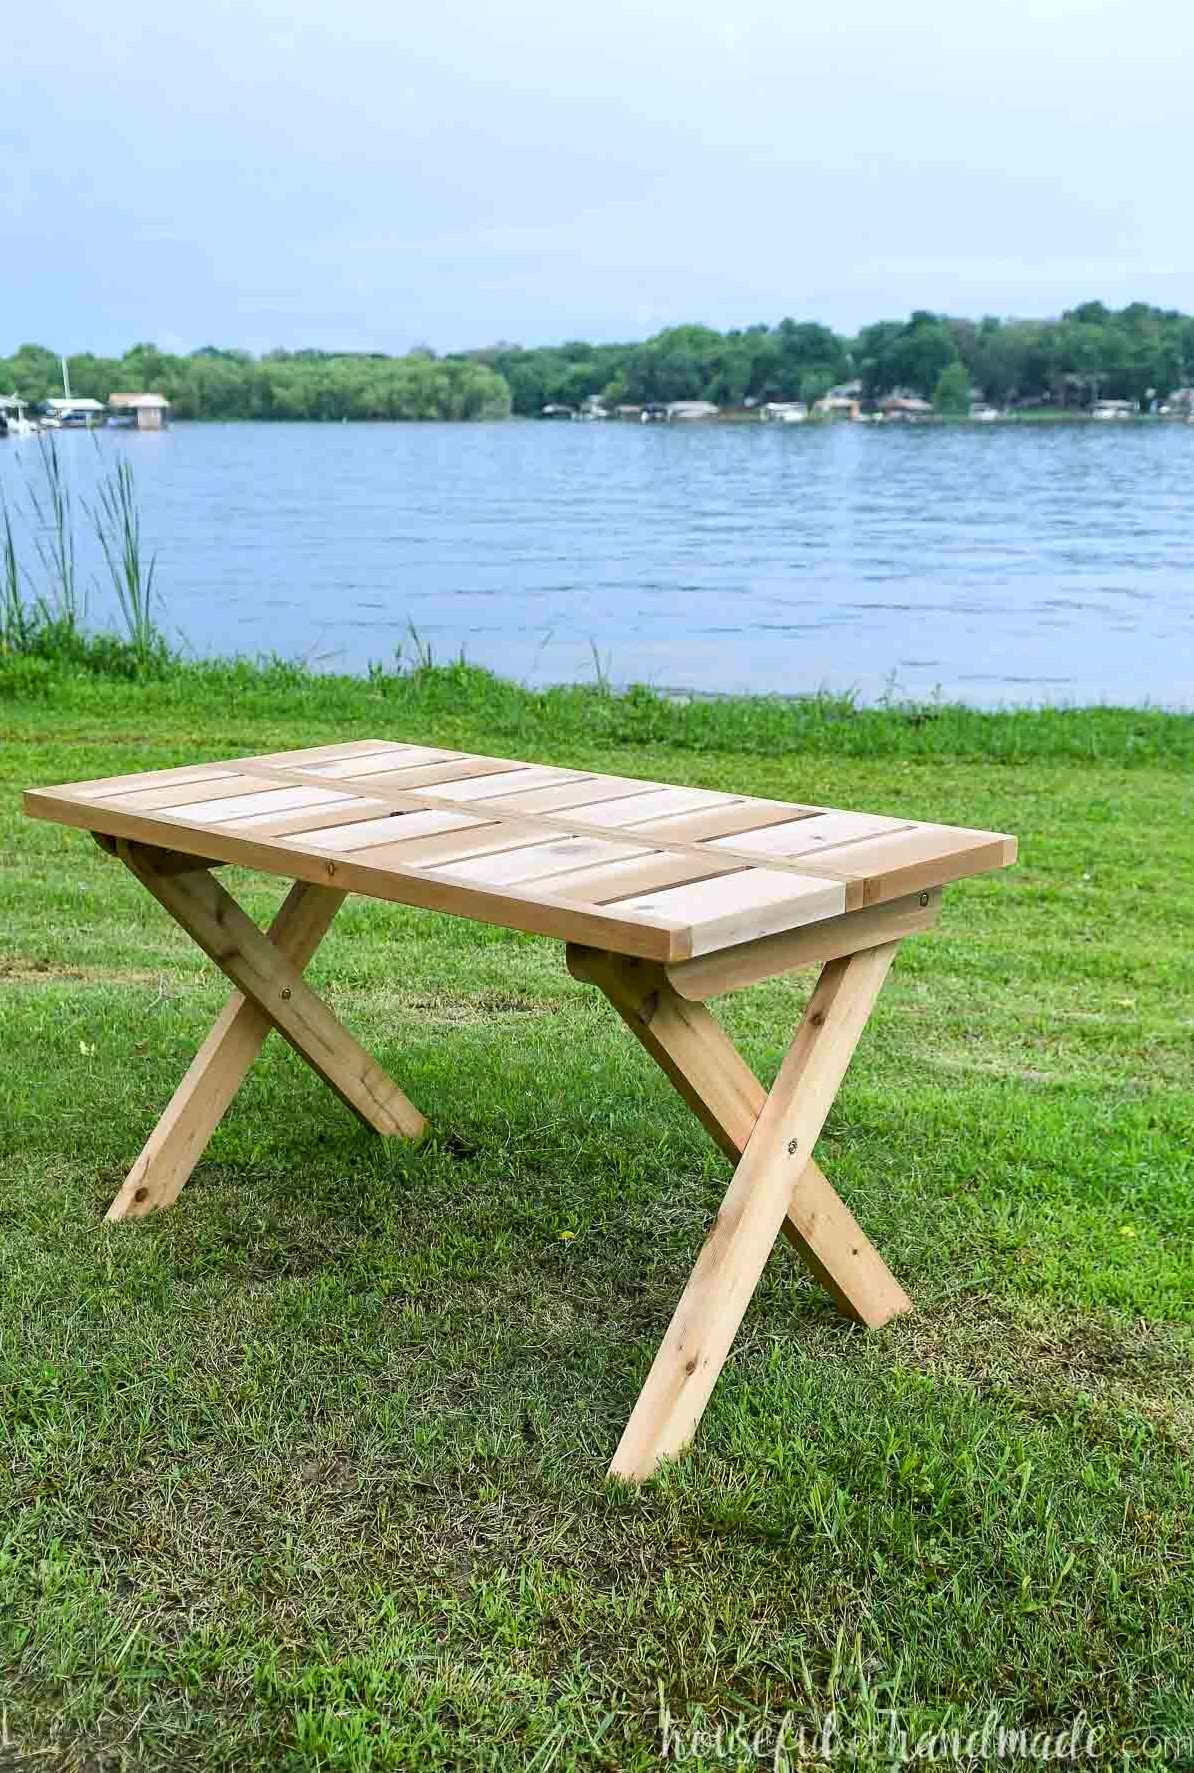
Which wood works best for picnic tables?
For a folding picnic table, choosing a lightweight material is important so the table can be moved without difficulty. Therefore, I decided to make my wooden table from cedar.
Cedar weighs less than many other types of wood and offers numerous advantages for outdoor furniture. Naturally, cedar helps resist insects, rot, and exposure to the elements.
Beyond being light and well-suited for outdoor use, cedar is attractive as well. I enjoy its combination of light and dark tones with a subtle reddish hue.
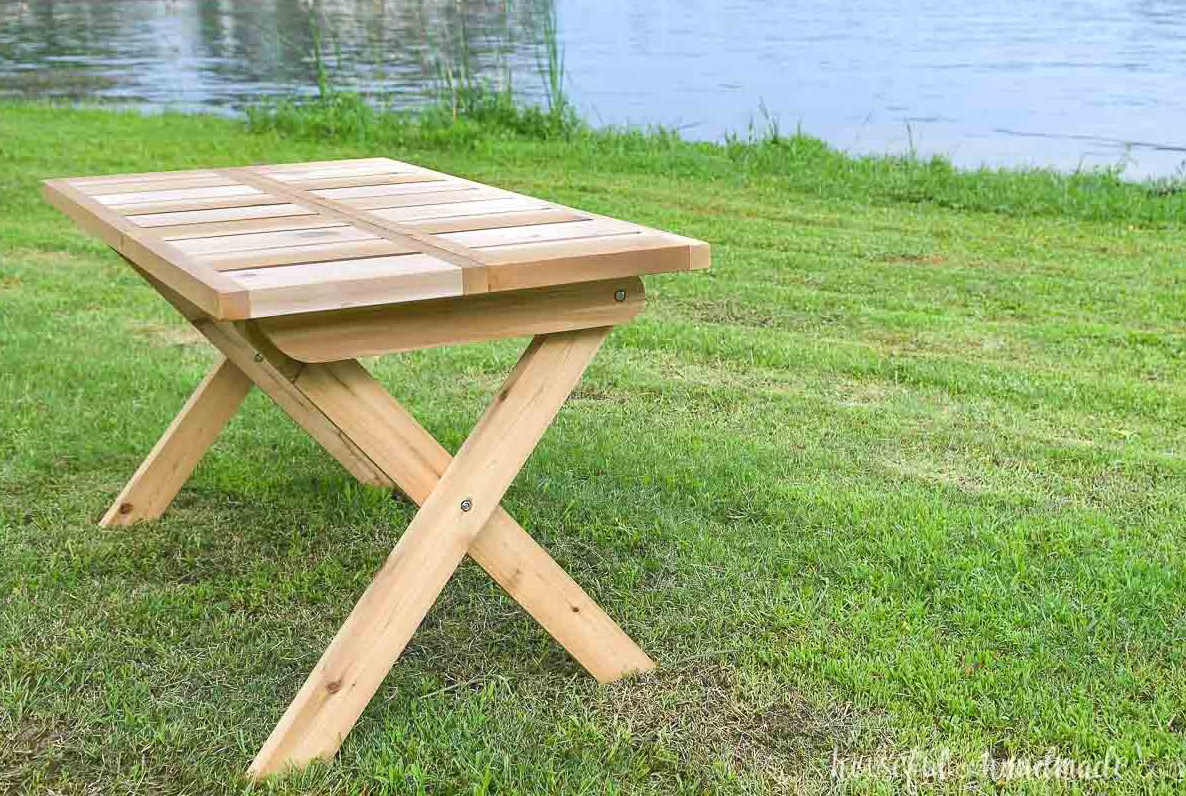
Applying a basic outdoor sealer will highlight the wood’s natural appearance, so no additional treatment is necessary.
I have not sealed our folding picnic table yet because it has rained every day for the past two weeks.
Once the weather becomes a little drier, I intend to apply an exterior oil to protect the wood. It will have to be renewed each spring and autumn to maintain the oil coating and prevent the wood from developing a patina.
How difficult is the construction?
The greatest advantage of this folding picnic table is how simple it is to make!
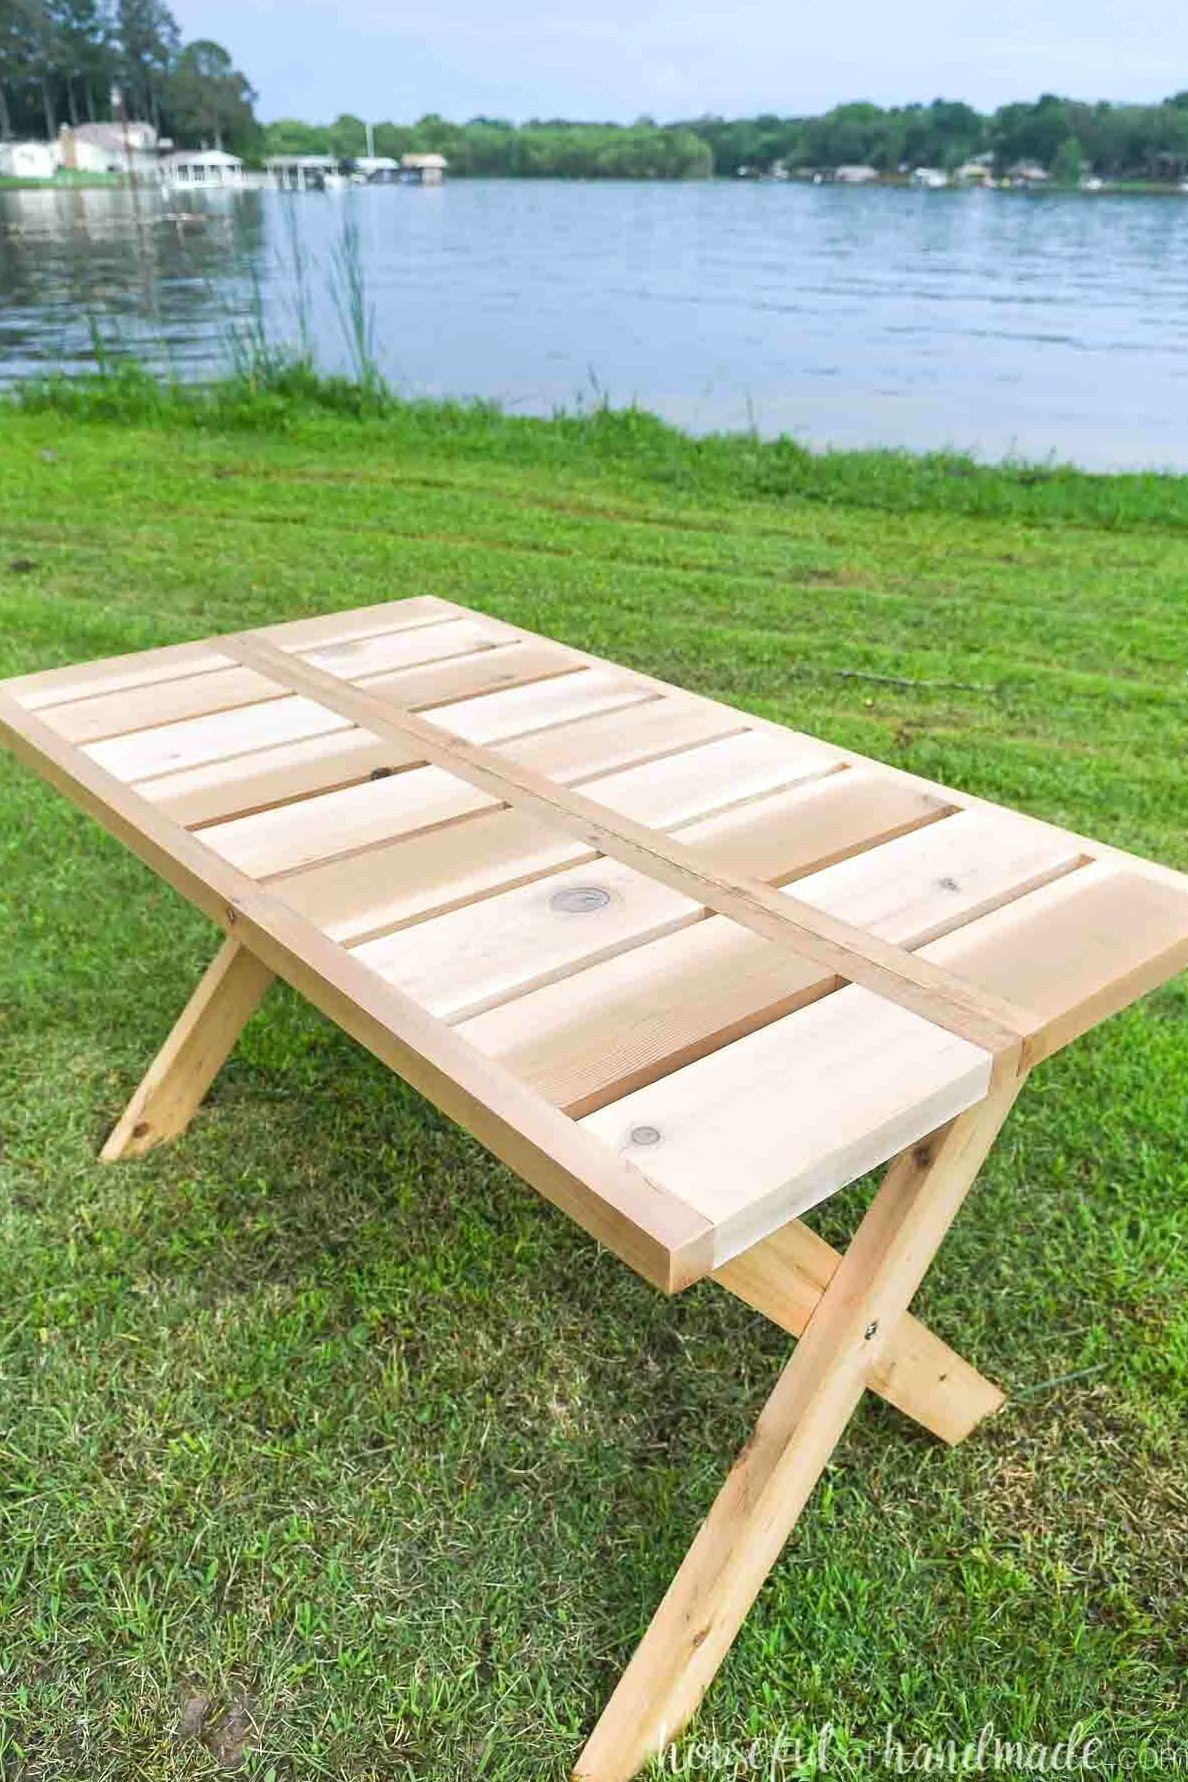
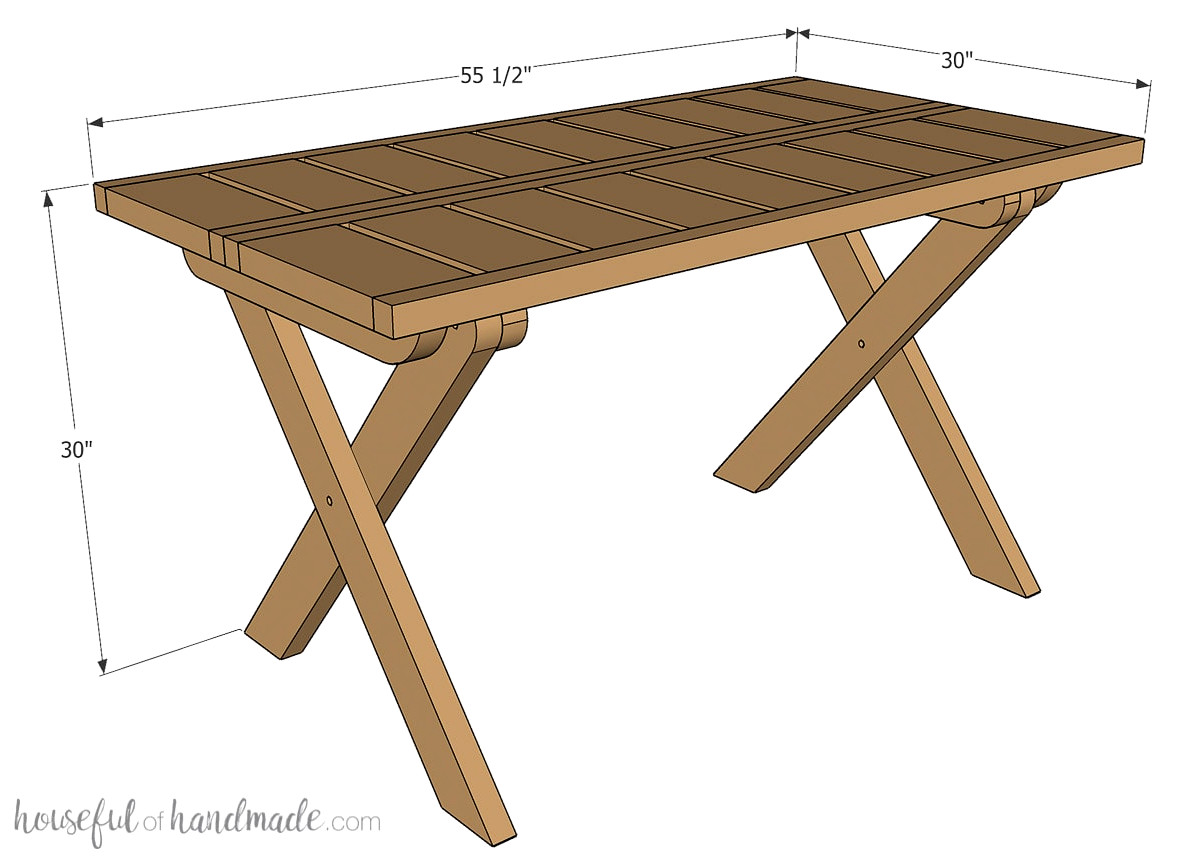
The tabletop consists of 2×6 and 2×2 boards, which form two smaller sections. Once joined, they create a single tabletop measuring 55 1/2″ x 30″.
Using the Kreg Jig, the tabletop sections can be assembled quickly and effortlessly.
I enjoy working with the newer Kreg 720, though the more affordable 520 or 320 jigs are also excellent choices for beginners and compact work areas. I use them in my workshop as well.
The most challenging portion is making the legs. They are built from 2×4 boards, and one edge must be rounded so the legs can pivot during folding.
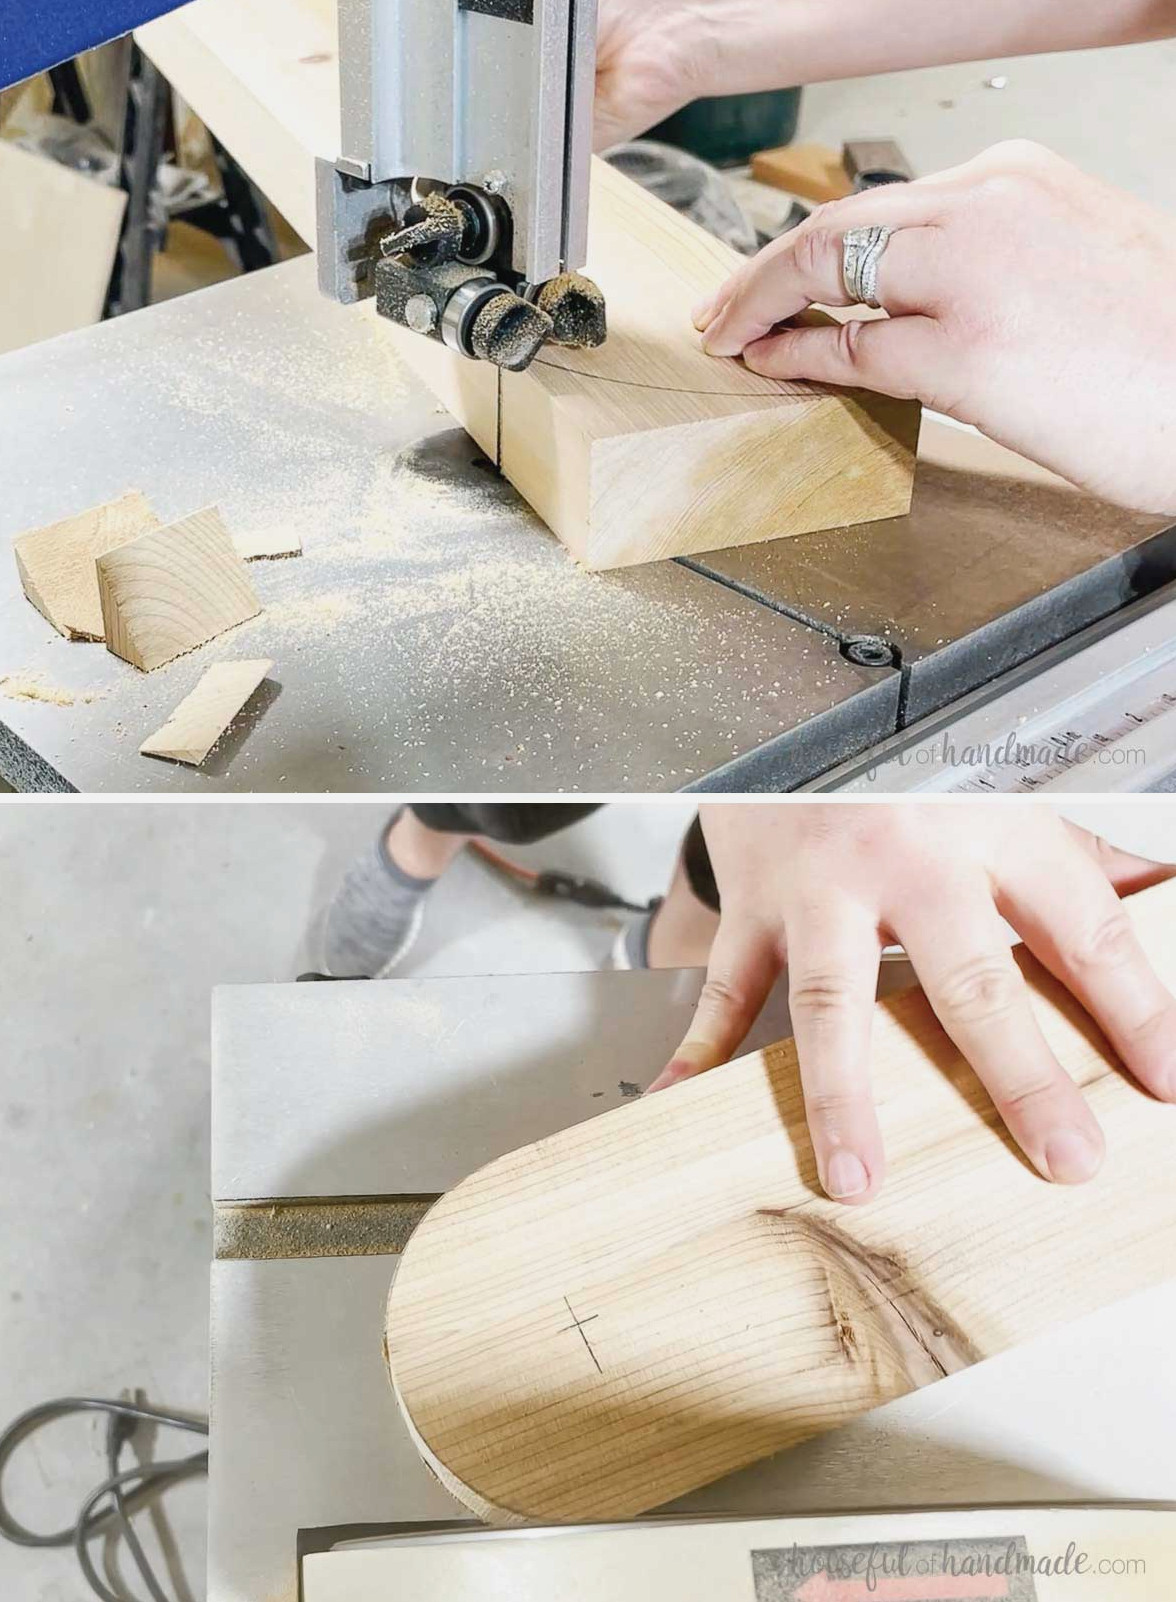
I used a bandsaw and a sander to curve one edge of each leg component. A jigsaw and sander can also accomplish the same task.
The last demanding step involves drilling straight holes through the legs. If they are not positioned at a 90 degree angle to the board, the bolts will not fit properly.
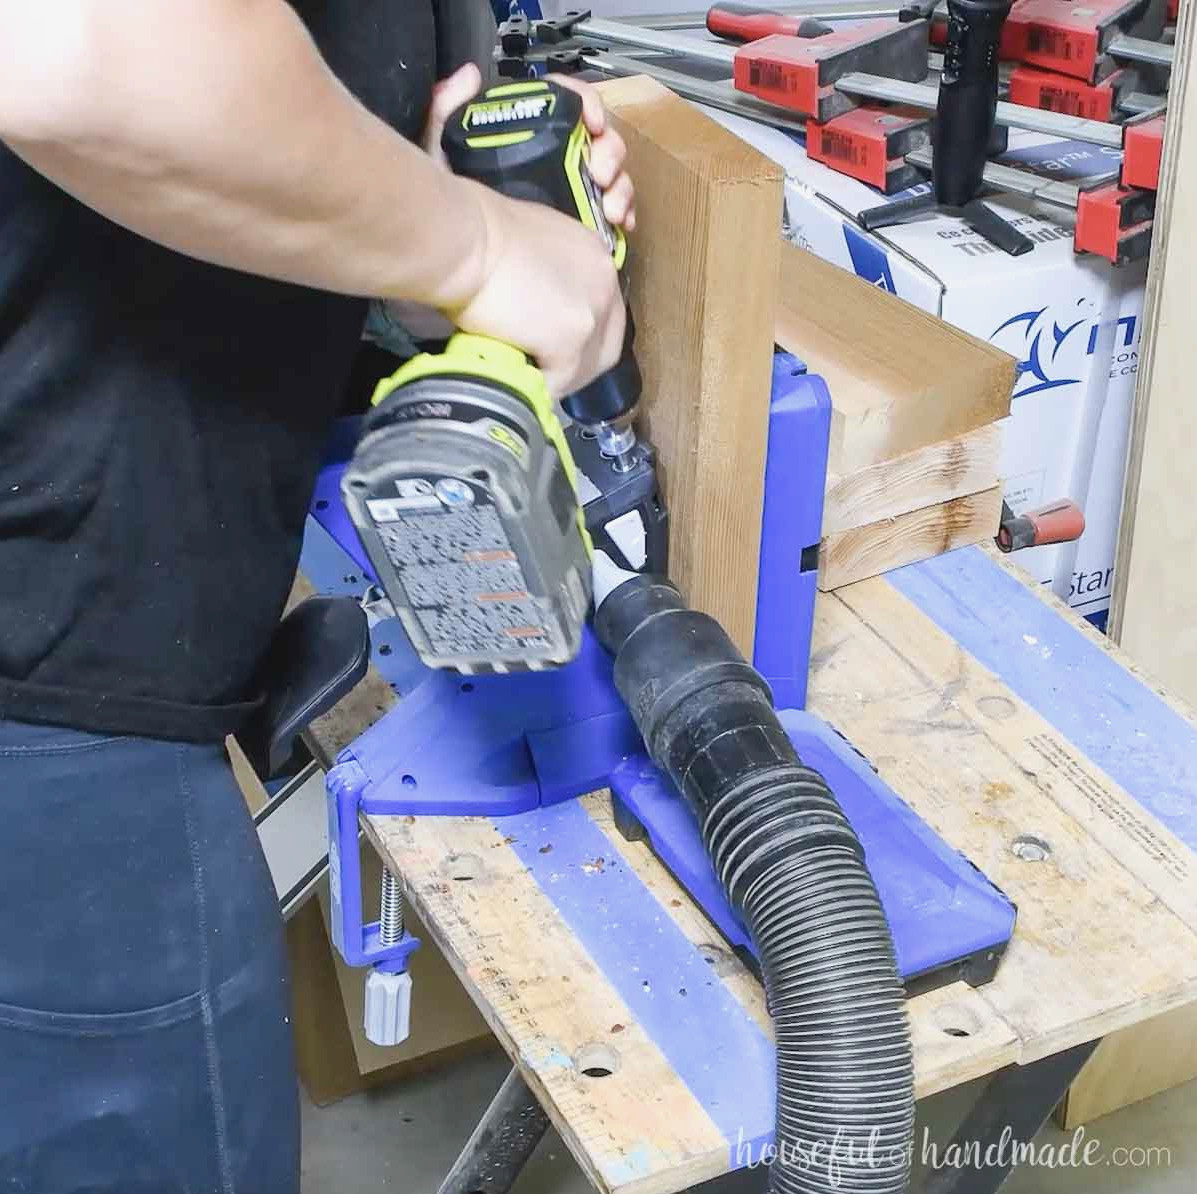
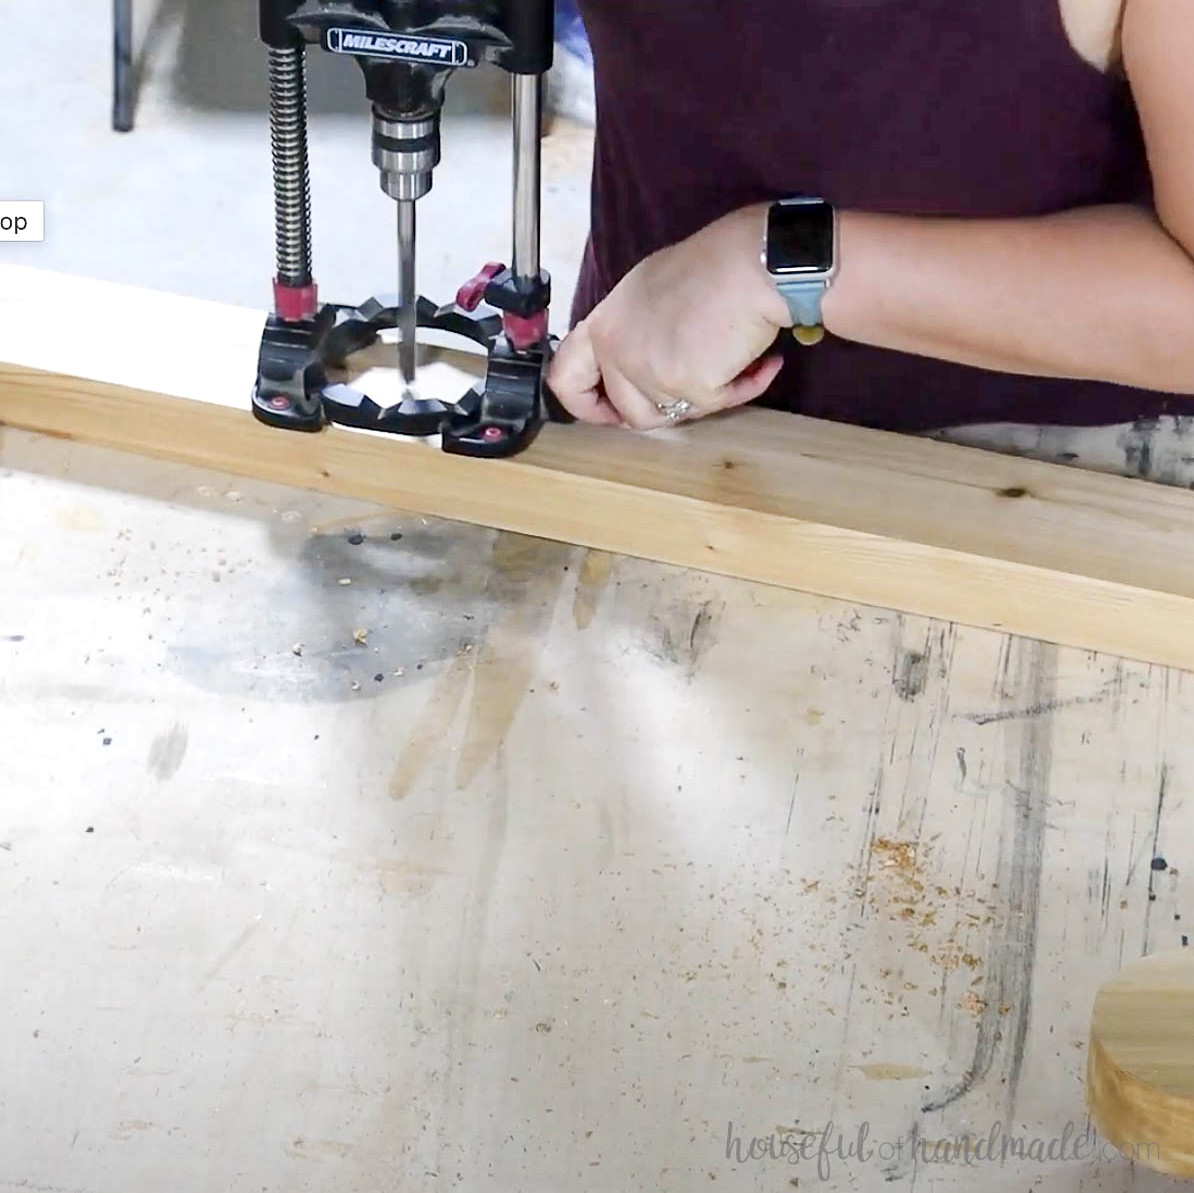
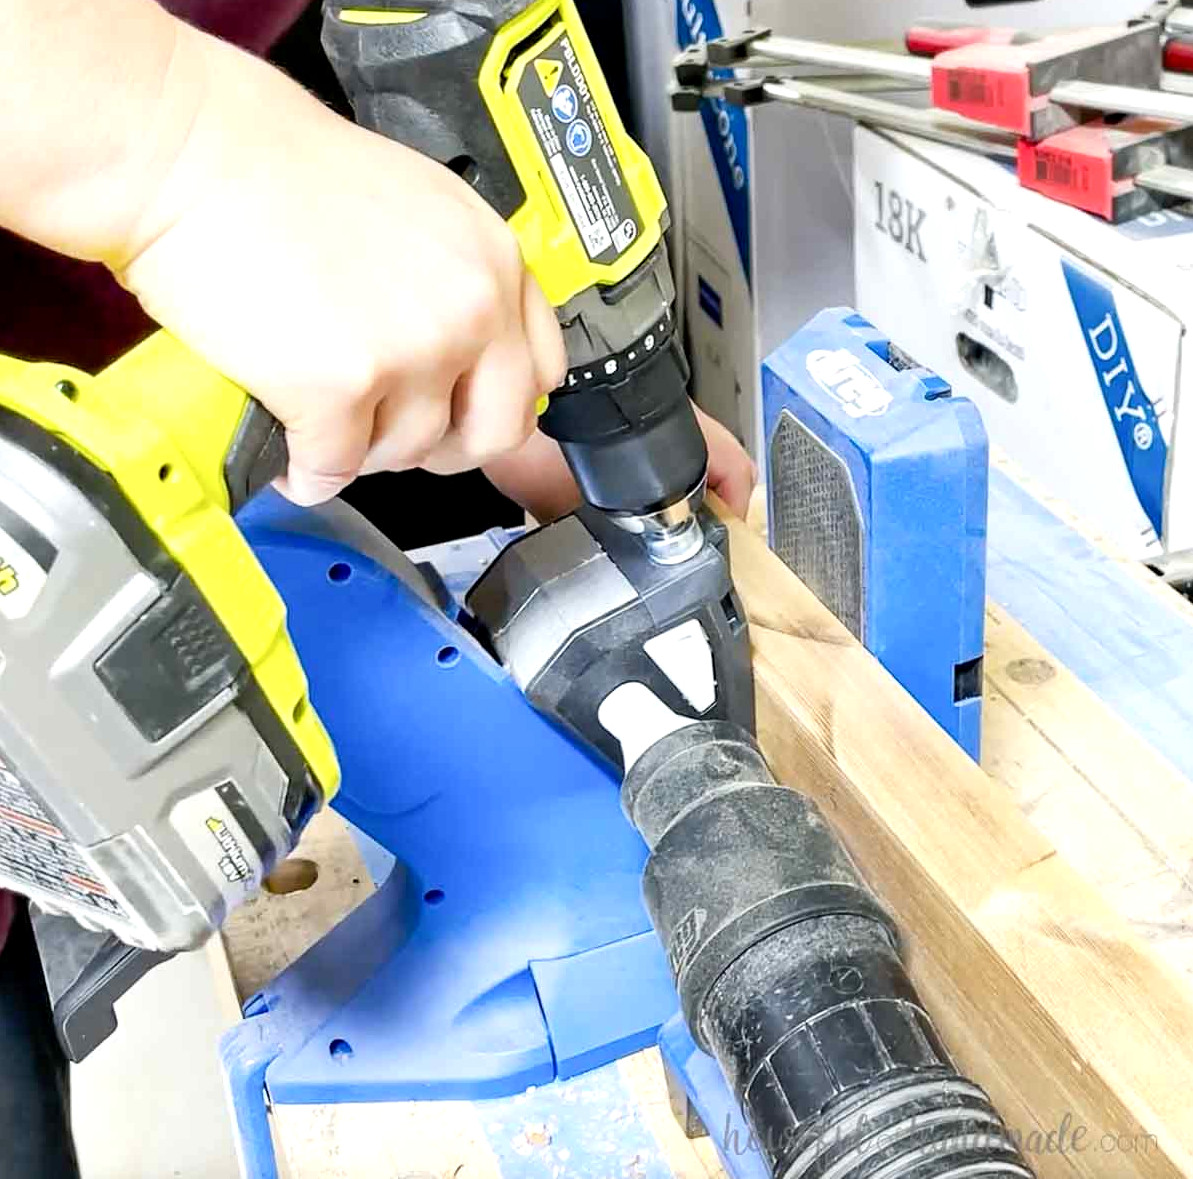
A drill press makes it easy to create straight holes, but I do not own one. Instead, I used this drilling guide.
It keeps the drill aligned while you work. Alternatively, you can build a jig similar to the one shown in this video.
After the leg pieces have been cut accurately, assembling them with the bolts is straightforward!
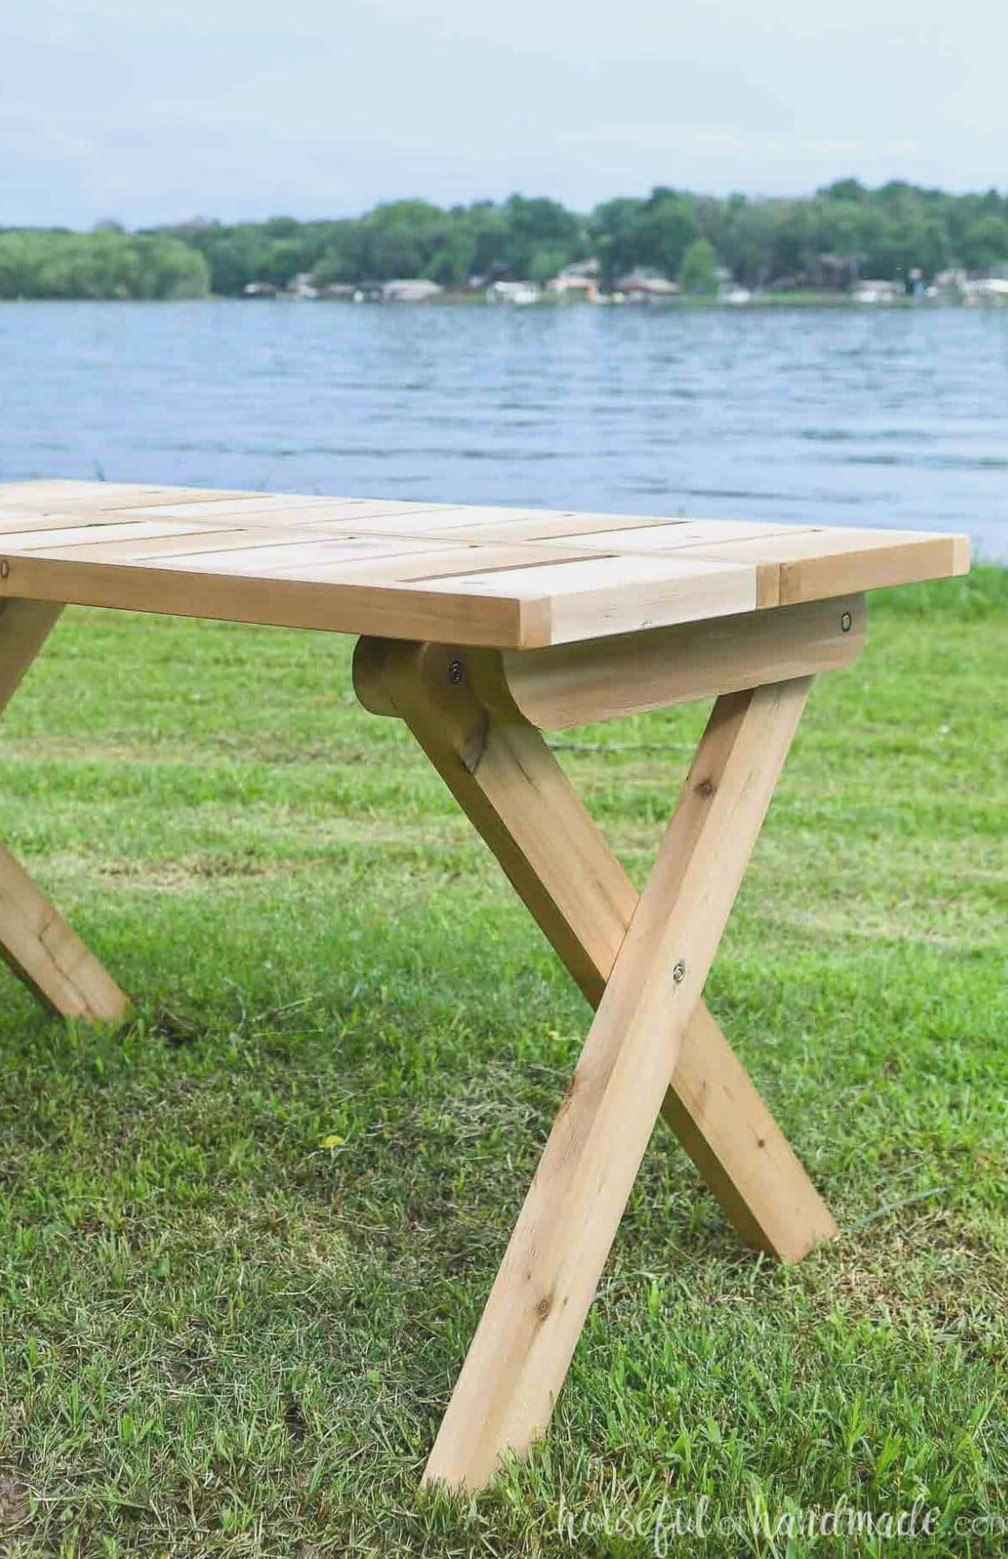
Build a Portable Picnic Table
Equipment & Supplies
Finished Measurements
When opened, the completed table measures 55 1/2″ in length, 30″ in width, and 30″ in height.
For storage, it folds down to 38″ tall, 6 1/2″ wide, and 55 1/2″ long.
Piece List
Cut the components based on the building plans available at KregTool.com.
For the leg components, cut one end ata 40-degree angle.
At one end of the leg top pieces, shape the end so the curve runs from the top down to 3 ½” from the side. On the opposite, non-angled end of the leg pieces, round the entire edge over.
STEP 1- Assemble the Table Tops
Adjust your pocket hole jig for 1 ½” thick material, then drill pocket holes along both edges of the top center slats.
Fasten one side of the slats to one top edge board.
The outside slats should align flush with the edge board ends. Next, arrange the remaining boards with a ¾” space between each one.
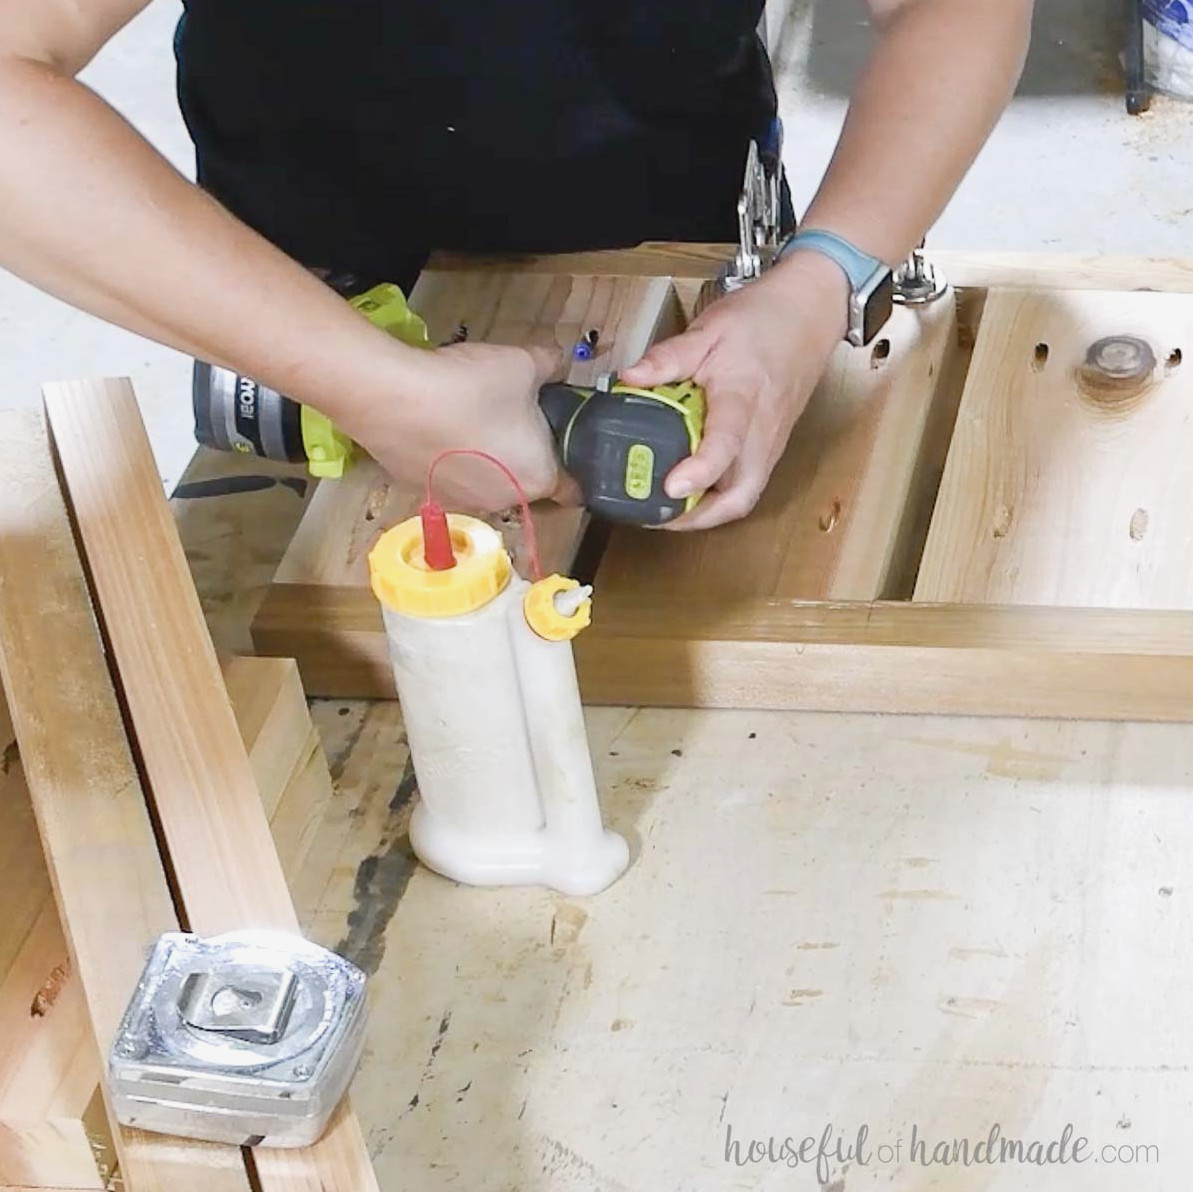
Attach them using wood glue and 2 ½” pocket hole screws.
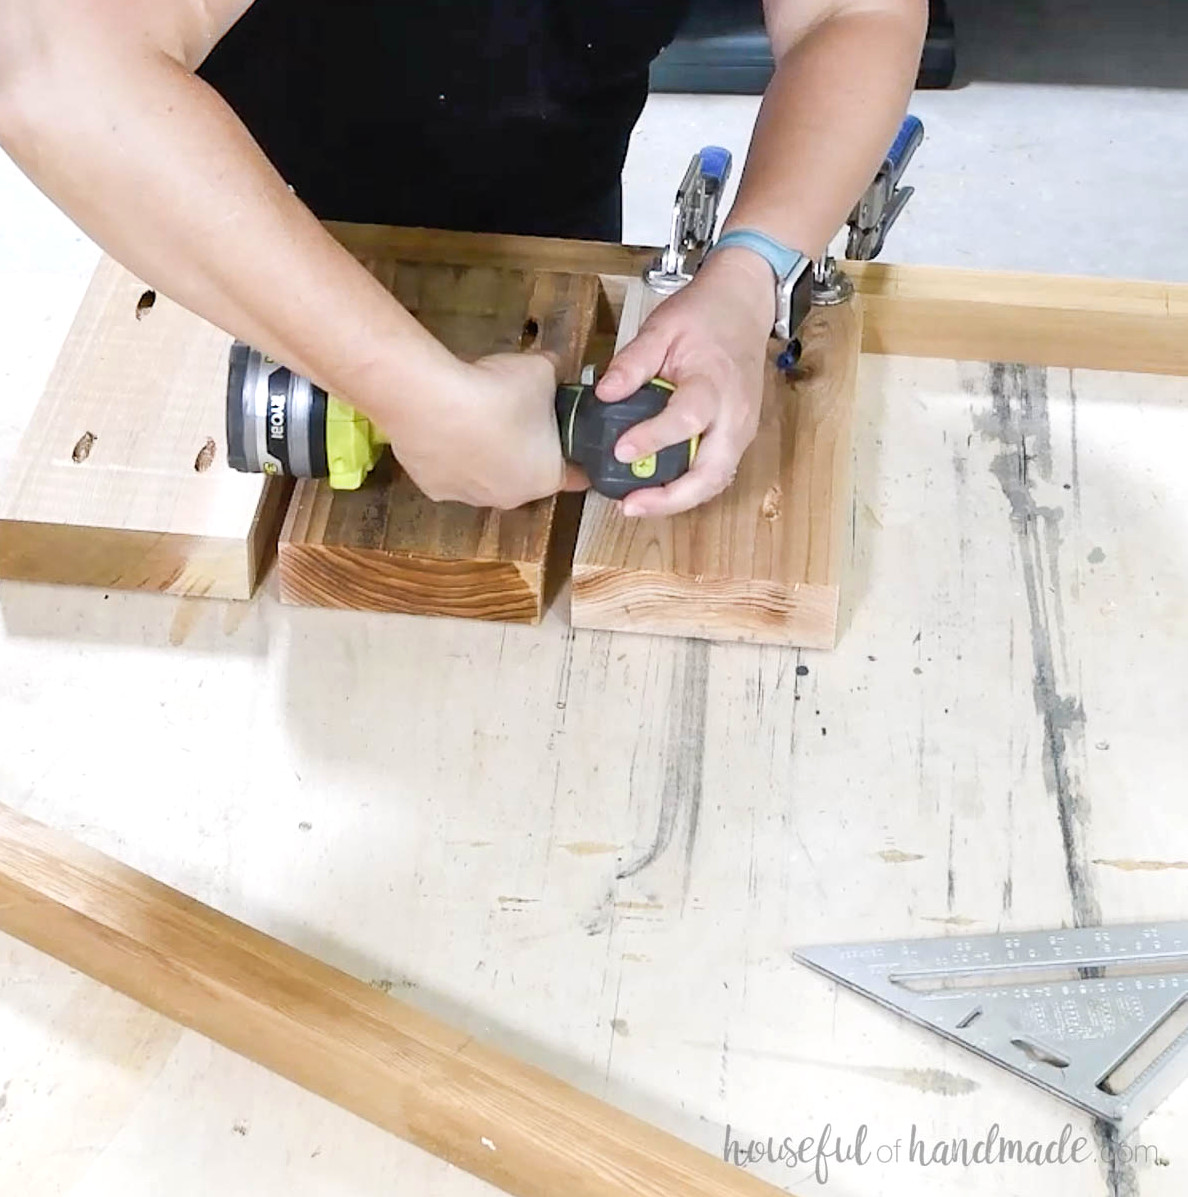
Apply wood glue to the exposed ends of the top center slats, then secure them to a second top edge board.
Align the ends carefully and maintain a ¾” opening between the boards. Fasten everything with wood glue and 2 ½” pocket hole screws.
Repeat these steps for the second top section.
STEP 2- Make Holes in the Leg Pieces
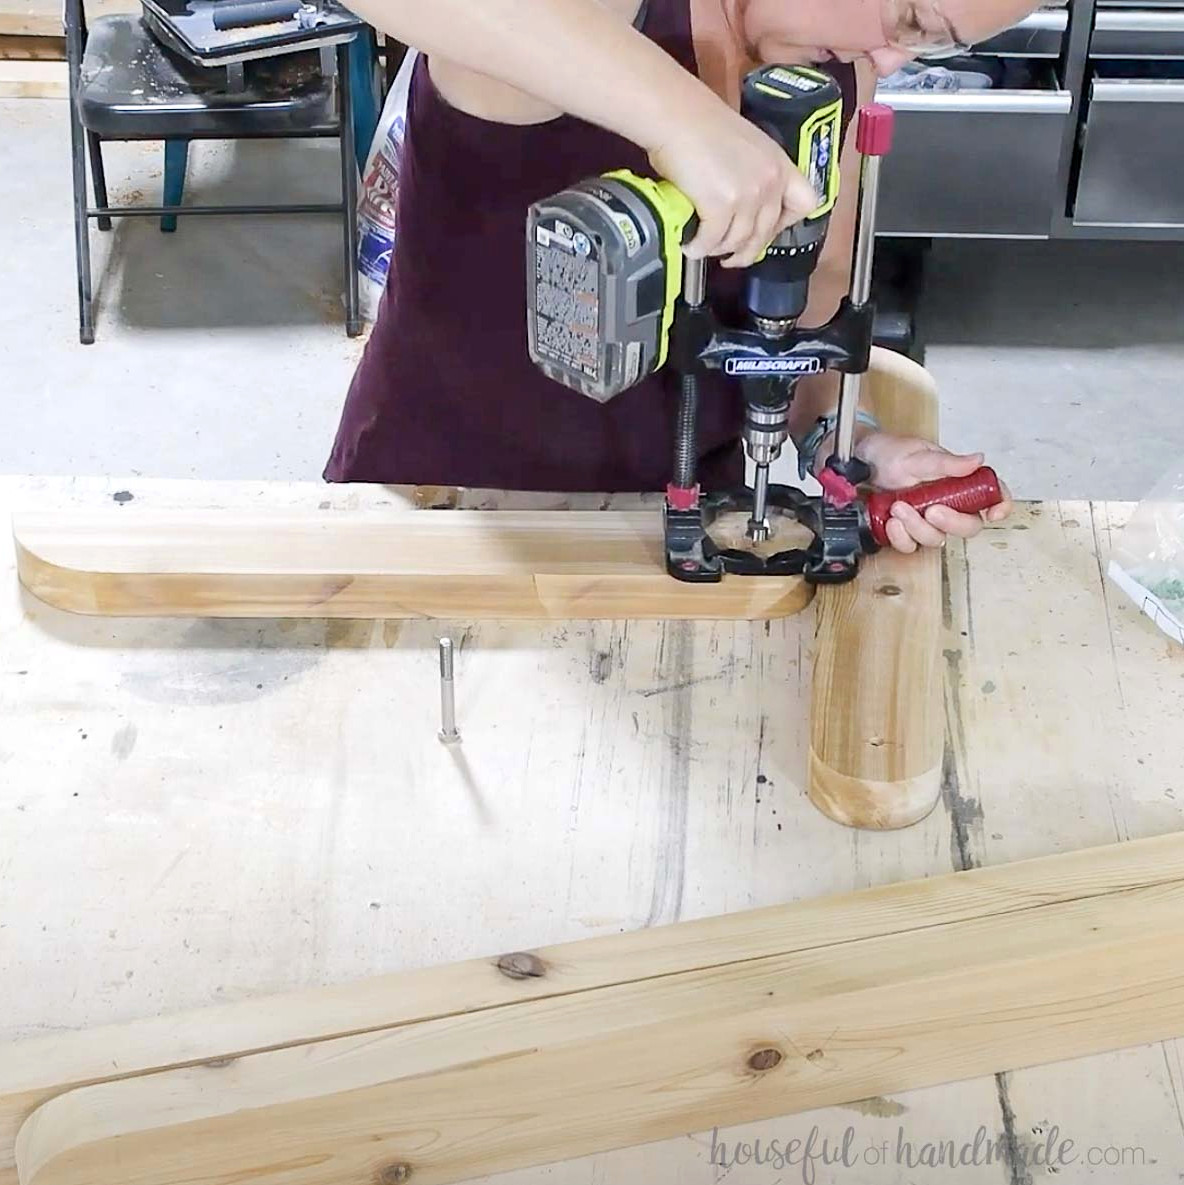
On the rounded edge of each leg board, measure and mark 1 ¾” from the end. At this mark, drill a centered ⅜” hole through the board.
Use a drill press, guide, or jig to ensure the holes are drilled at 90-degree angles to the boards.
Also, drill a centered hole in each leg board 17 23/32” from the rounded edge.
Arrange the leg pieces as shown in the diagram included with the plans. Be careful to follow the angle direction on the leg pieces and the orientation of the leg top pieces.
Indicate the locations for the bolt heads and nuts. The top rounded edges of the leg top pieces will be bolted to the rounded top edges of the leg pieces, while the two leg pieces will be joined at the center.
To accommodate the bolt head and nut, drill a 1” wide hole ½” deep over the existing hole.
Although the bolt is only 2 ½” long and the two boards measure 3” thick together, both the bolt head and nut must be completely recessed into the leg pieces. Otherwise, they may catch when the table is folded or opened.
I used 3” bolts, so I will need to swap them for shorter bolts and make the recesses deeper.
STEP 3- Put the Legs Together
Set the pocket hole jig for 1 ½” thick material and drill pocket holes into the inner side of the leg top pieces.
Make holes only in the half of the board containing the curved section without the hole, rather than in the completely rounded end.
Arrange the completed table top sections so they are aligned, then fasten the leg tops to them.
The suggested measurements allow for a washer that is 1/16” thick, so make adjustments if your washers have a different thickness.
Each board attaches to only one table top section.
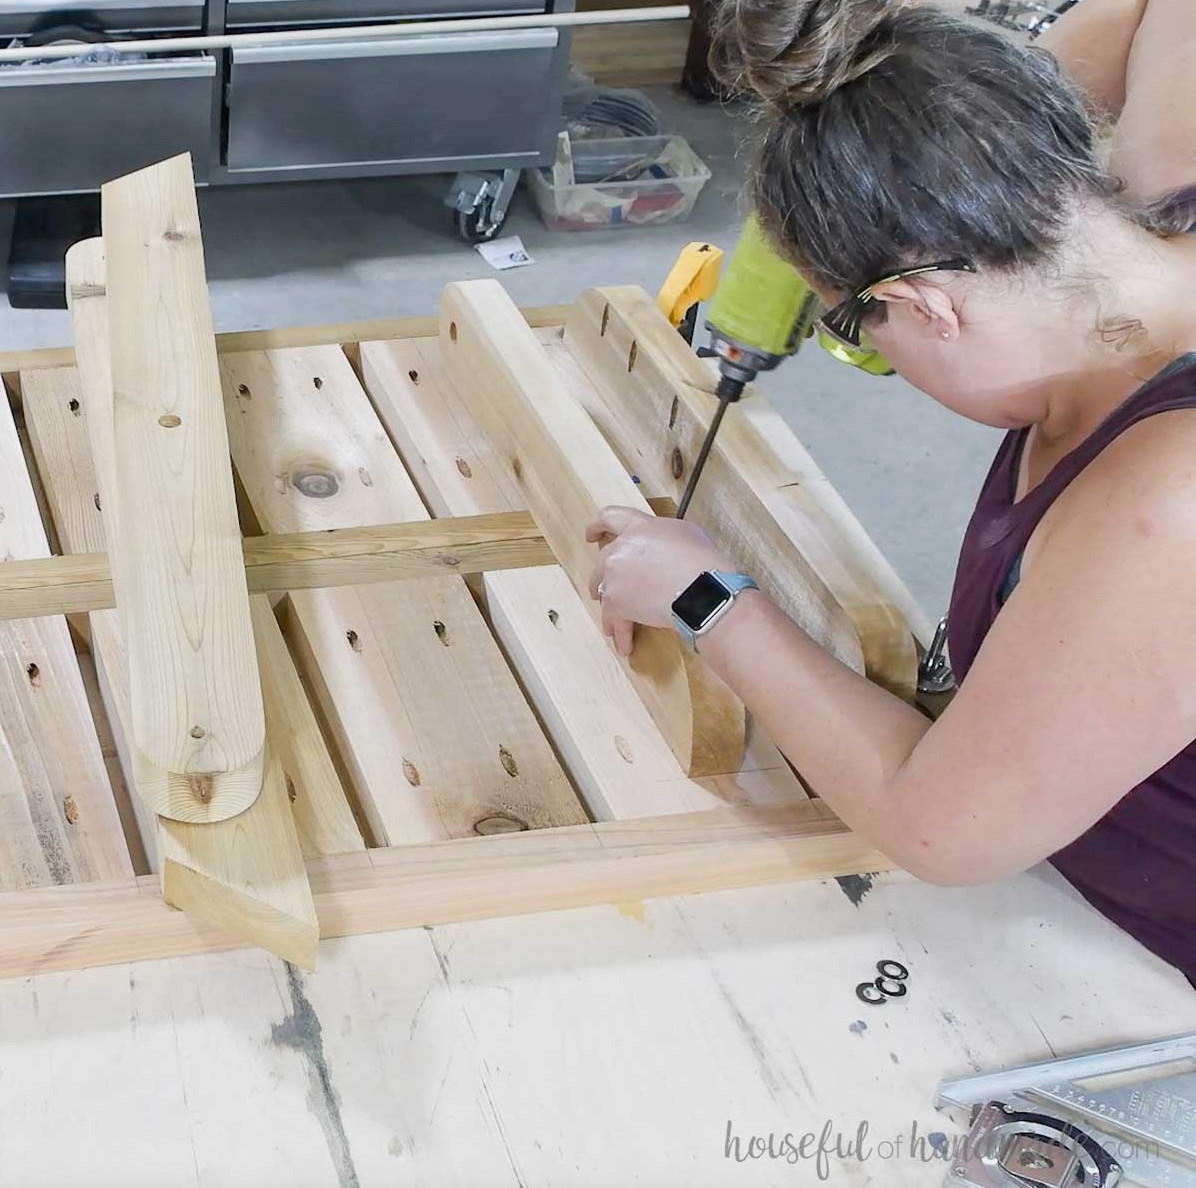
Insert the leg pieces inside the secured leg top pieces. Check that the table top sections remain properly aligned.
Join the two leg pieces through the center hole with a bolt and place a washer between the boards.
Next, bolt the rounded edges to the attached leg top pieces, again positioning a washer between the boards. Once bolted, the legs should stand correctly.
Build the second leg assembly in the same way, then turn the table over—it is complete!
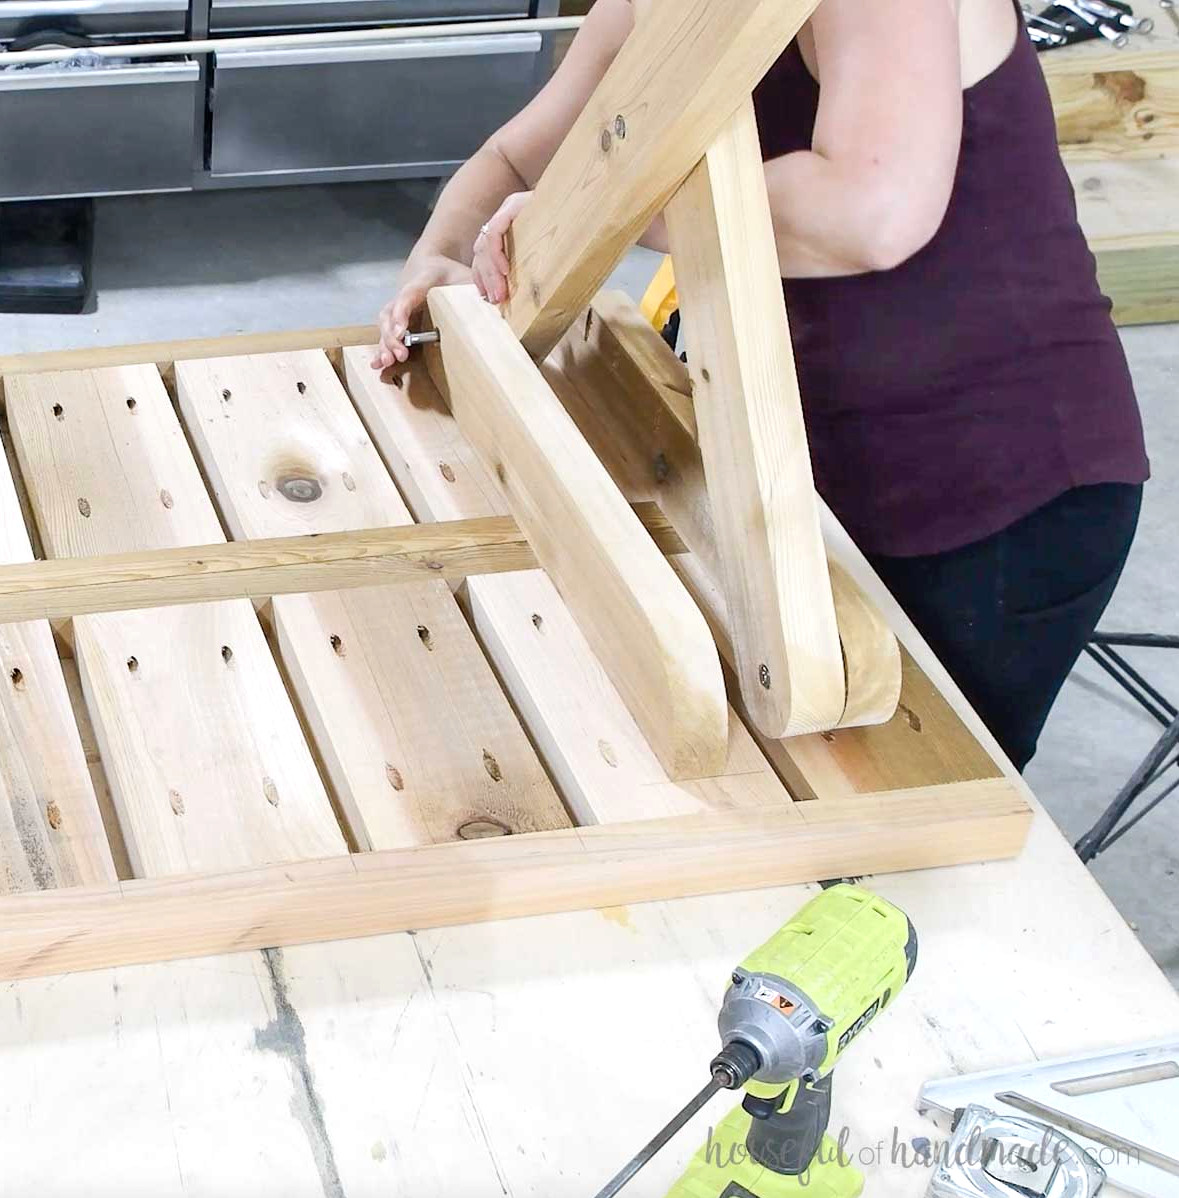
To fold the table: Separate the two table top sections until the rounded ends of the leg assembly can be seen.
Allow the table top sections to drop flat on either side, then push all the leg pieces together flat between them.
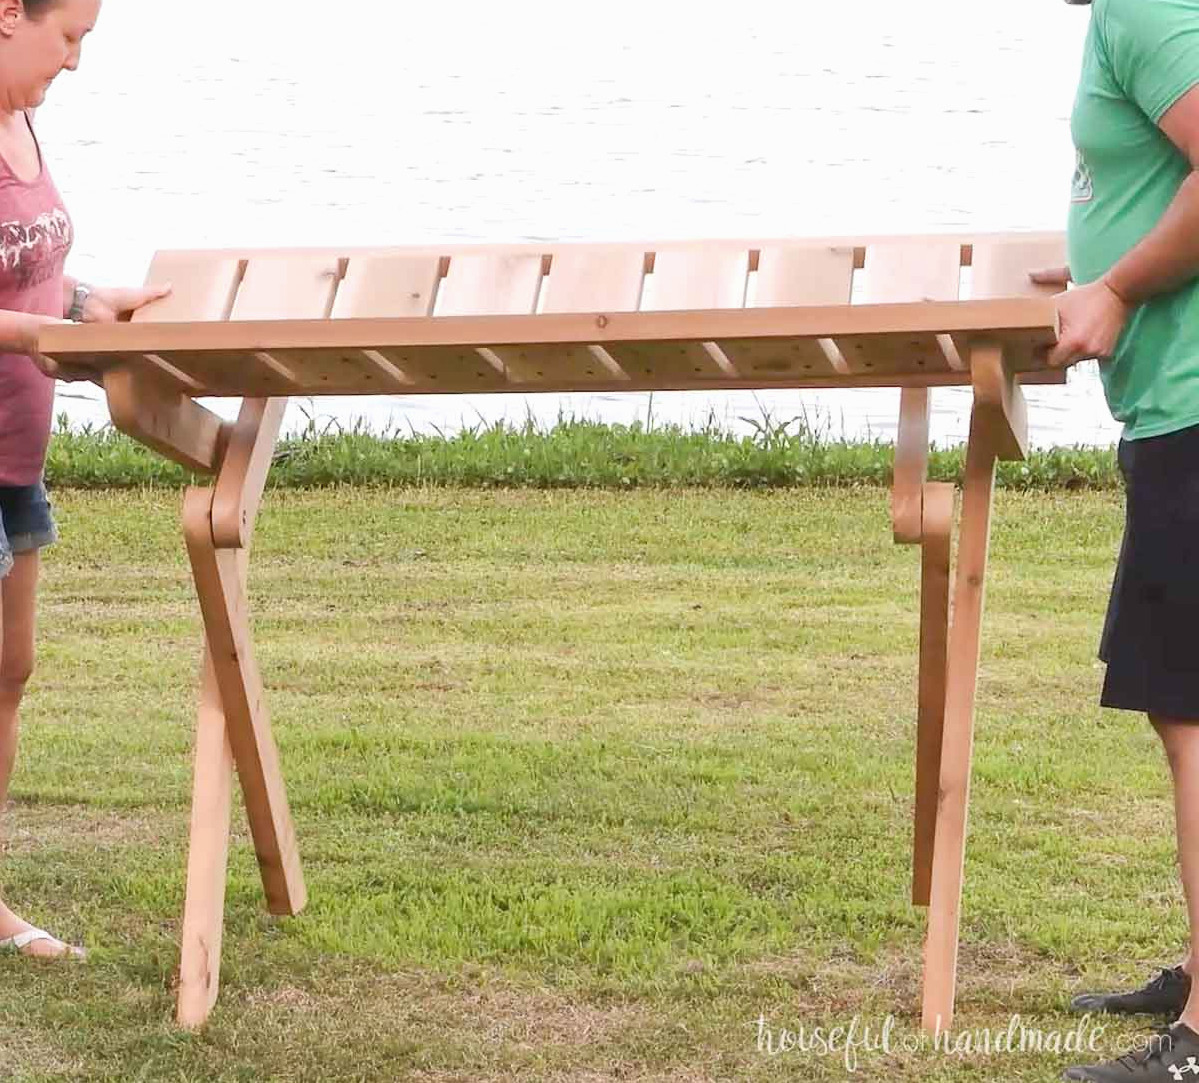
To set the table up: Raise the table top sections and slide the rounded edges beneath them. Bring the table top sections together, then allow them to rest on the legs.
If the table rocks, move the legs farther apart until the table becomes steady.
Would You Rather Watch? View the Video Below
Enjoy building!