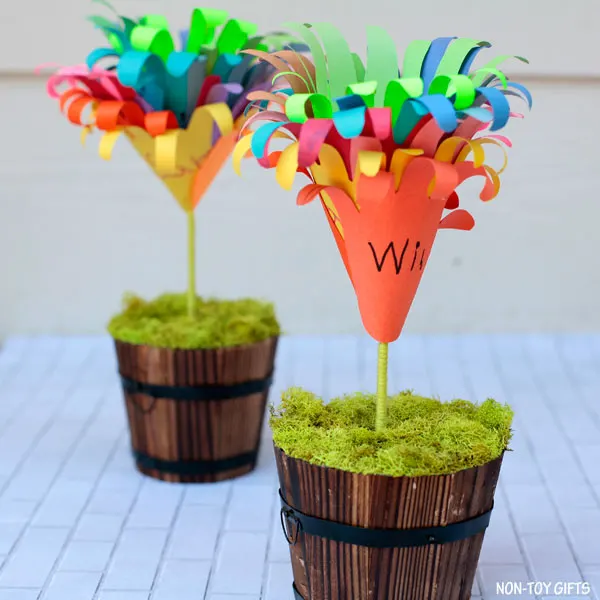
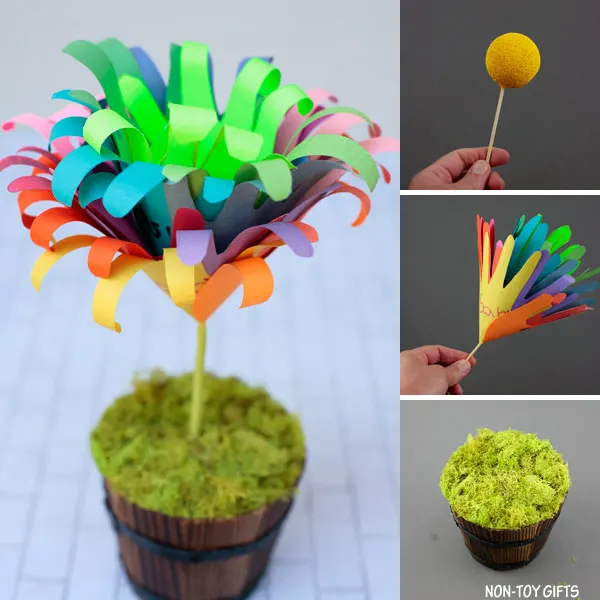
These handprint blossoms are a wonderful project for children. They can become a lovely paper flower gift for a mom or grandmother on Mother’s Day, or a thoughtful end-of-year present for a teacher.
Last year, I made these paper flowers in pots for my boys’ teachers. Since the handprint flower arrangements I created the previous year became especially popular around Mother’s Day, I believe these blossoms would make a fantastic Mother’s Day activity for preschool children and older kids as well. Making them takes a few more steps than our handprint flower arrangements, but the result is absolutely worthwhile. They look amazing!
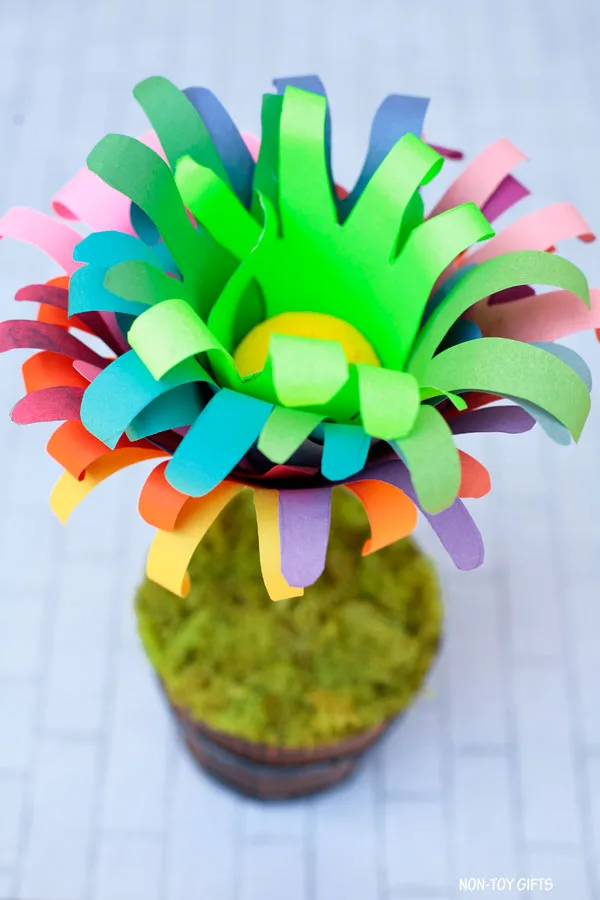
Since these were intended as a teacher present, I first collected handprints from all of my boys’ classmates. If you would like to do this too, here are a few helpful suggestions.
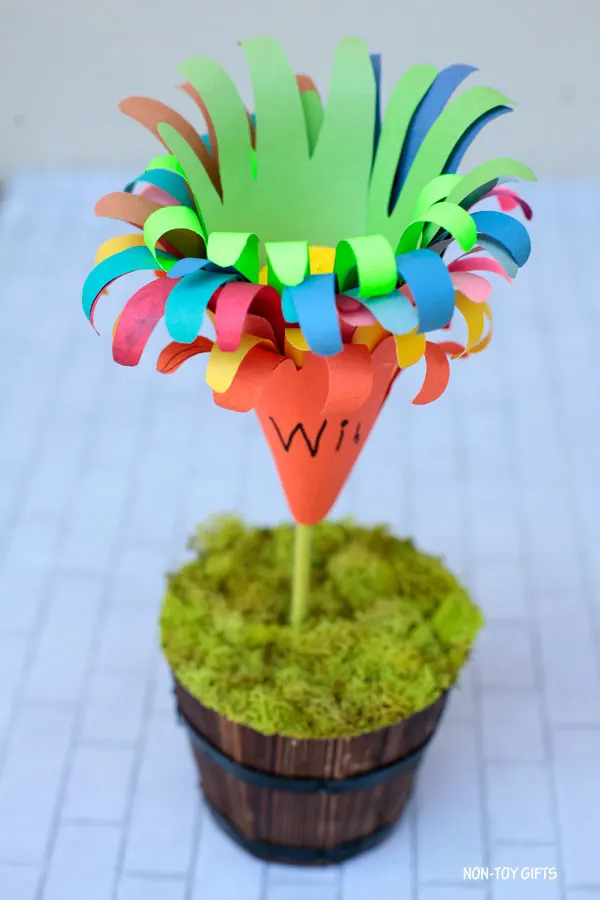
Helpful tips:
- Invite the parents of your child’s classmates to create a handprint of their children and either send it by mail or leave it in your mailbox. If you have their children give it to your child, the teacher will probably discover the surprise.
- Prepare in advance. Everyone has a busy schedule, so you will need to send several reminders.
- Create a handprint with your child and photograph it as a sample, allowing the other parents to see precisely what they need to do.
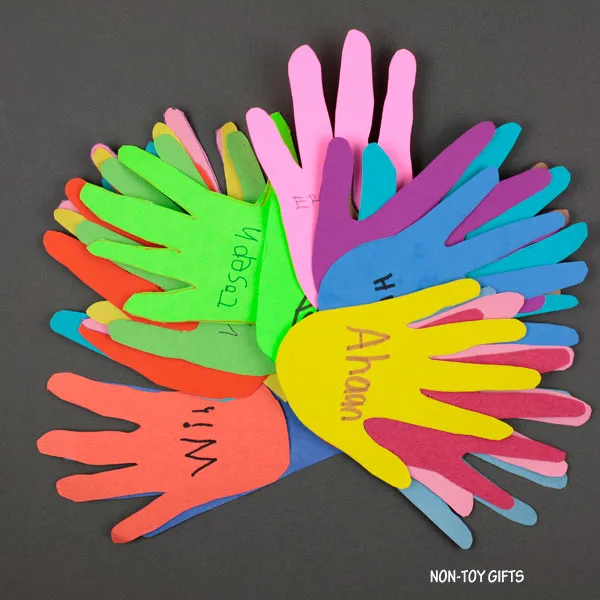
- Let the children put their names on their handprints to add a personal touch. Have them write their names on one of the paper fingers so that every name can be seen.
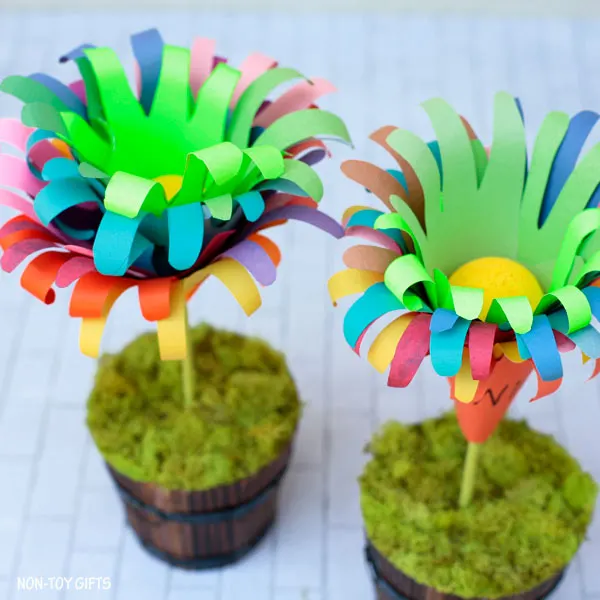
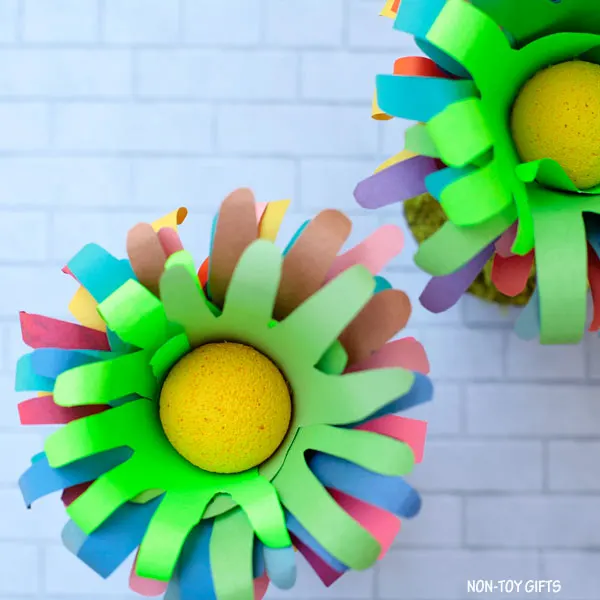
Materials:
Steps for creating handprint flowers
Collect handprints from your child’s classmates, traced onto colored construction paper or cardstock.
Cover a foam ball with yellow paint.
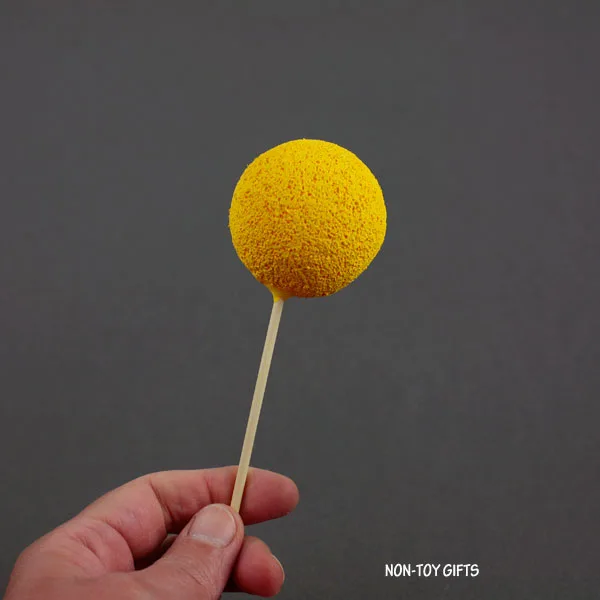
Push the bamboo skewer into the foam ball, then secure both pieces together with hot glue.
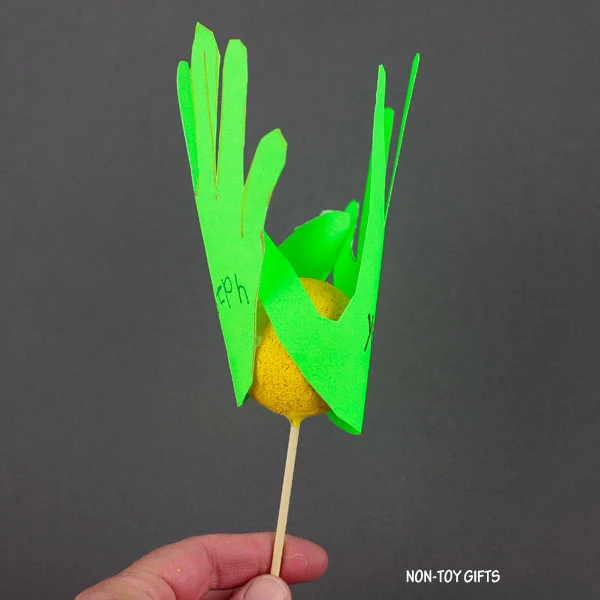
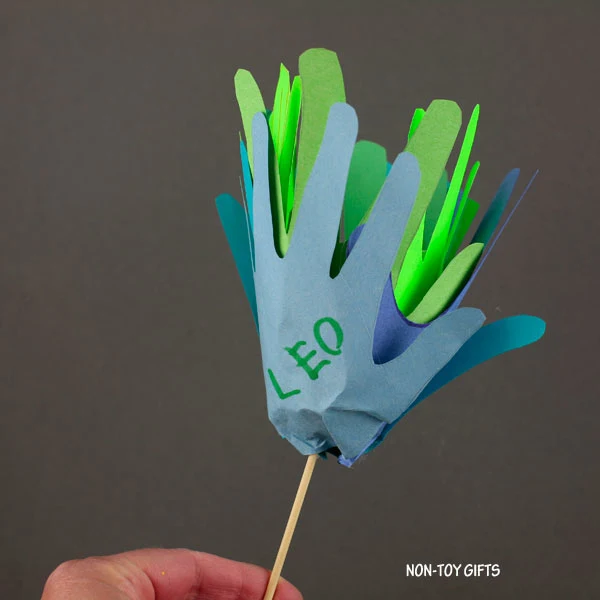
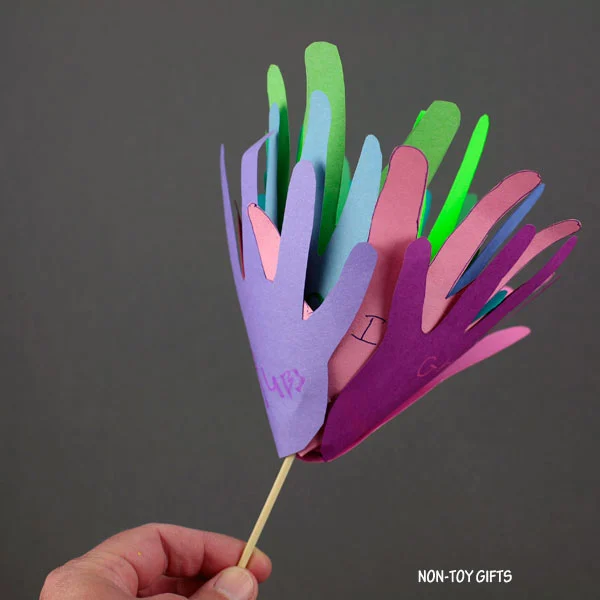
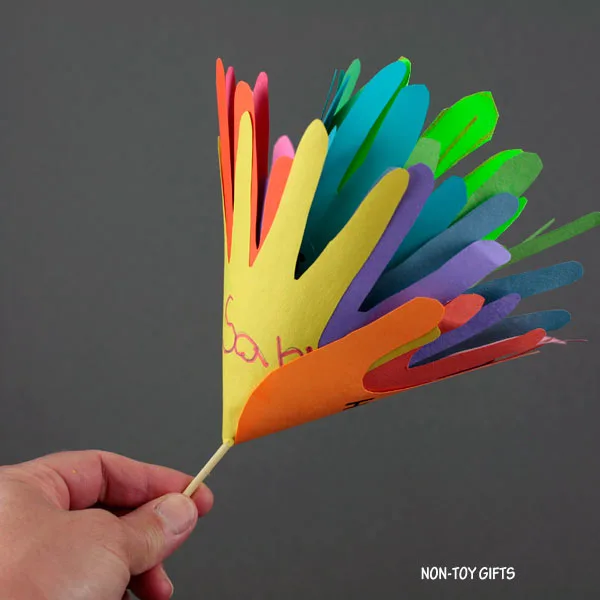
Group the handprints according to color and choose the sequence you want to use. Spread glue along the lower edge of every handprint, then attach them individually around the foam ball.
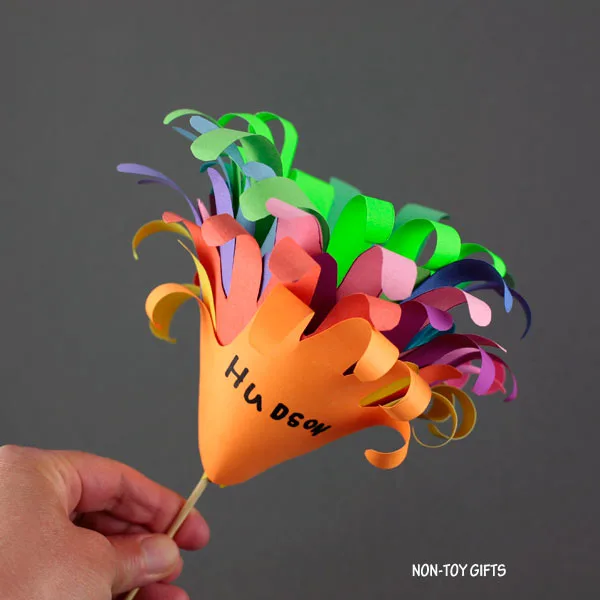
To create a curled appearance, coil each flower petal around a pencil.
Wind the green yarn around the bamboo stem.
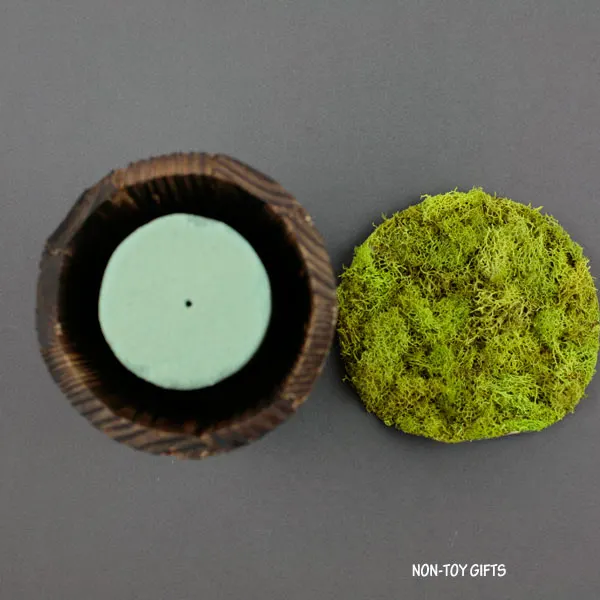
Turn the pot upside down on the rear of the moss sheet, outline it, then cut out the circle.
Put the circular floral foam into the pot and cut it down as needed until its upper edge is level with the rim of the pot.
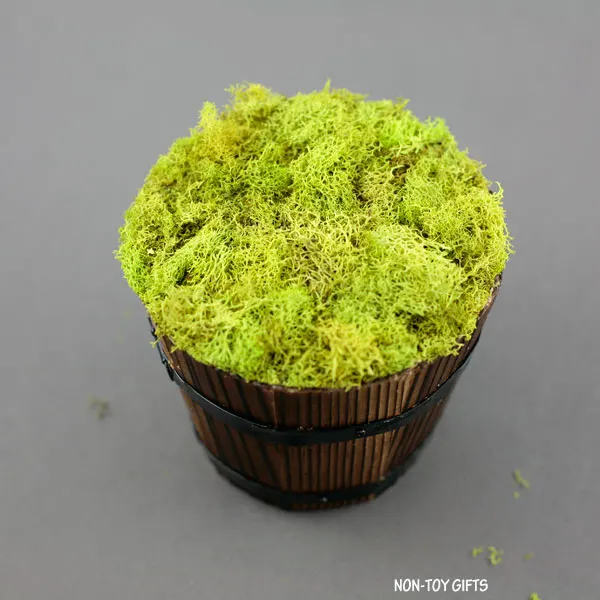
Lay the moss circle over the pot and gently push it down until it adheres to the pot’s rim.
Place the flower in the center of the circular foam inside the pot.
Supplies
- colorful paper
- bamboo stem
- foam sphere
- decorative paint
- hot adhesive
- craft moss mat
- circular floral foam
- wooden or ceramic planter
- green yarn
Equipment
- pair of scissors
- pencil
- paintbrush
- hot glue applicator
Directions
- Collect the handprints your child’s classmates traced onto colored construction paper or cardstock.
- Coat a foam ball with yellow paint.
- Push the bamboo stick into the foam ball, then secure both pieces together with hot glue.
- Arrange the handprints according to color and choose the sequence you want. Put glue along the bottom of every handprint and attach them individually to the foam ball.
- Curl each flower petal around a pencil for a twisted appearance.
- Spiral green yarn around the bamboo stick.
- Set the pot upside down on the backside of the moss sheet, trace around it, and cut out the circle.
- Place the round floral foam inside the pot and trim it when needed so its top sits evenly with the pot’s rim.
- Position the moss circle over the pot and press it lightly so it attaches to the pot rim.
- Insert the flower into the center of the round foam inside the pot.